This post and its photos may contain affiliate links. As an Amazon associate I earn from qualifying purchases. If you make a purchase through these links, I may receive a small commission at no extra cost to you.
It’s amazing how different two brothers can be. Connor was calm and would just sit for hours observing everything. I could take him shopping and he would sit quietly for hours in his stroller or in the cart. Not Easton! Easton is our wild child. He doesn’t sit still for a minute and don’t even try to buckle him in the cart or high chair because he can twist right out of that thing. He loves to run and climb and run. Totally different from Connor.
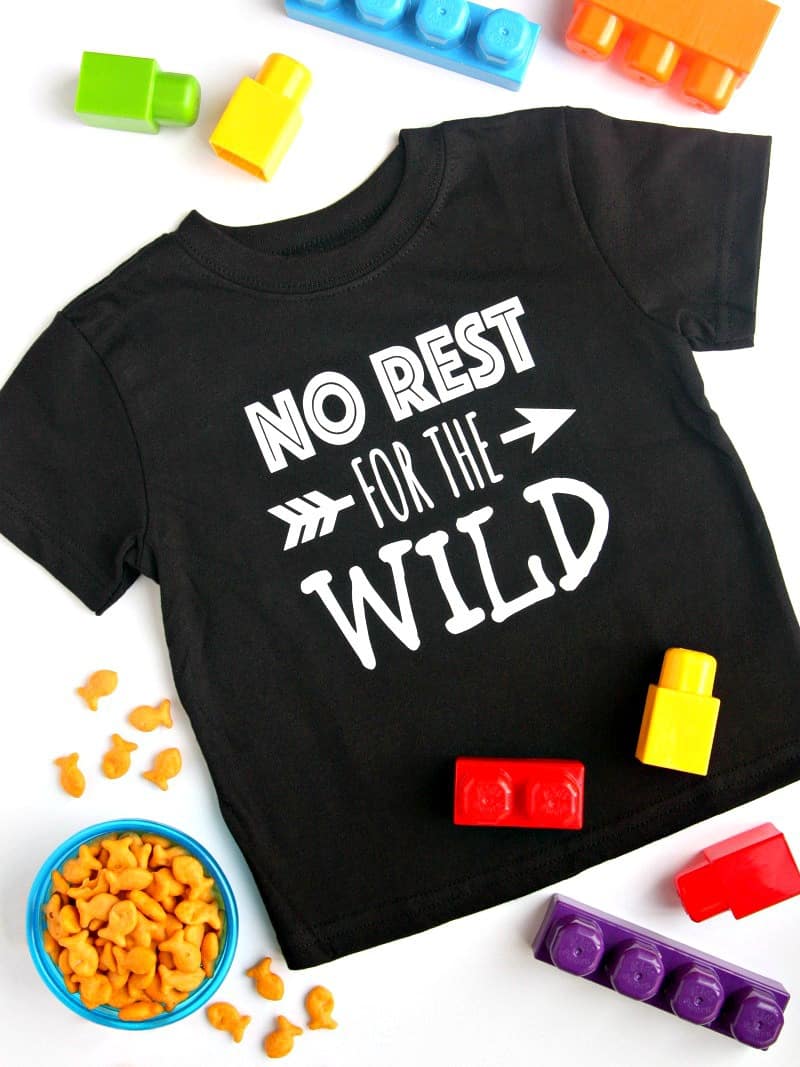
So, what does every wild child need? A fun t-shirt to where when they’re climbing on everything and jumping off of furniture. This awesome t-shirt is perfect for Easton – No Rest for the Wild.
And, guess what? I made this myself with my favorite new crafting tool – my Cricut Explore Air 2. I was so excited to make wood signs and monogrammed cups but now I’m even more excited to make fun t-shirts.
I had no idea it was so easy to create fun shirts with my Cricut and iron-on vinyl. It’s actually easier than making wood signs because you don’t even need the transfer tape. Just have the Cricut cut out your design and iron it right on to the fabric. So easy and so FUN!
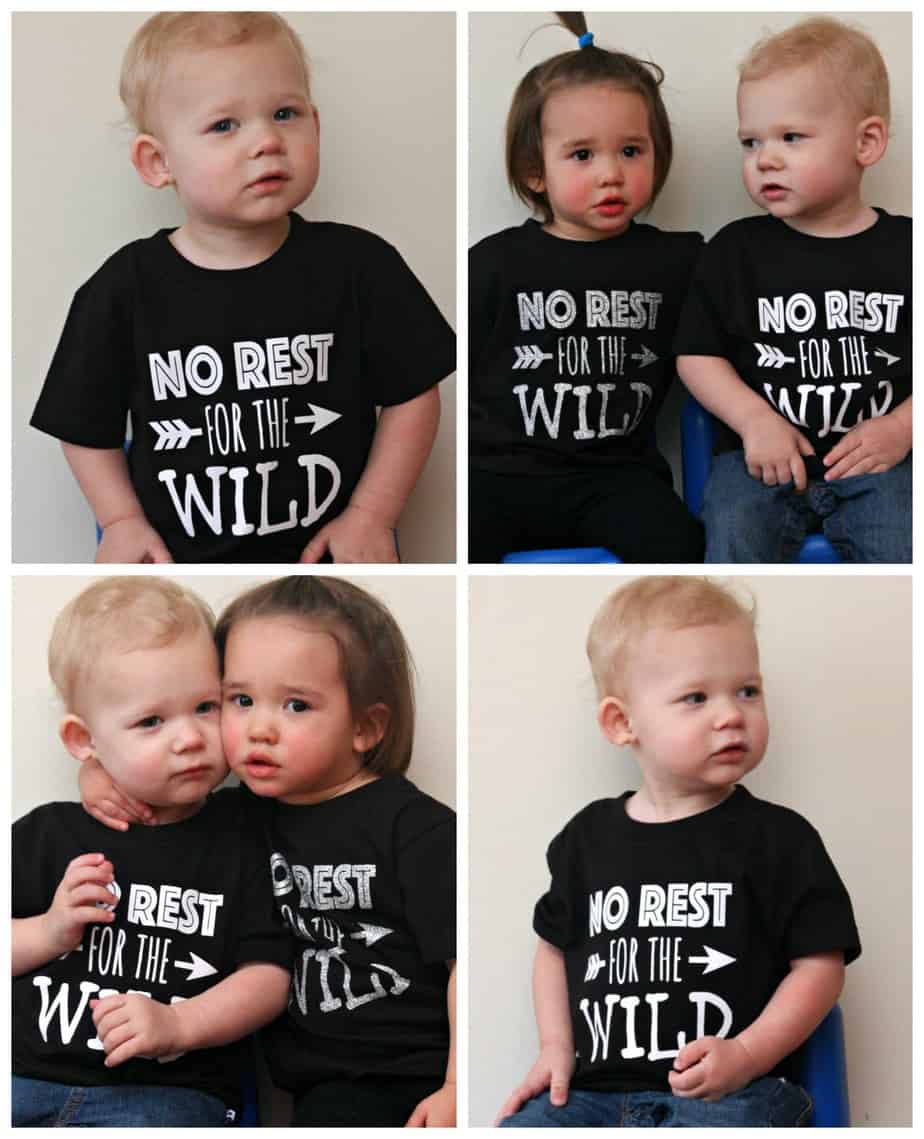
Look how cute Easton looks in his new shirt. Doesn’t he just have trouble written all over his face? He’s lucky he’s cute:) I also made one for his best friend. I used silver glitter iron-on vinyl on hers and white iron-on vinyl for his.
Want to know how easy this was to create?
Materials needed:
- Cricut Explore Air 2
- white iron-on vinyl
- silver glitter iron-on vinyl
- scissors
- iron and ironing board
First, I created my design and saved it as an image. Then I uploaded the image to the Cricut Design Space.
There are four important steps when uploading your own jpg files.
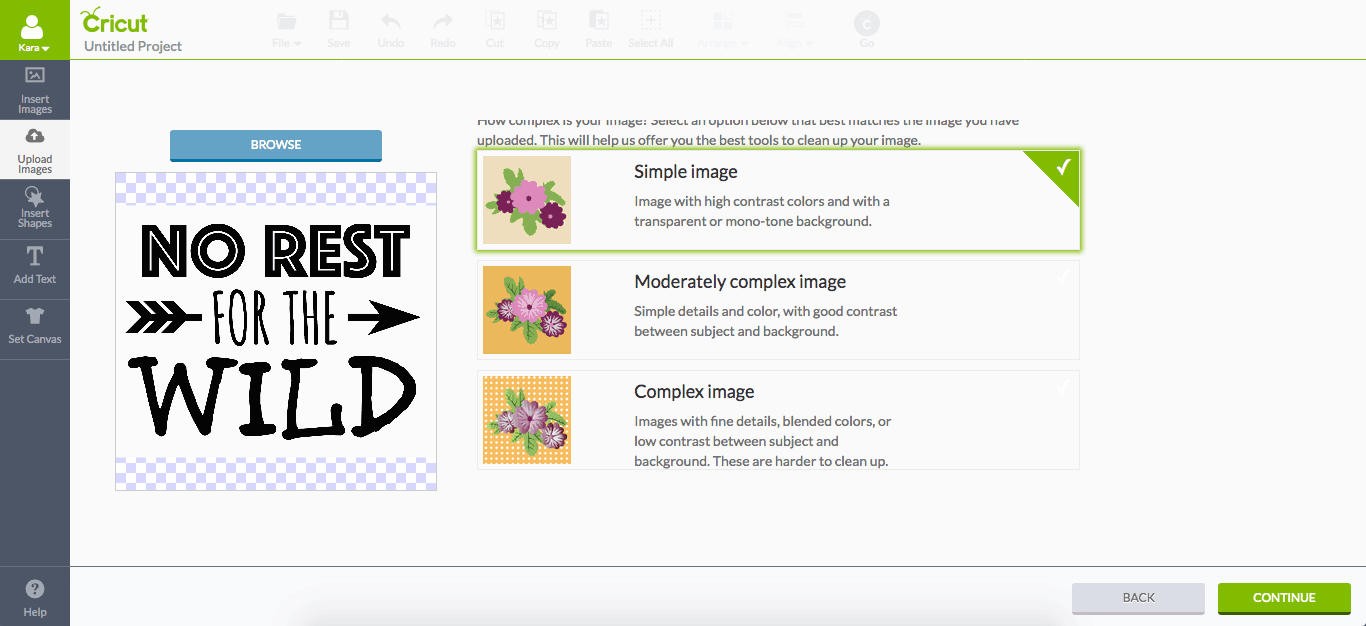
Step 1: Upload image and select image type. This will depend on how complex your image is.
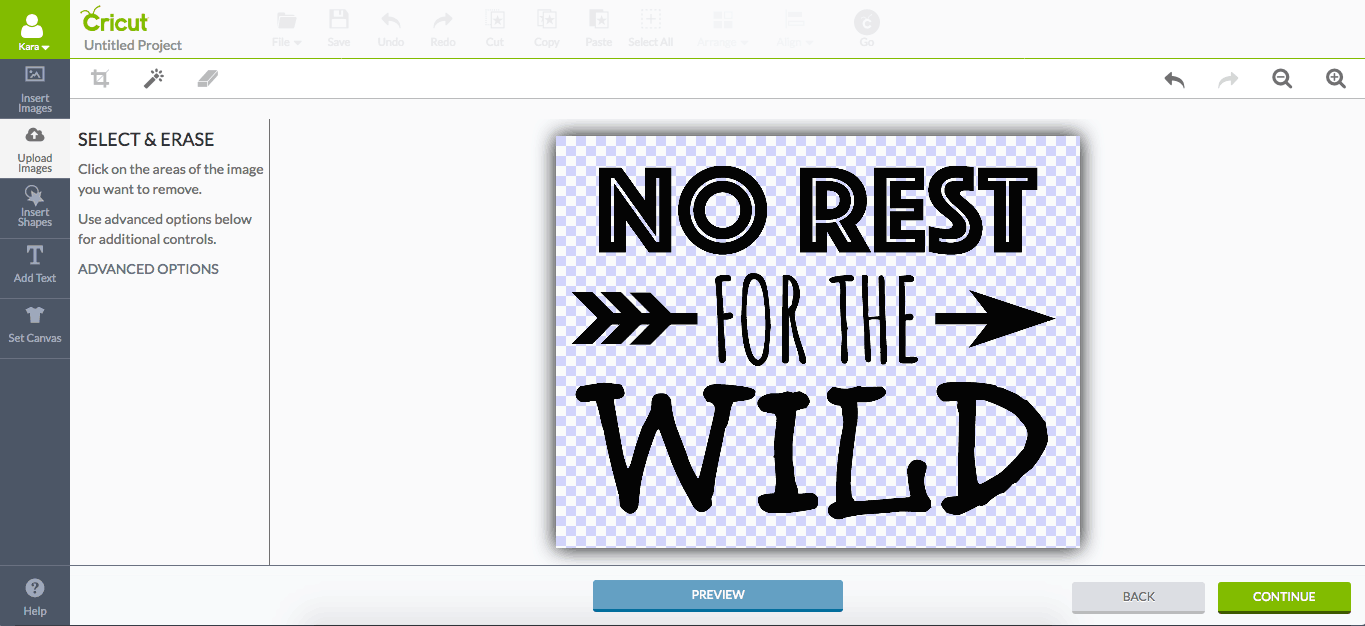
Step 2: Click on the areas of the image you want to remove. This is usually the white space around the image and inside the letters and images.
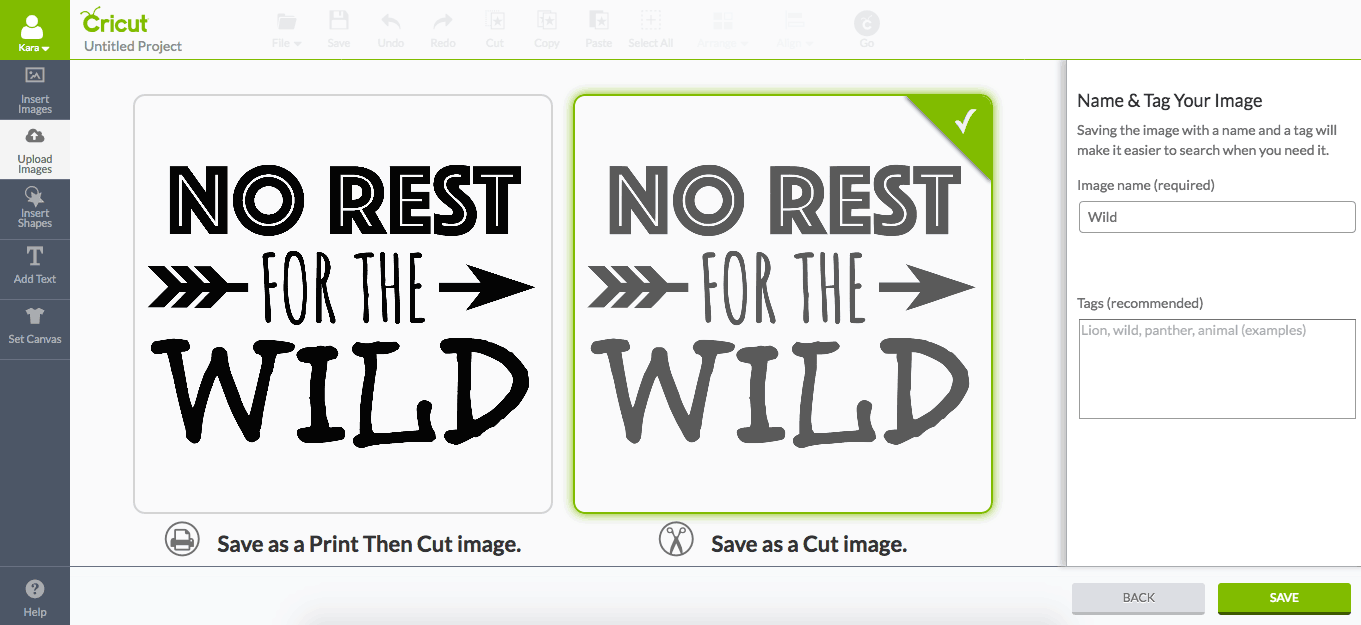
Step 3: Save as a Cut image. This is a very important step if you don’t want to print then cut the image.
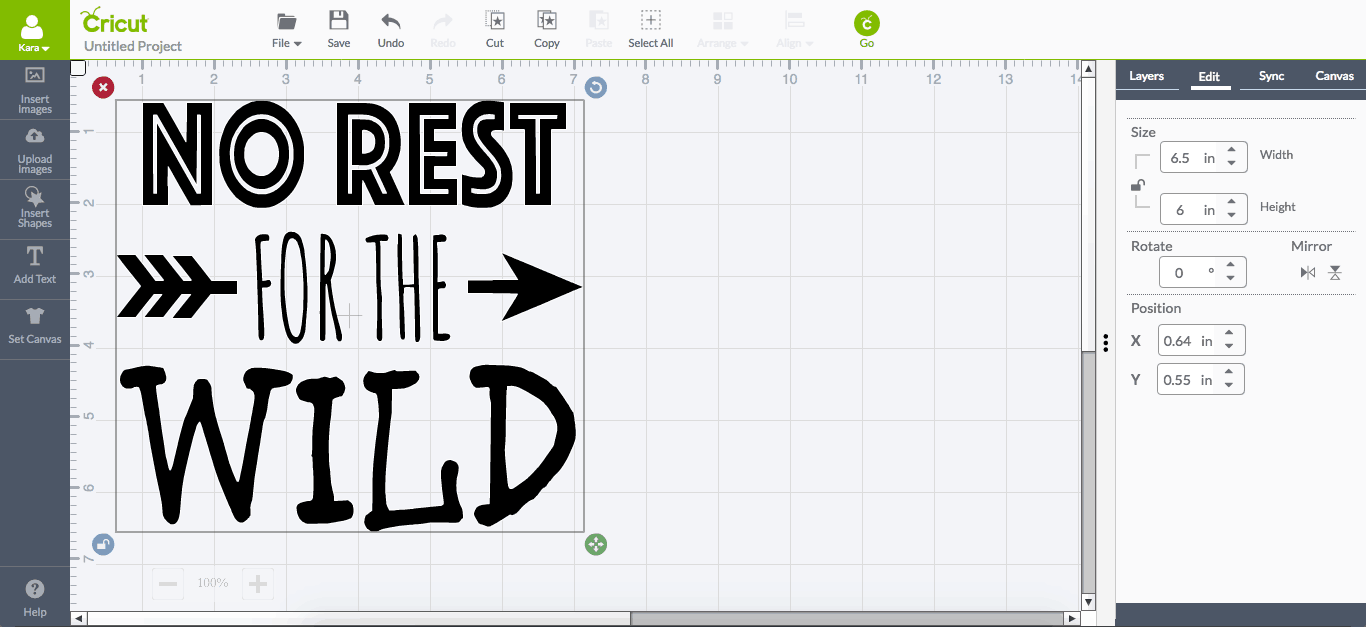
Step 4: Insert Image and resize. Since I was making a 2T t-shirt, I made my image 6 x 6.5.
That’s it! Now you’re ready to cut your images and iron them on. Well, I should say now your Cricut’s ready to cut your image.
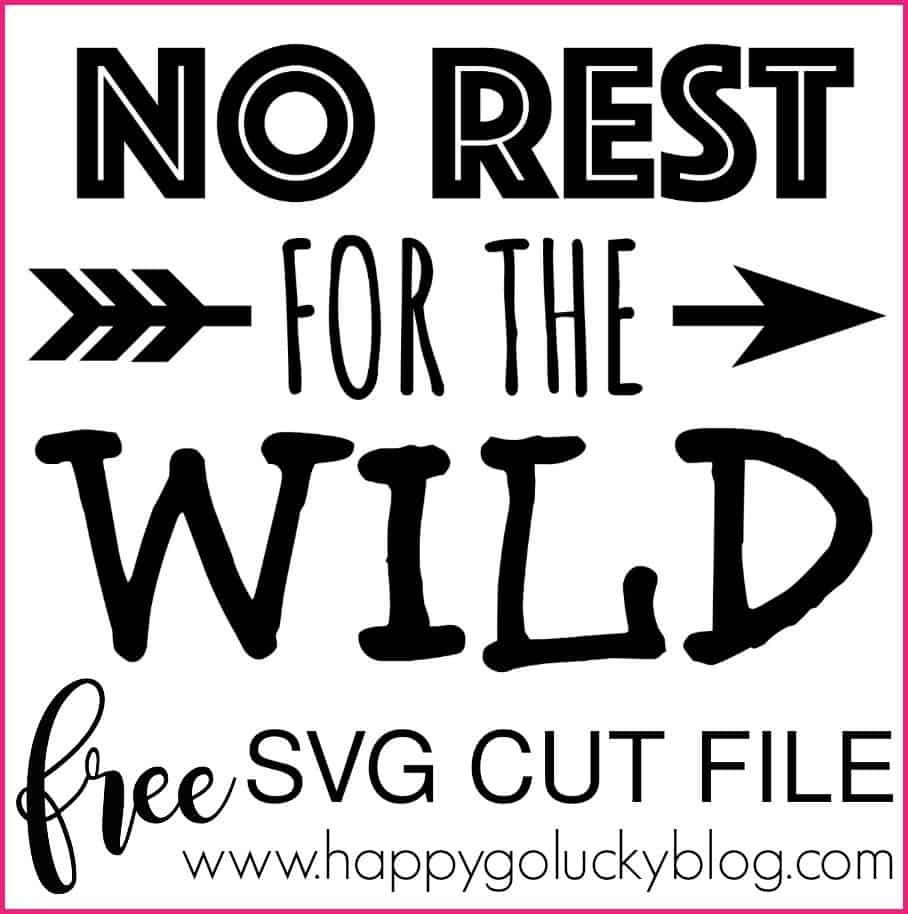
I even have a free SVG file and PNG file for you so you can make your own adorable t-shirt for the adorable wild child in your life.
Stay tuned for more fabulous Cricut projects and free SVG cut files.
This is a sponsored conversation written by me on behalf of Cricut. The opinions and text are all mine.

![]()
![]()
![]()
![]()
![]()
![]()
Terms of Use
All cut files included in this free SVG collection are for personal use only. Make as many personal projects as you wish using our digital items. Create shirts, home decor, mugs, DIY projects, etc. for yourself and as gifts as often as you like.
If you make and sell handcrafted items using digital files downloaded for free from Kara Creates, you will need to obtain a commercial use license. A commercial license allows you to create items for your small business with my designs for commercial purposes. Digital cut files and printables cannot be altered or modified and then resold as any other digital products. Digital reselling, sharing, redistributing of the files is NOT allowed. In order to share, use the direct URL to this page.
Hi! This is perfect for my little guy. Quick question, don’t you have to flip / reverse the image? In other tutorials I’ve read, I’ve read about flipping the image when it comes to shirts? I got a Cricut as an early Christmas present to replace my very old version that go wrecked over the summer when our basement flooded. Thanks!