This post and its photos may contain affiliate links. As an Amazon associate I earn from qualifying purchases. If you make a purchase through these links, I may receive a small commission at no extra cost to you.
Learn how to create a wavy text effect in Inkscape with this easy tutorial. Use these simple steps to turn words and phrases into a groovy wavy design for printables, SVG, and more!
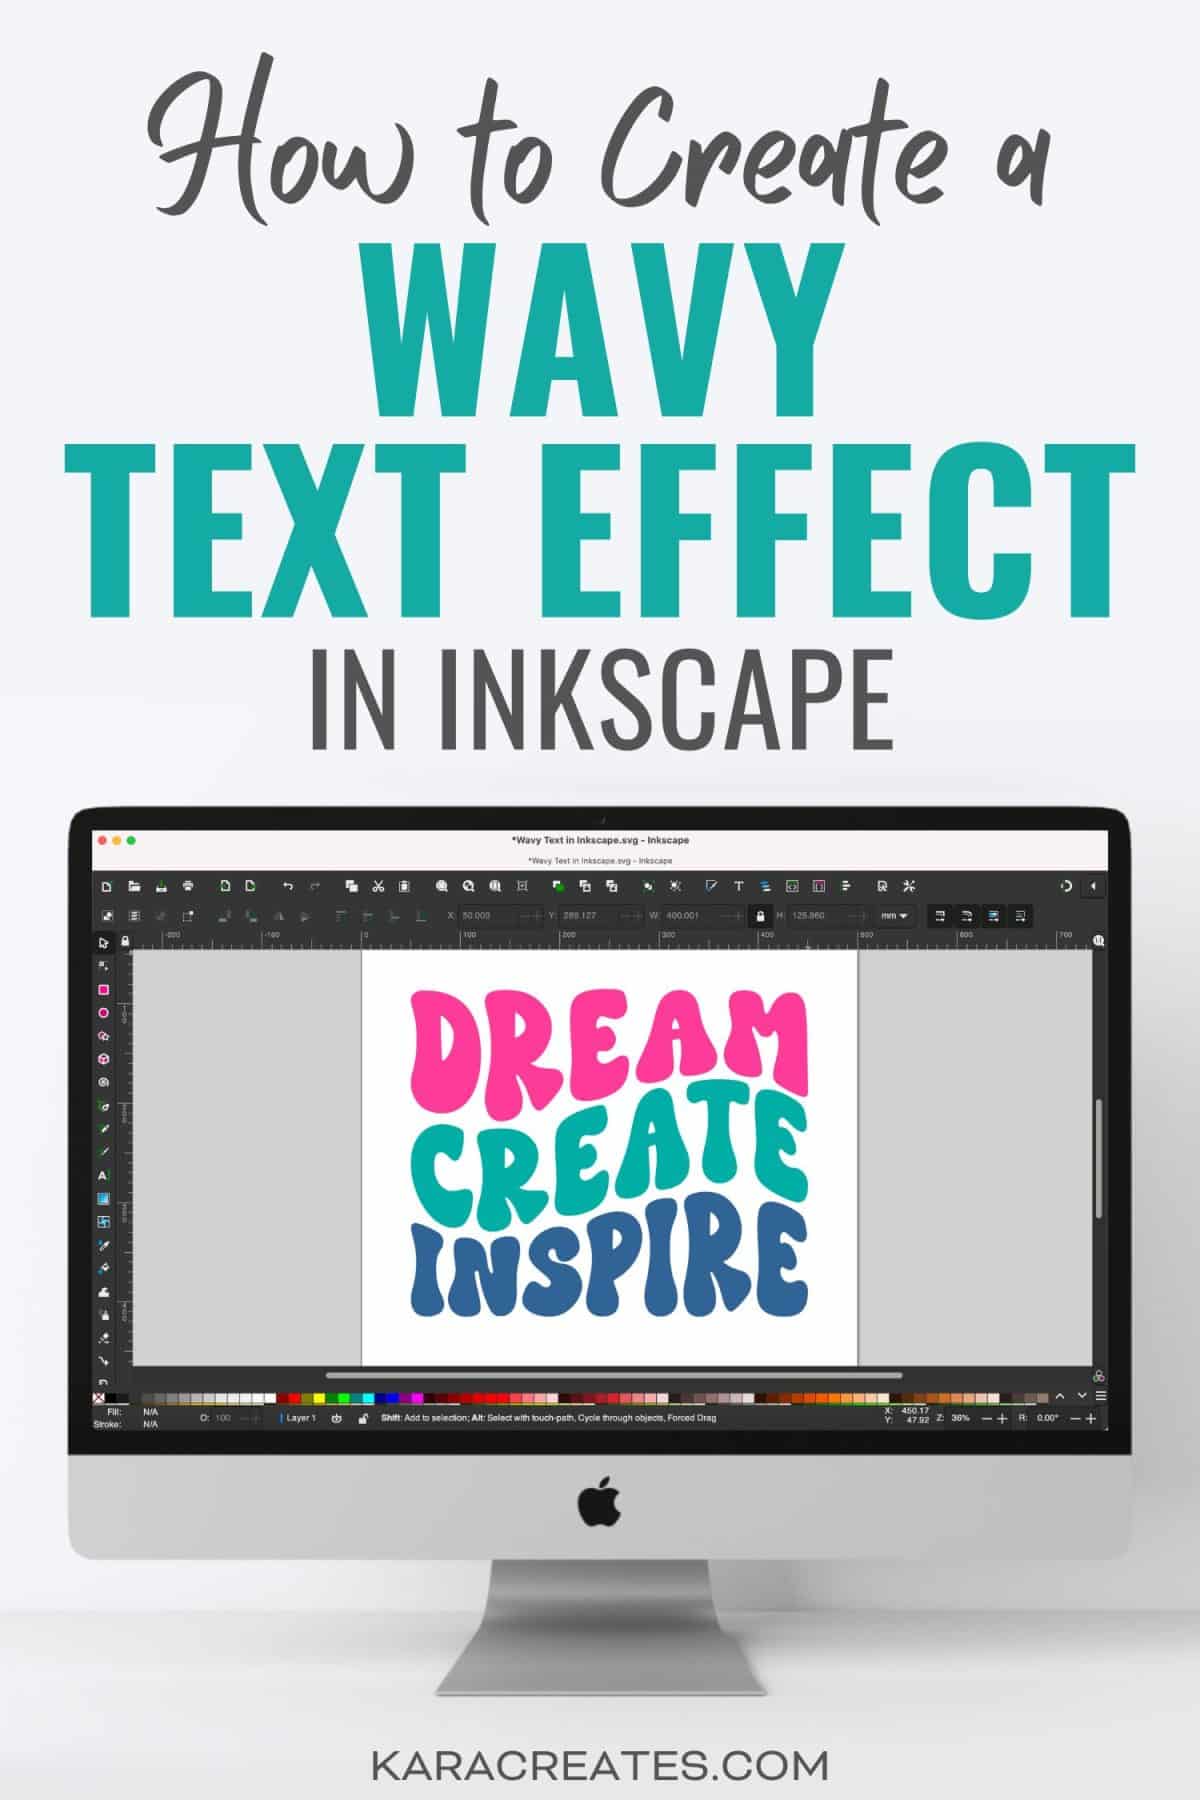
Let’s take our designs back in time with a fun and groovy wavy text effect! I’ve become a little obsessed with creating groovy SVG cut files and I’m excited to teach you how easy it is to create a wavy text effect in Inkscape.
I’ll just warn you now – after you see how easy it is to create a wavy text effect in Inkscape, you’re going to want to turn all your favorite quotes into a retro wave. Whether creating SVG cut files, stickers, or digital downloads, transforming your design into a groovy, retro wave is a fun effect that will quickly become your favorite new design technique. The wave effect in Inkscape is a fantastic tool for turning simple words and phrases into a unique design.
What is Inkscape?
Inkscape is an application used to create vector graphics. It’s used by illustrators and designers to create a wide variety of graphics including diagrams, logos, cartoons, clipart and so much more. I use Inkscape to create SVG cut files and simple clipart art designs. I’m not an Inkscape expert and that’s why I love it. It’s easy to use and it’s free. And, who doesn’t love free?
10 Retro Groovy Fonts
Before we create our wavy design, we need a fun groovy font. Your design won’t look retro without a bold, groovy font and I’ve rounded up 10 of my favorite retro and groovy fonts. They are all inexpensive and great for creating a fun wavy design in Inkscape.
- Good Days – this is the font I’m using in this tutorial.
- Joyful Soul
- Sunrise
- Limited Edition
- Groovy Display Font Bundle
- Groovy Retro
- Fruits Groovy
- Like Totally
- Retro Groovy
- Nellie
How to Create a Wavy Text in Inkscape
Step 1: Open Inkscape.
Open a new template in Inkscape. If you need to download Inkscape, you can download it HERE. Remember, Inkscape is free so you don’t need to buy any software.
Step 2: Resize Document
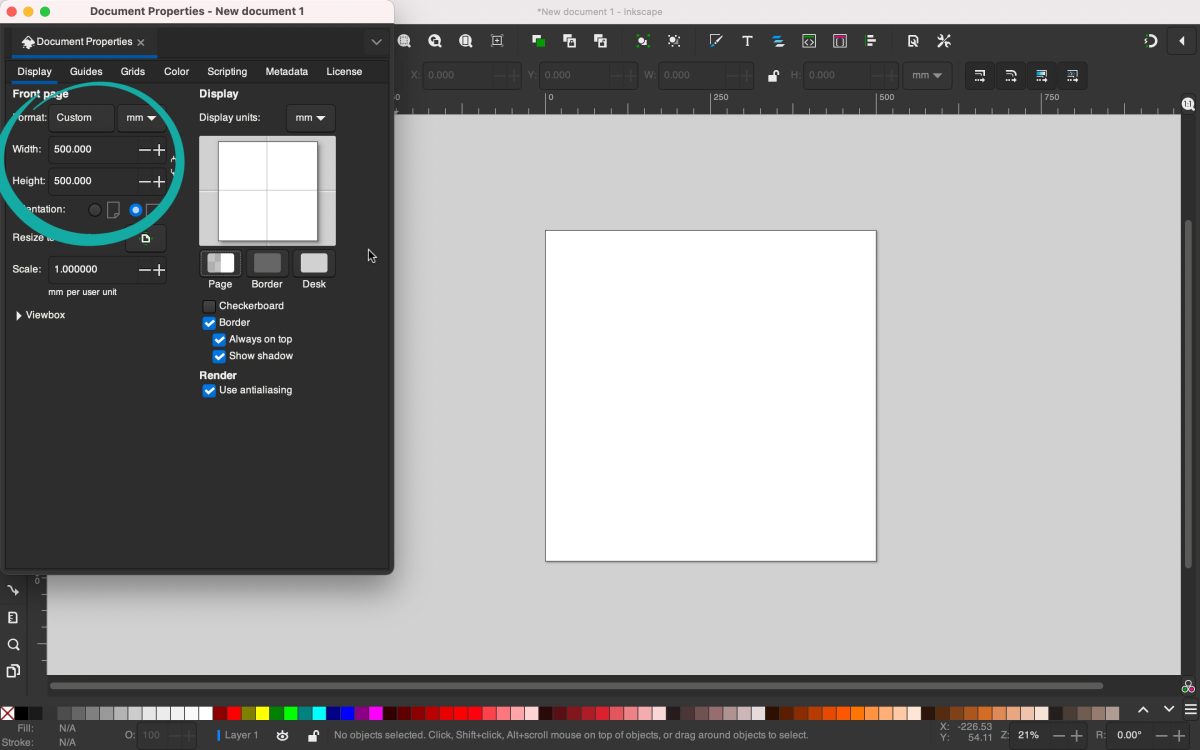
I like to work with a square template when designing SVGs and images in Inkscape. To resize the template, select File and click Document Properties. I always set my width and height to 500 x 500 mm but this can be customized to whatever dimensions you want.
Step 3: Add Text
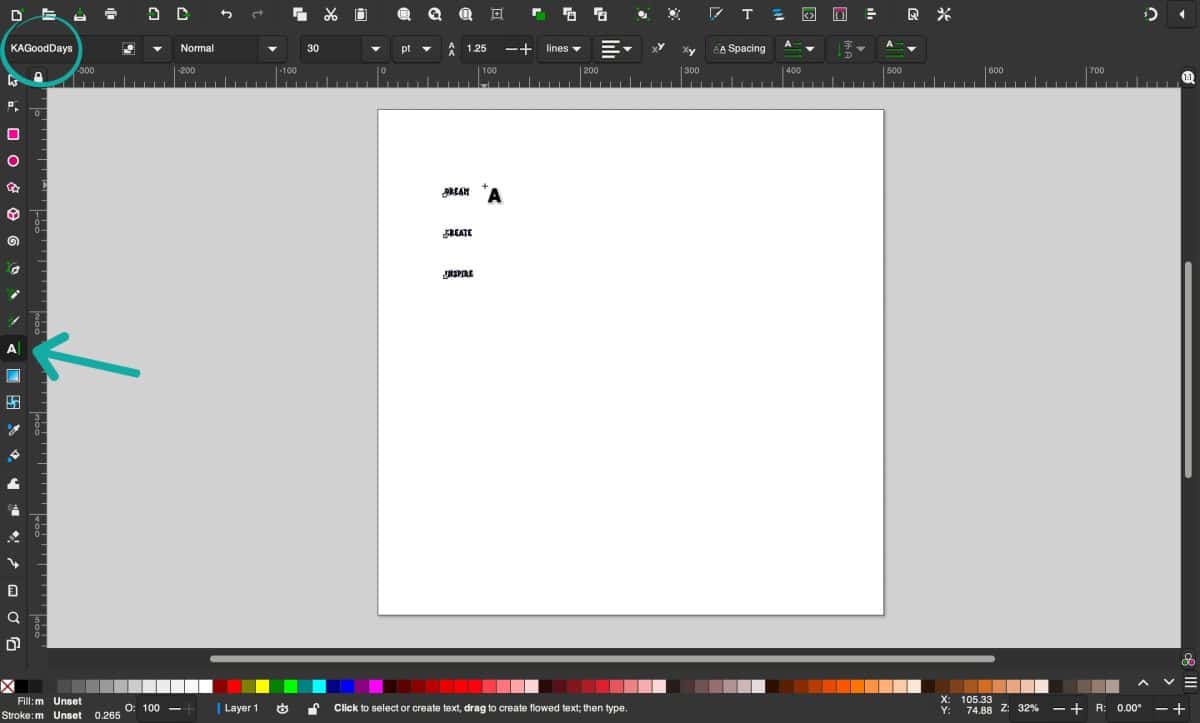
Select the text tool from the vertical toolbar on the right (the letter A). You can also select F8 if using a PC and T if using a Mac. Type your text and select the font you want to use. To select the font, click the small triangle next to the font drop down box. You can also click Text from the menu bar and select Text and Font to change the font, style and size.
Step 5: Resize Text
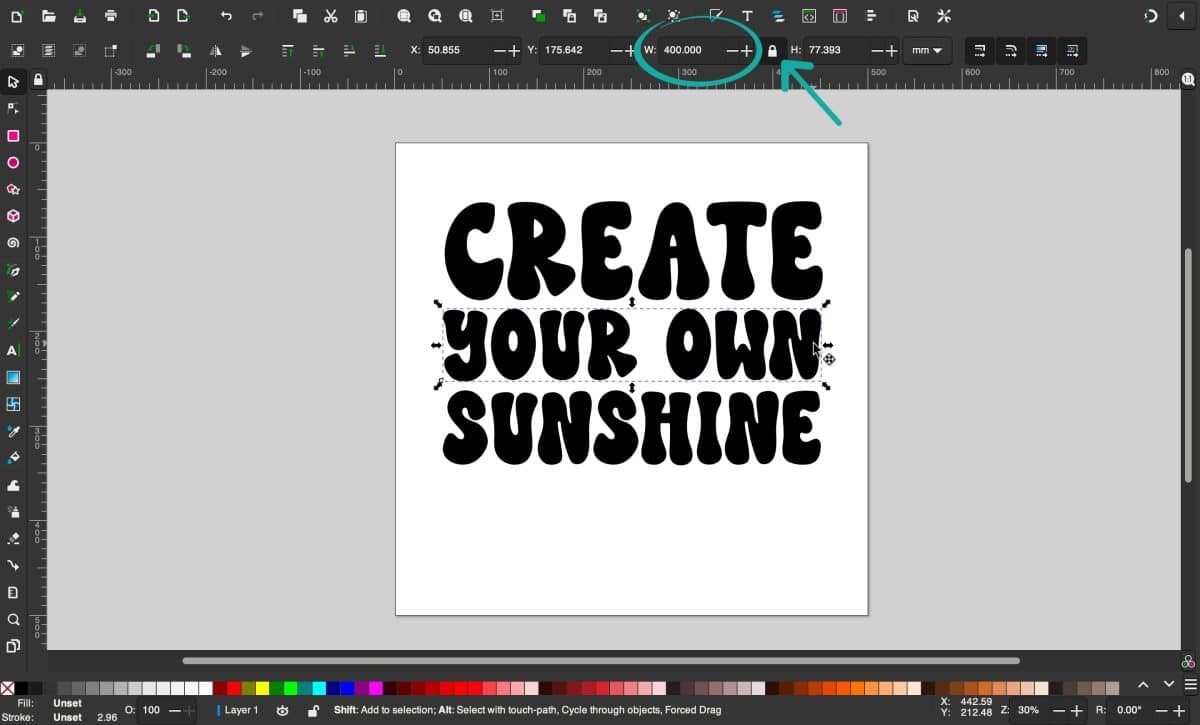
Click on the select tool (arrow) on the vertical toolbar. This first thing we want to do is lock the text. To do this, click the lock located on the Tool Controls Bar. Locking the text will allow us to resize the text while keeping the proportions the same.
Next, click on the text and resize each word to the same width. The easiest way to do this is type the number in the width box. The height will be different but we want the width to be the same. I resized each word to 400 mm.
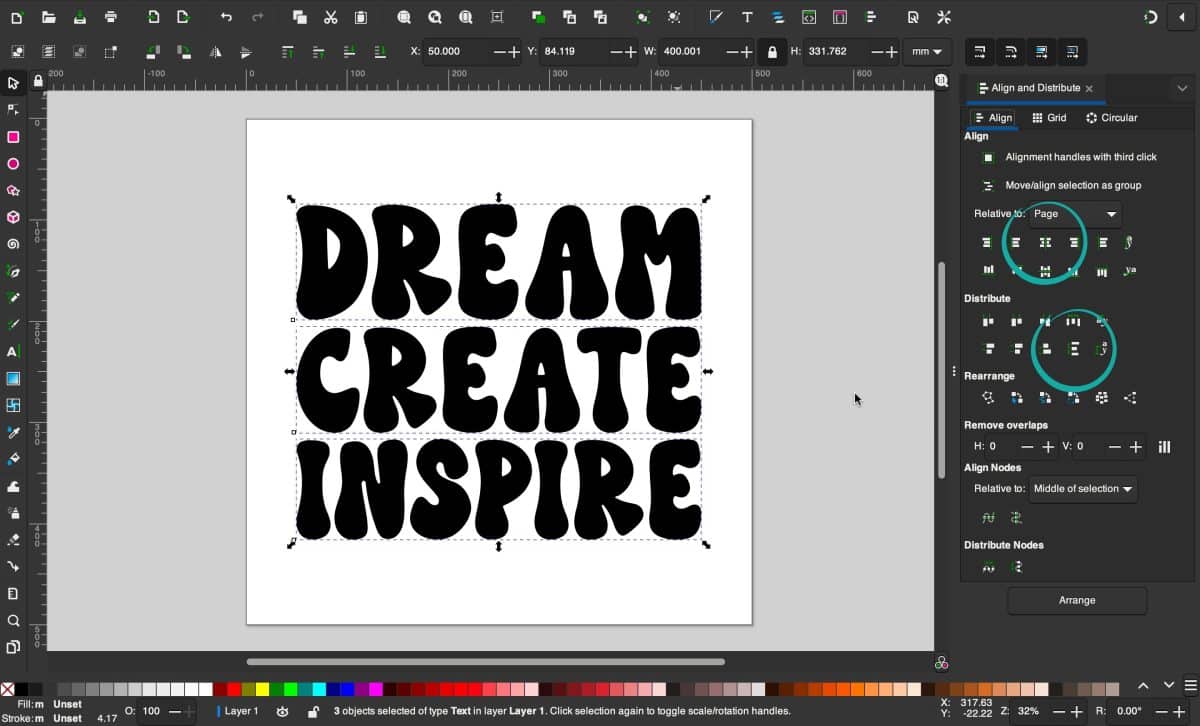
Step 6: Align and Distribute Text
First, select the selector tool. Select Edit then Select All. Next, click Object in the menu bar and select Align and Distribute. Make sure you have Page selected next to Relative to. Select Center on Vertical Axis to make everything centered on the template. Next, distribute the three rows of text evenly.
Step 7: Create a Wavy Text
Now we’re finally ready to create the wave. This takes a few steps.
- Select Path then Object to Path.
- Select Object then Ungroup.
- Select Path then Union.
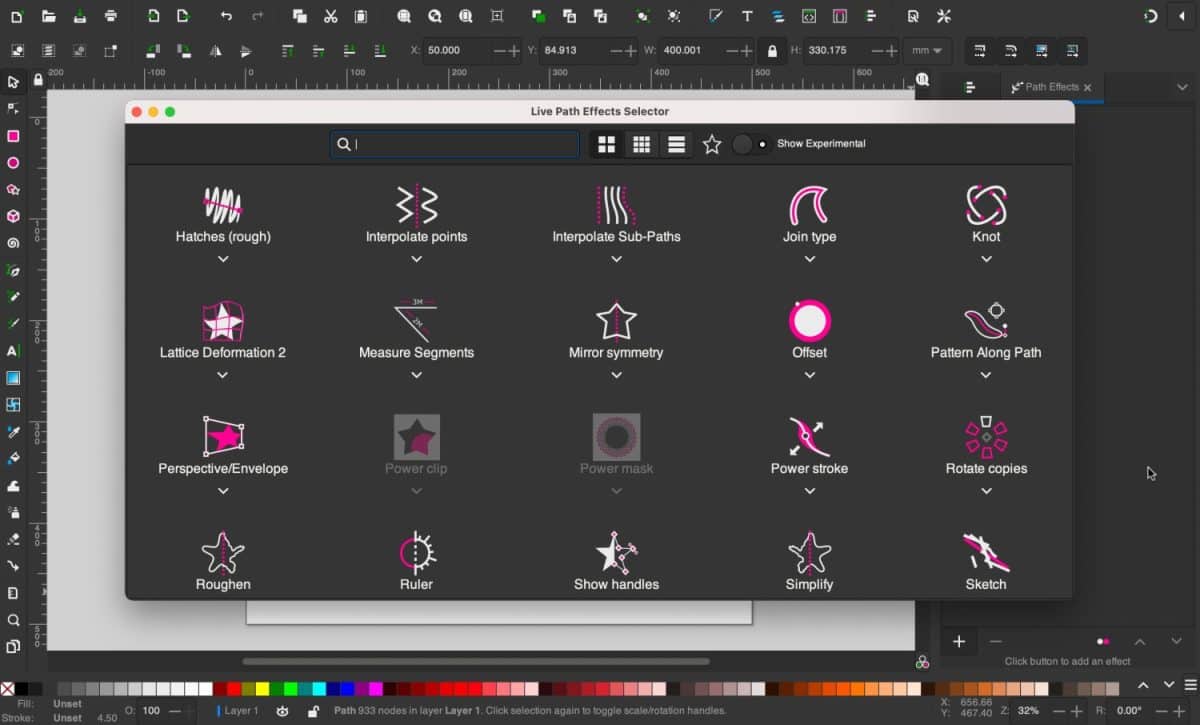
- Select Path then Path Effects.
- Click on the + in the lower right corner of the screen.
- Select Lattice Deformation 2.
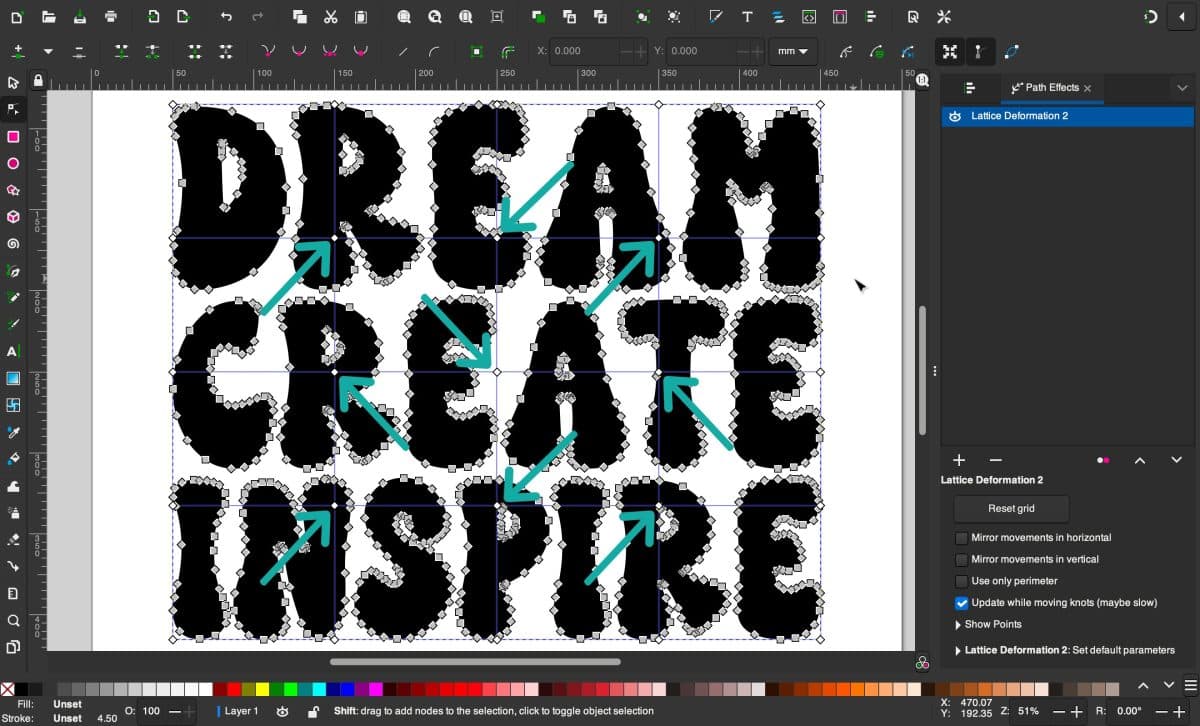
- Click on the Node Tool on the vertical toolbar. Then click on your design. You should now see all the nodes in your design.
- Zoom in and you will see control points on the grid over the text (Make sure you don’t click on a node by mistake).
- Click on each point and drag it up or down to create a wavy text. Move the control points around until you are happy with how your wavy text looks.
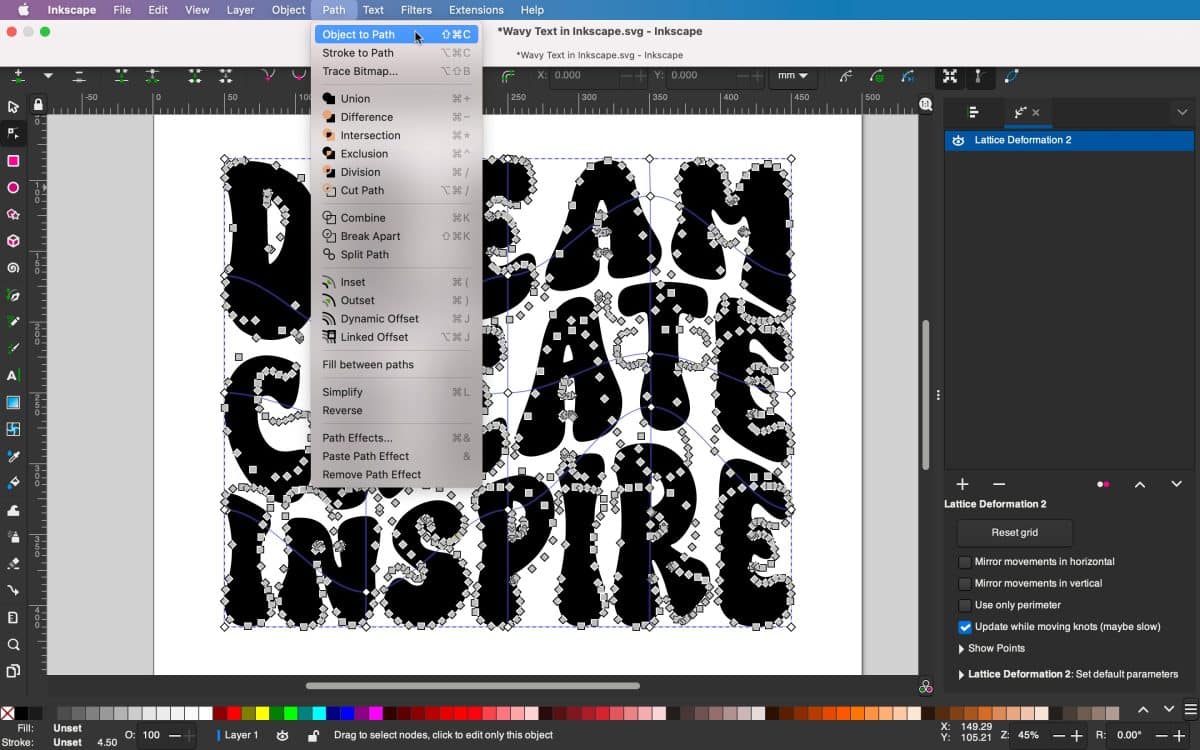
- Once your text looks the way you want it to look, select Path then Object to Path.
- If you only want your wavy design to be one color, select the color you want the design to be and save you design.
- To save, select File and Save As. Type in the name of your file and select your file type at the bottom of the screen. Here you’ll want to save your design as an Optimized SVG. Select Optimized SVG and click Save.
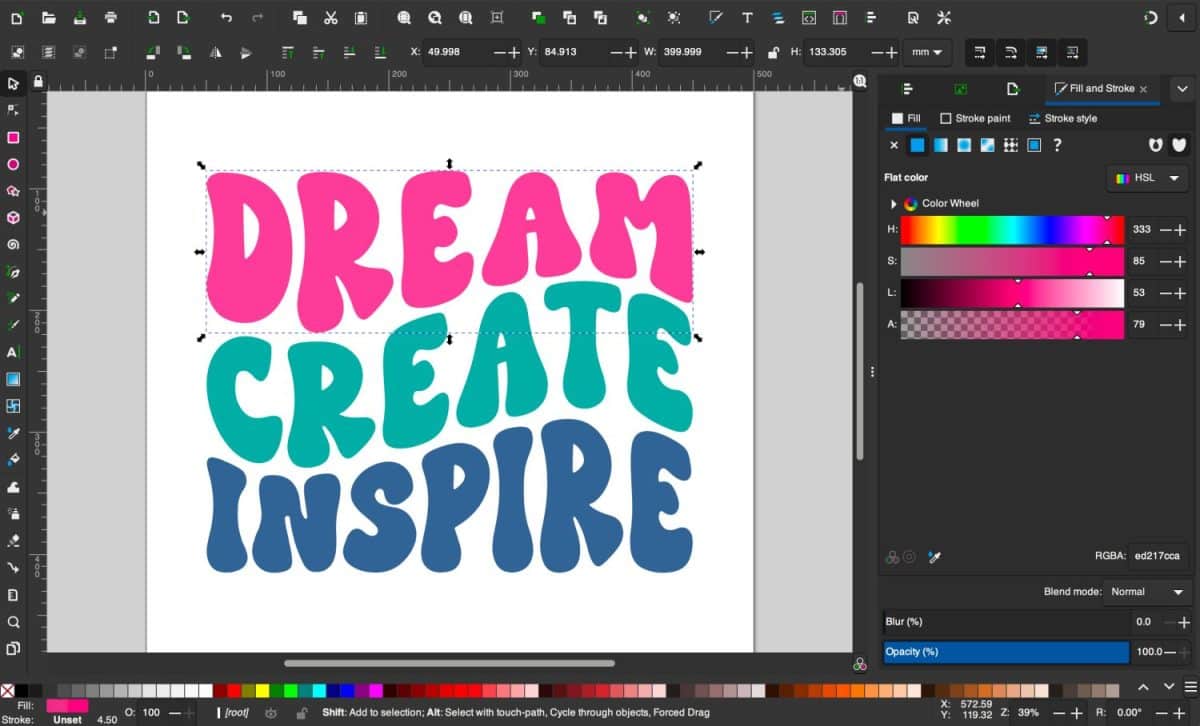
Step 8: Change Color of Text
- To change the color of every letter or every word, select Path, Object to Path, then, Break Apart.
- Use the select tool to select each row of letters that you want to group. If you need to select an additional letter that isn’t selected, hold down the shift key and click on the letter that you want to include in each group.
- Select Path then Combine – Make sure you have selected the center of the letters that have an opening like A, B, D, P, R when selecting the letter or letters you want to combine before selecting combine.
- Select each word and select a color from the color palette or select Object then Fill and Stroke to change it to a custom color.
Step 9: Save Image
To save your design as an SVG, select File then Save As. Select Optimized SVG then Save. Your design can also be saved as a PNG. To do this select File then Export. Choose the folder icon to browse export directory. Choose where you want to save your image, type the name of your file, and select Save.


How to Create a Wavy Text Effect in Inkscape
Materials
- Computer
- Inkscape
Instructions
- Open a new template in Inkscape.
- Resize template (optional) – To resize the template, select File and click Document Properties. I always set my width and height to 500 x 500 mm but this can be customized to whatever dimensions you want.
- Add text – Select the text tool from the vertical toolbar on the right (the letter A). You can also select F8 if using a PC and T if using a Mac. Type your text and select the font you want to use. To select the font, click the small triangle next to the font drop down box. You can also click Text from the menu bar and select Text and Font to change the font, style and size.
- Resize Text – Click on the select tool (arrow) on the vertical toolbar. This first thing we want to do is lock the text. To do this, click the lock located on the Tool Controls Bar. Locking the text will allow us to resize the text while keeping the proportions the same. Next, click on the text and resize each word to the same width. The easiest way to do this is type the number in the width box. The height will be different but we want the width to be the same. I resized each word to 400 mm.
- Align and Distribute Text – First, select the selector tool. Select Edit then Select All. Next, click Object in the menu bar and select Align and Distribute. Make sure you have Page selected next to Relative to. Select Center on Vertical Axis to make everything centered on the template. Next, distribute the three rows of text evenly.
- Create a Wavy Text – Select the selector tool. Select Edit then Select All. Select Path then Object to Path. Select Object then Ungroup. Select Path then Union. Select Path then Path Effects. Click on the + in the lower right corner of the screen. Select Lattice Deformation 2.
- Move Control Points – Click on the Node Tool on the vertical toolbar. Then click on your design. You should now see all the nodes in your design.Zoom in and you will see control points on the grid over the text (Make sure you don’t click on a node by mistake). Click on each point and drag it up or down to create a wavy text. Move the control points around until you are happy with how your wavy text looks. Once your text looks the way you want it to look, select Path then Object to Path.
- Change Color of Text – To change the color of every letter or every word, select Path, Object to Path, then, Break Apart.Use the select tool to select each row of letters that you want to group. If you need to select an additional letter that isn’t selected, hold down the shift key and click on the letter that you want to include in each group. Select each word and select a color from the color palette or select Object then Fill and Stroke to change it to a custom color.
- Save Image – To save your design as an SVG, select File then Save As. Select Optimized SVG then Save. Your design can also be saved as a PNG. To do this select File then Export. Choose the folder icon to browse export directory. Choose where you want to save your image, type the name of your file, and select Save.
Tips for Creating A Wavy Text Image
I recommend choosing words that are similar in length. This will definitely make your design look better. They don’t need to be exactly even but similar in length. If you want to use a phrase make sure it can be grouped in 2 or more even layers.
Play around with moving the control points around. You can alway undo the effect if you don’t like it.
Be creative and have fun! Creating wavy images in Inkscape is addicting. Have fun with it and create lots of unique designs using this easy Inkscape tutorial.
This is a great step-by-step tutorial. I had never used Inkscape before this tutorial but managed to make an .svg pretty darn close to what I needed! My only problem was making each letter an individual color. When on Step 8 I did the “Break Apart” step, all the openings in my letters (like A, D, O) disappeared. I can’t figure out how to not make that happen. I imported a font from Da Font. Thank you for sharing this!!
Excellent work.
This is so, so helpful! I really struggled trying to change colors of each letter, I had better luck using Path > Split Path instead of using Break Apart – those darn openings would always disappear no matter what I did! Thank you so much for this tutorial! Bookmarked for sure! 🙂
Which version of Inkscape are you using because I don’t have lattice deformation 2?