This post and its photos may contain affiliate links. As an Amazon associate I earn from qualifying purchases. If you make a purchase through these links, I may receive a small commission at no extra cost to you.
Get ready to shop ’til you drop with this fun Black Friday SVG bundle. Decorate t-shirts, totes, water bottles, and more with this fun collection of free SVG files.
When I think of Thanksgiving I think of three things – turkey, pumpkin pie, and Black Friday shopping. I used to go Black Friday shopping with my mom and aunt every year but we haven’t done it in a few years. I do most of my holiday shopping online now but when we did go Black Friday shopping (and before I had my Cricut) we always talked about having t-shirts made for our shopping adventure.

Black Friday SVG Bundle
So, I’ve come to the conclusion that every Black Friday shopping crew needs have matching t-shirts. And, I’m making it easy for you to create your own t-shirts with this fun collection of Black Friday cut files that you can download for free.
I designed this Black Friday cut file bundle for all the Black Friday besties who venture out every year to shop together. I know a lot of people who have turned Black Friday shopping into a fun tradition which means one thing – matching t-shirts are a requirement!
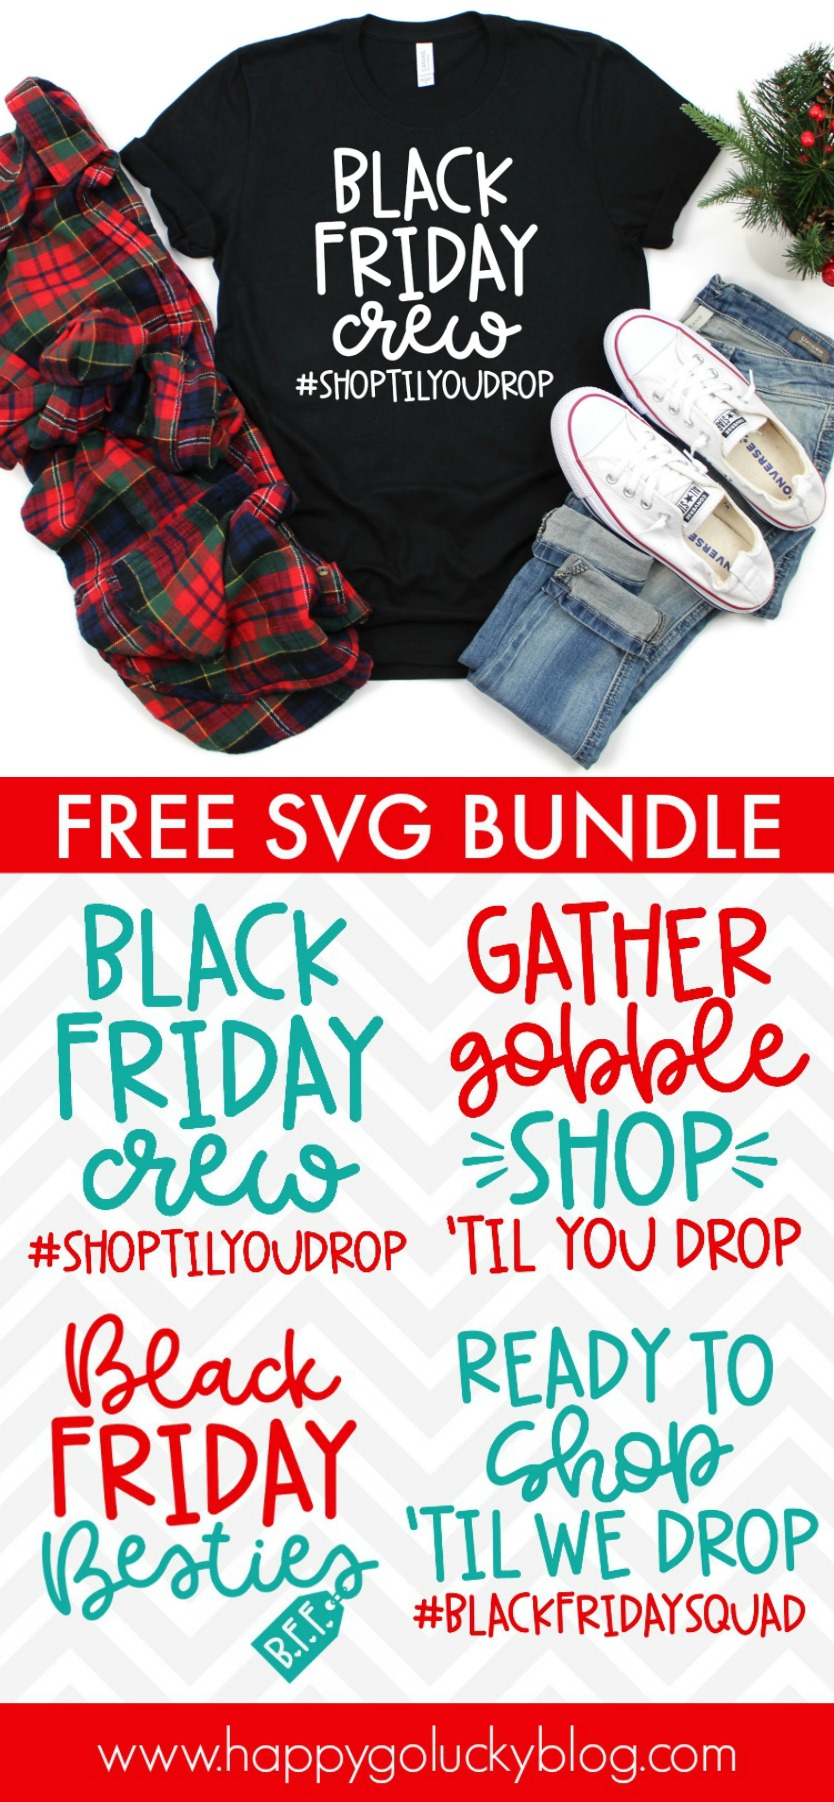
This fun Black Friday SVG bundle includes four cut files:
- Black Friday Crew
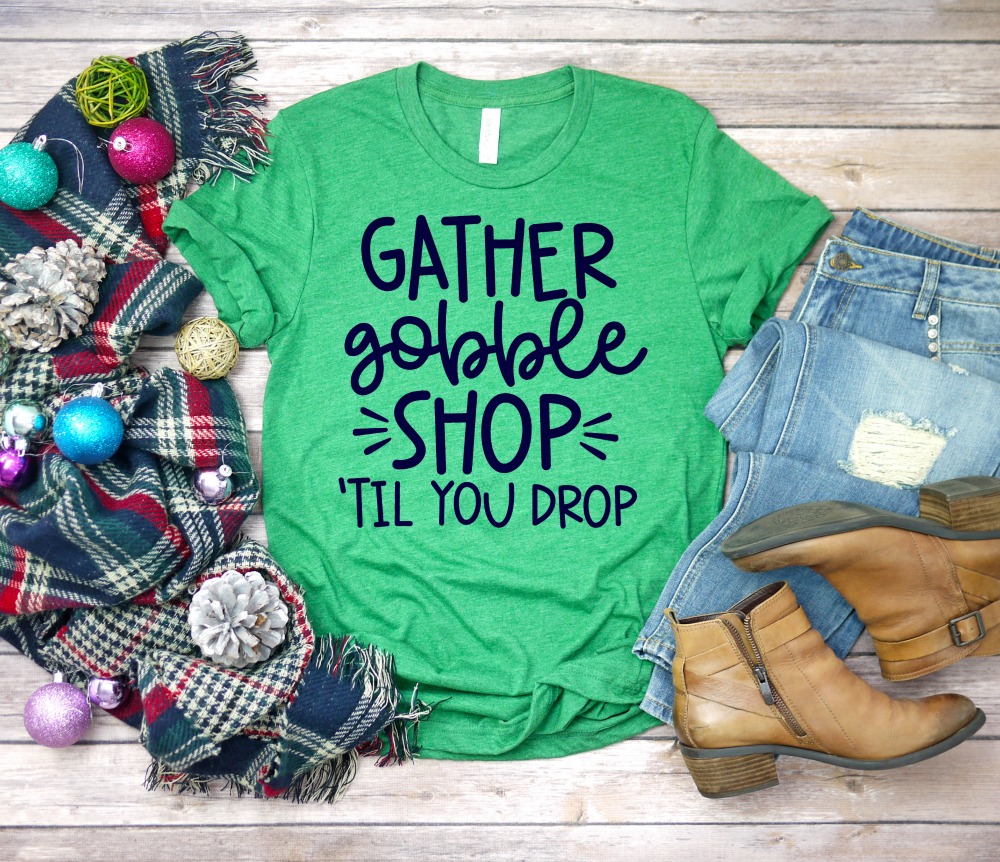
- Gather, Gobble, Shop ‘Til You Drop
- Black Friday Besties
- Ready to Shop ‘Til We Drop

I also have this fun SVG cut file that’s perfect for Black Friday shopping. Head HERE to download this free cut file.

How to Apply Iron-on Vinyl
- Place Iron-on sheet, liner side down, onto Cricut StandardGrip cutting mat.
- Select and size the design that are cutting. Be sure to mirror all images prior to cutting so they appear backward. Load mat into the machine and cut image.
- Use the Cricut weeding tool, safety pin or tweezers to remove vinyl from around the image, leaving only the desired cut image on the carrier sheet.
- Once the image is cut and ready to be applied, it’s important to pre-heat, heat, and post-heat your images for the recommended amount of time. This will vary depending on the brand on HTV and your base material.
- If using an EasyPress, refer to this Application Guide for time and temperature. If using an iron, use the cotton setting and make sure the steam setting is OFF.
- Place image onto base material so that the carrier sheet is covering the vinyl design and press into place.
TIPS FOR USING HTV
- Make sure to adjust your machine settings to Iron-on. Your machine should not cut completely through the carrier sheet. You want the mage cut through the vinyl but not the sheet it’s on.
- Make sure you mirror your image. Don’t worry – I still forget sometimes too.
- Check to see if the Iron-on vinyl that you are using is warm peel or cool peel. This is very important when using Heat Transfer Vinyl.
- If you see that the HTV isn’t set completely, just place the liner back over the image and apply more heat.
- Wait 24 hours to wash any fabric that you’ve applied iron-on to. To wash, turn garment inside out and if you need to iron the base material, make sure it is inside out or flipped over. Do not iron over vinyl that has been applied to fabric.
Terms of Use
All cut files included in this free SVG collection are for personal use only. Make as many personal projects as you wish using our digital items. Create shirts, home decor, mugs, DIY projects, etc. for yourself and as gifts as often as you like.
If you make and sell handcrafted items using digital files downloaded for free from Kara Creates, you will need to obtain a commercial use license. A commercial license allows you to create items for your small business with my designs for commercial purposes. Digital cut files and printables cannot be altered or modified and then resold as any other digital products. Digital reselling, sharing, redistributing of the files is NOT allowed. In order to share, use the direct URL to this page.
Thank you for sharing these designs.