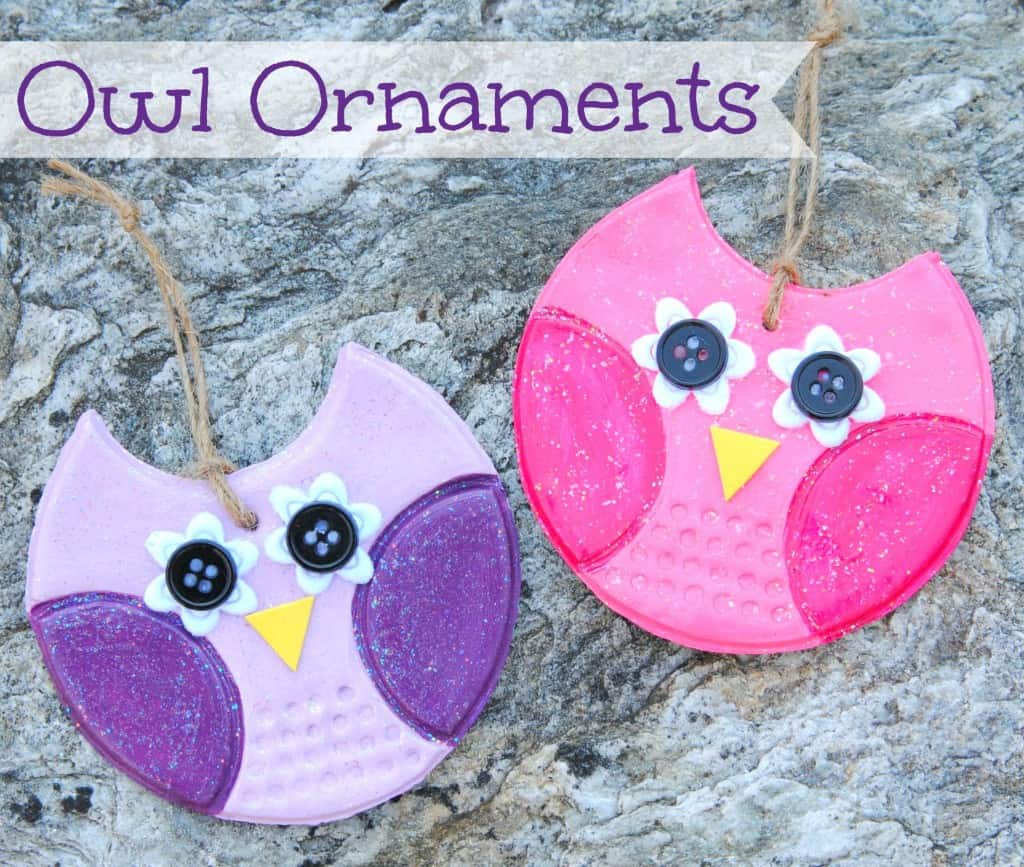
Owl Ornaments Using Clay and Buttons
This post and its photos may contain affiliate links. As an Amazon associate I earn from qualifying purchases. If you make a purchase through these links, I may receive a small commission at no extra cost to you.
Today I’m sharing cute owl ornaments I made for my nieces. These ornaments were so much fun to make and were inspired by the supper talented Jill from Homemade by Jill.
Materials needed:
- Sculpey clay
- Felt buttons and black buttons for the eyes
- Glitter Mod Podge
- Yellow Foam sheets for the nose
- jute rope
- large drinking glass and small glass. I used a shot glass because that was the smallest glass I had:)
- large skewer for chest and making the hole at the top for the rope
- glue gun and glue sticks
Step 1: Roll out the clay and use the large glass to create the owl’s body.
Step 2: Use the smaller glass to cut out a small piece at the top. Then gently press in the small glass on each side to create the wings.
Step 3: Use the skewer to create dots on the chest. Then press the skewer all the way through at the top so you can hang the ornament on the tree.
Step 4: Paint the owl. I used two different colors for each owl. Then I painted a layer of the glitter mod podge over the entire owl.
Step 5: Once the that was dry, I glued the eyes on and cut a small triangle from the foam sheet for the nose
Step 6: Thread the jute rope through the hole and you are ready to hang your ornament on your tree.
Such a cute and fun ornament. Now Connor wants to make a blue owl for our tree so we will be making more this weekend.
Happy holidays!


I love your owl and the cute details…the button eyes, the sparkle, and the colors! Love!
I. love. these!!!!! They are so incredibly adorable! Pinning now!
Such a sweet little hootie!
I love owls! Great ornament!