This post and its photos may contain affiliate links. As an Amazon associate I earn from qualifying purchases. If you make a purchase through these links, I may receive a small commission at no extra cost to you.
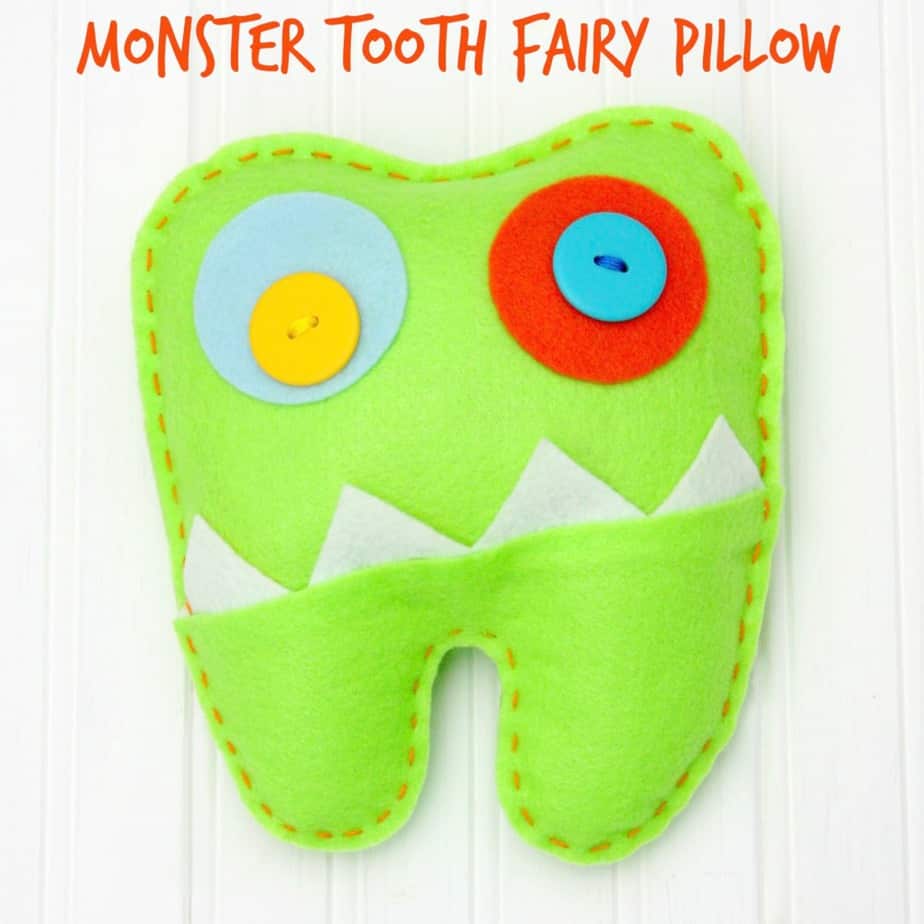
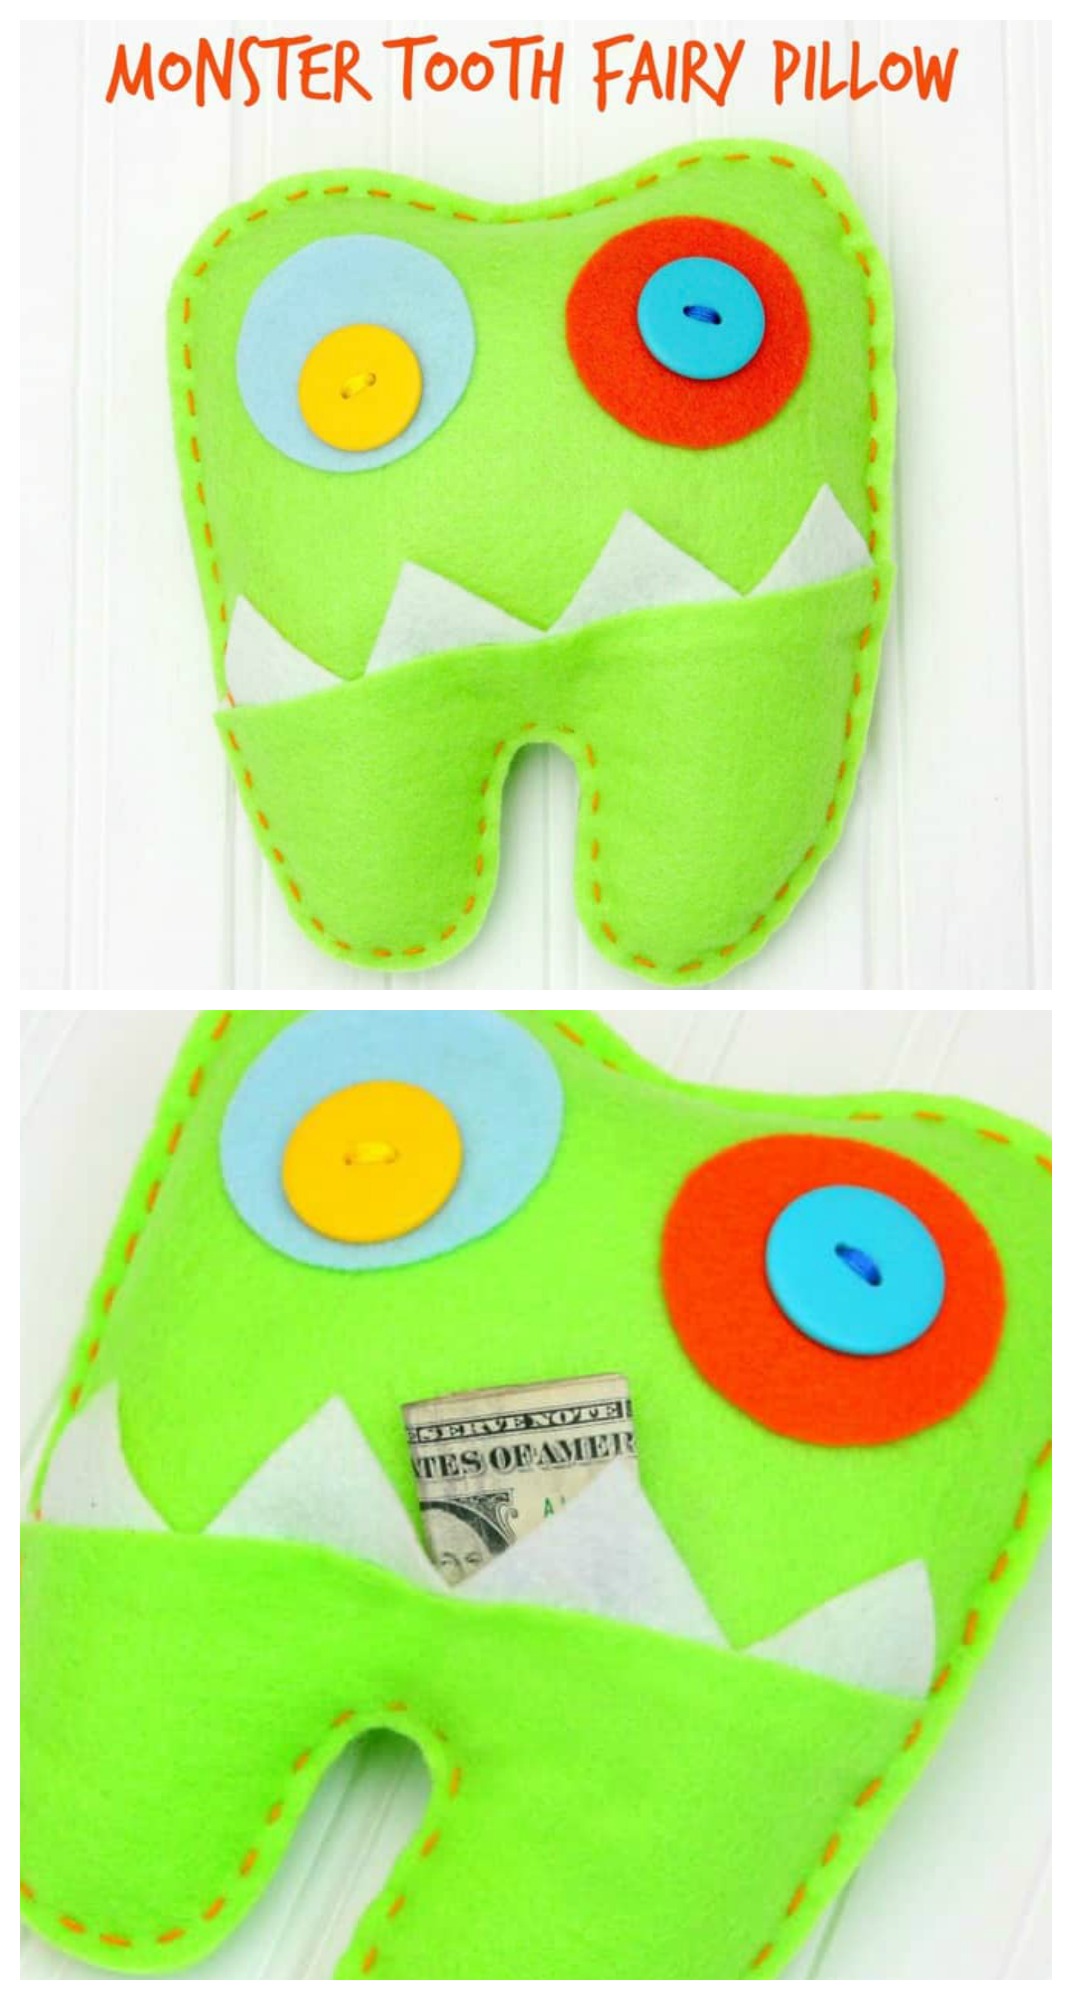
Today I’m sharing the Monster Tooth Fairy Pillow I made for Connor.
He lost his first tooth a few weeks ago and you’d think I would have made him one as soon as he told me to feel his loose tooth. But nope, not me. I waited until the day his tooth fell out.
Luckily it didn’t take long to whip up and I’m now officially the coolest mom in the world!
I used inexpensive felt and a few buttons so this project is cheap and easy. I even created a free printable pattern to make this project even easier for you.
Materials needed:
- 3 pieces of green felt
- 1 piece of orange felt
- 1 piece of light blue felt
- 1 piece of white felt
- 2 large buttons
- embroidery thread
- needle
- liquid stitch
- polyester fiberfill
Step 1: Download the pattern HERE.
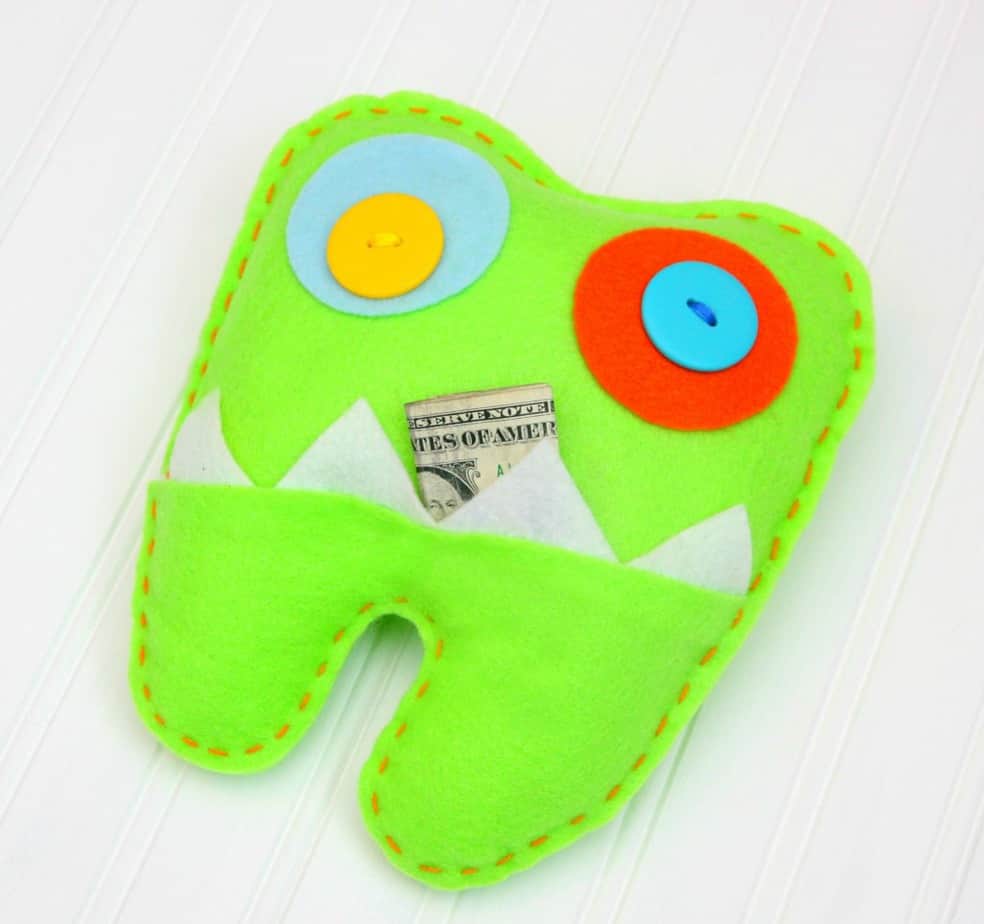
Step 2: Trace the pattern on the felt and cut out the two sides of the pillow. Then cut out the bottom half of the tooth for the the pocket.
Step 3: Cut out the two circles for the eyes and the teeth.
Step 4: Glue the teeth to the back of the pocket and glue the circles on to the front of the pillow.
Step 5: Sew the buttons to the front of the circles for the eyes.
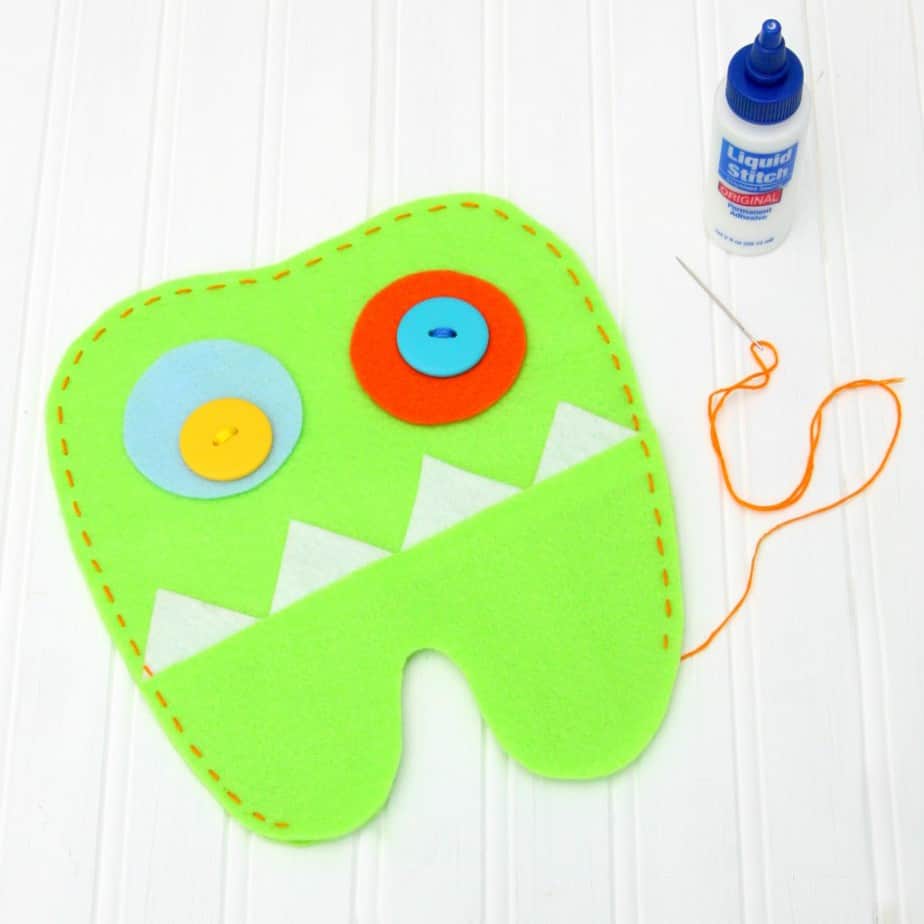
Step 6: Lay all the three pieces together so the pocket is on top. Stitch around the entire pillow (make sure you leave a small section open) using the embroidery thread and needle.
Step 7: Stuff your pillow with the fiberfill and finish sewing.
And your Monster Tooth Fairy Pillow is complete. Isn’t it the cutest thing ever?!
Now I think I need to make a a few more for my nephew and nieces. A pink and purple one would be adorable.

Adorable! Do you have one for girls as well?
Love it! I was wondering whether you had one for girls also.
I adore it! I wanted to know if you also had one for girls.
Fast, fun and totally addictive! Once you start playing ragdoll playground it’s hard to stop. Join in and enjoy the endless action who’s ready for the ultimate run?
Henry Stickmin is a stickman character who specializes in daring robberies and escapes, with quirky storylines that are hilarious regardless of the outcome. Henry Stickmin is a collection of chaotic adventure games that have captured the hearts of gamers around the world.
I love the creativity behind the monster tooth fairy pillow! It adds a fun twist to losing teeth. Have you considered incorporating different characters for various milestones? How do you envision expanding this theme?
Thanks!