This post and its photos may contain affiliate links. As an Amazon associate I earn from qualifying purchases. If you make a purchase through these links, I may receive a small commission at no extra cost to you.
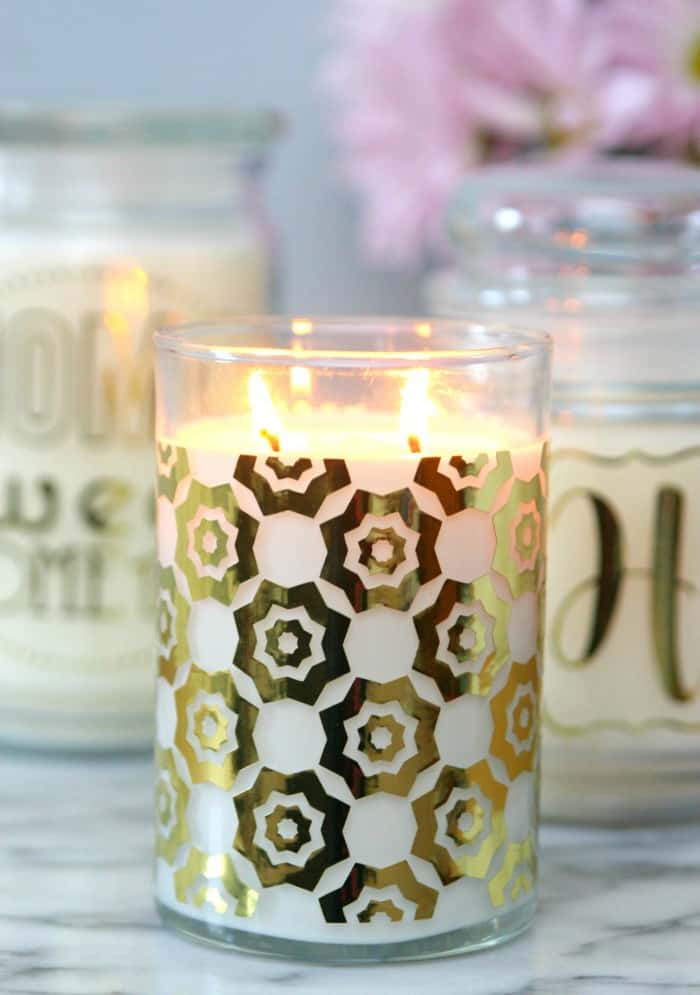
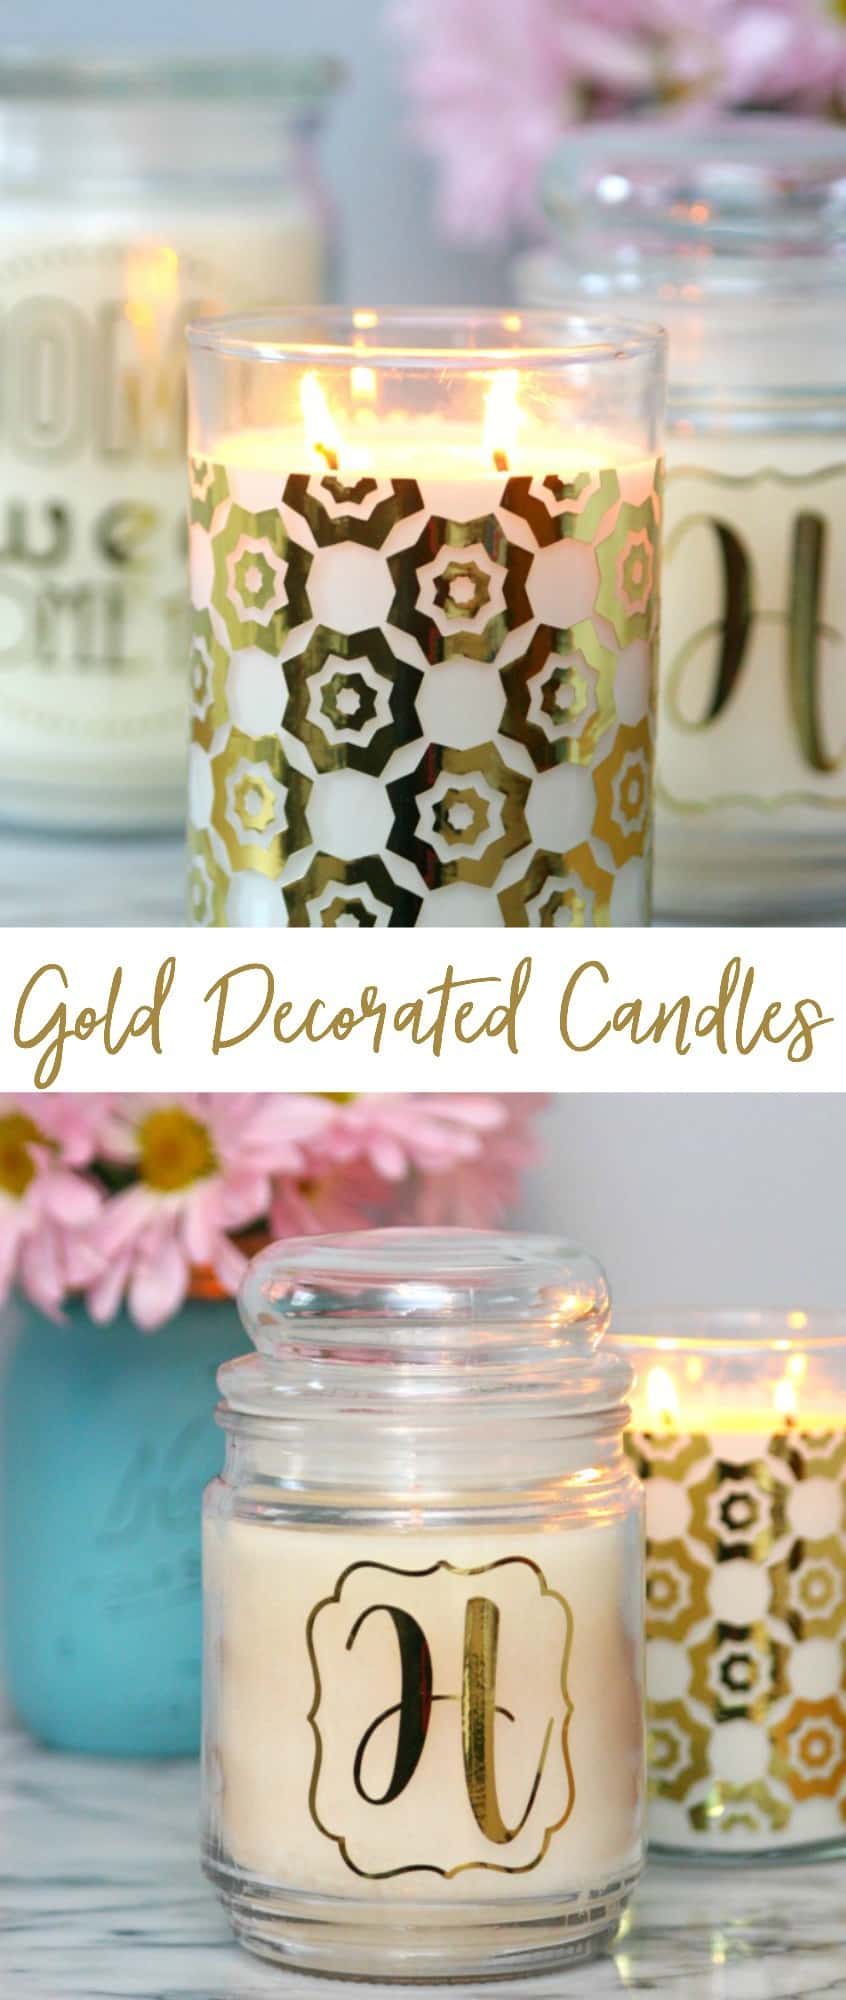
Personalize and Decorate candles with gold foil vinyl and your Cricut. It’s the perfect way to add a little glitz and glam to your favorite candles.
This post and the photos within it may contain Amazon or other affiliate links. If you purchase something through the link, I may receive a small commission at no extra charge to you.
I’m having so much fun with my new Cricut Explore Air 2.
It’s AWESOME!!
I just want to personalize everything and make gifts for everyone I know. I hope my friends and family are prepared to receive lots of monogrammed gifts from me.
Today’s Cricut project is so easy and turns a boring candle into something glamorous. I love stocking up on candles and giving them to people as gifts. They’re perfect for all occasions – birthdays, house warming gifts, get well gifts, and so much more. Well, why not add a little glitz and glam to your favorite candle. The Cricut Explore Air 2 makes it so easy that you’ll never give anyone a plain candle again.
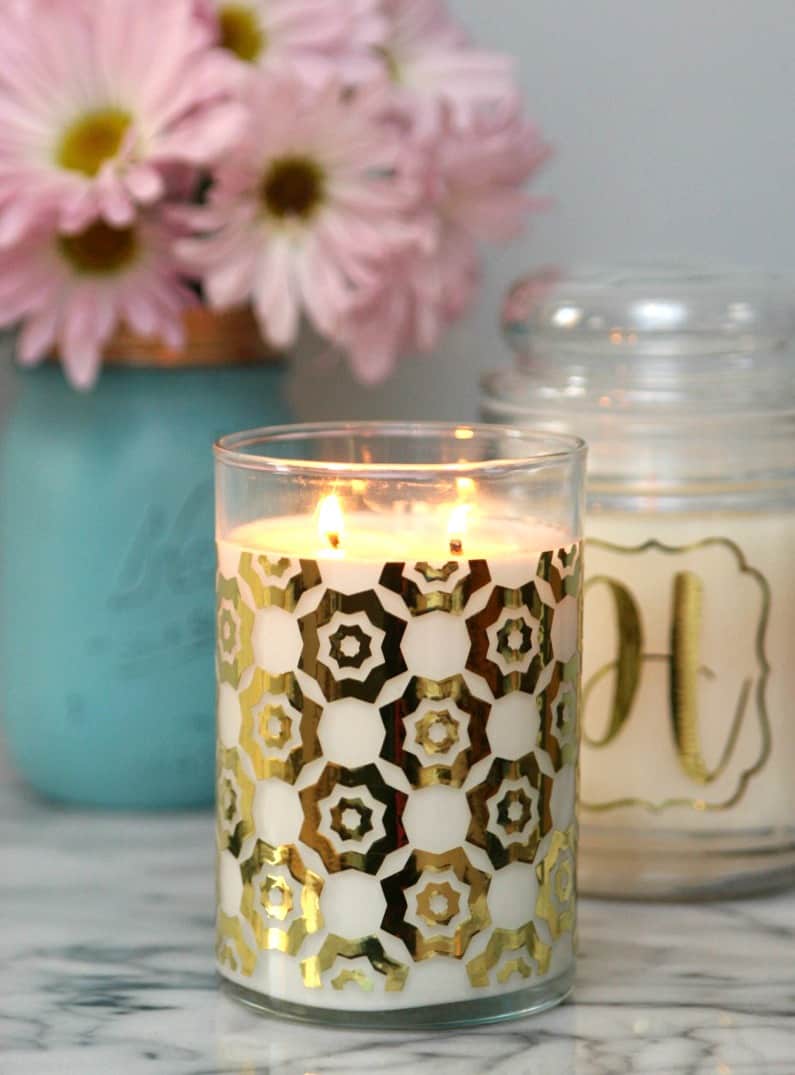
I decorated three candles today in less than an hour thanks to my Cricut Explore Air 2. One I’m keeping for myself because I had to test things and the other two are gifts.
Materials needed to Decorate Candles
- Cricut Explore Air 2
- Cricut Access Premium membership
- gold foil vinyl
- vinyl transfer tape
- Cricut weeder tool
- candles
How to Decorate Candles with you Cricut
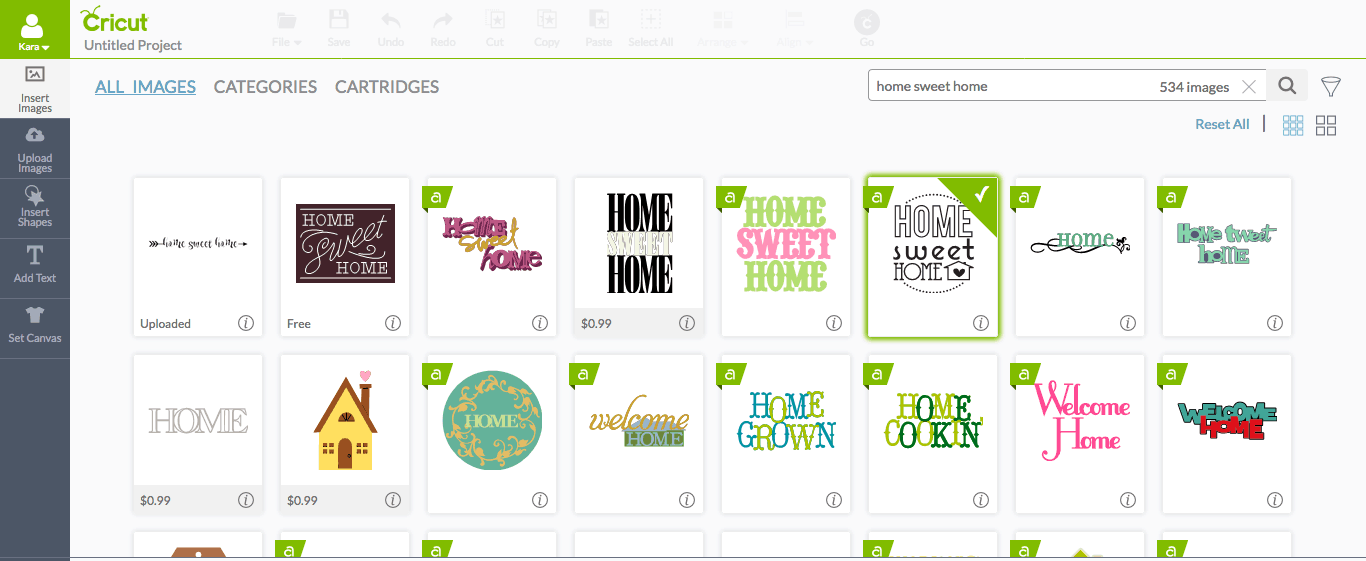
Step 1: Open a new project in the Cricut Design Space.
Step 2: Measure the height of your candle to see how high your design should be. Then, use a measuring tape to measure length around the candle
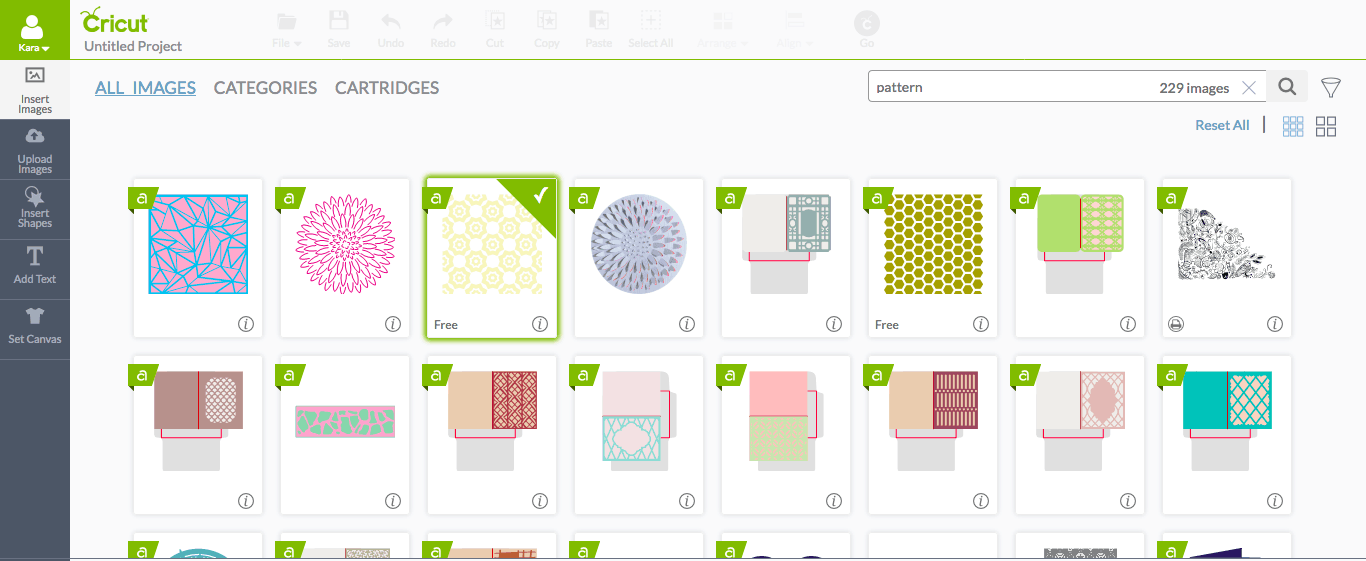
Step 3: Search patterns in images and insert the one you like.
Step 4: Resize image to fit the height of your candle. Then, copy and paste the image until you reach the length that you need. (I trimmed a little to make sure it wrapped all the way around)
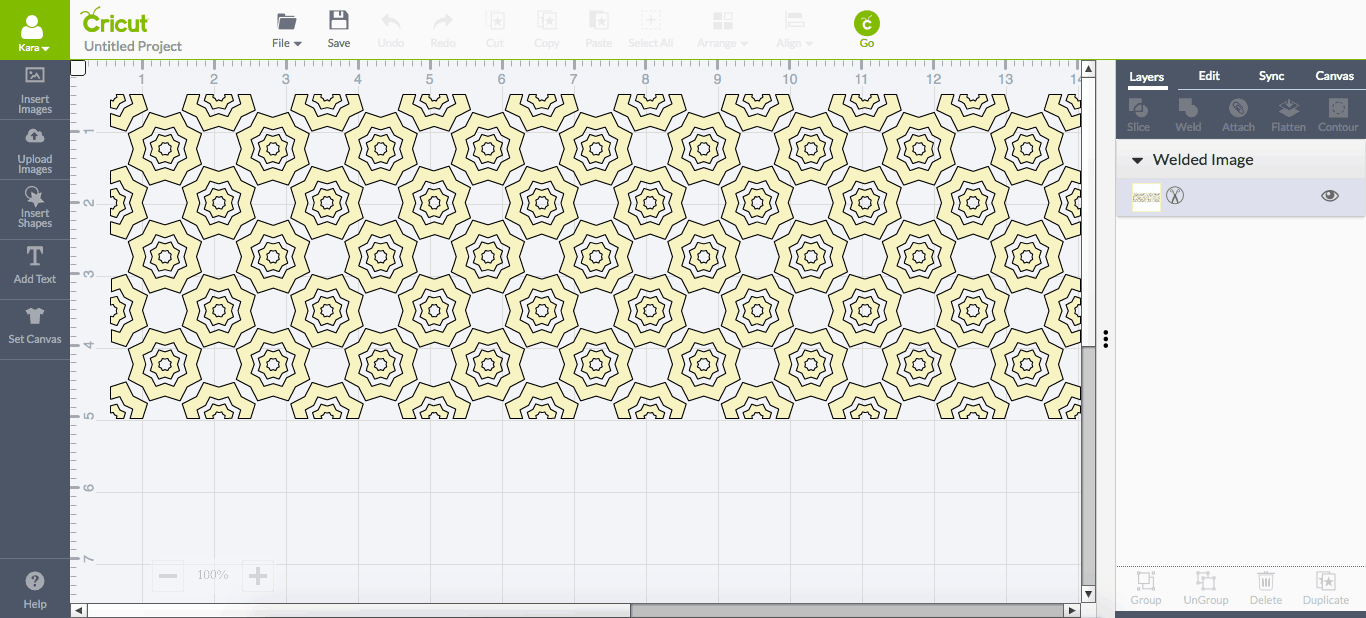
Step 5: Weld your images together.
Step 6: Now, you’re ready to cut your vinyl and decorate your candle.
I used gold foil vinyl because I’m obsessed with all things gold right now. I’m also loving the pink foil that Cricut has. I need to make some more candles using that next. Feel free to use your favorite color vinyl to decorate your candles.
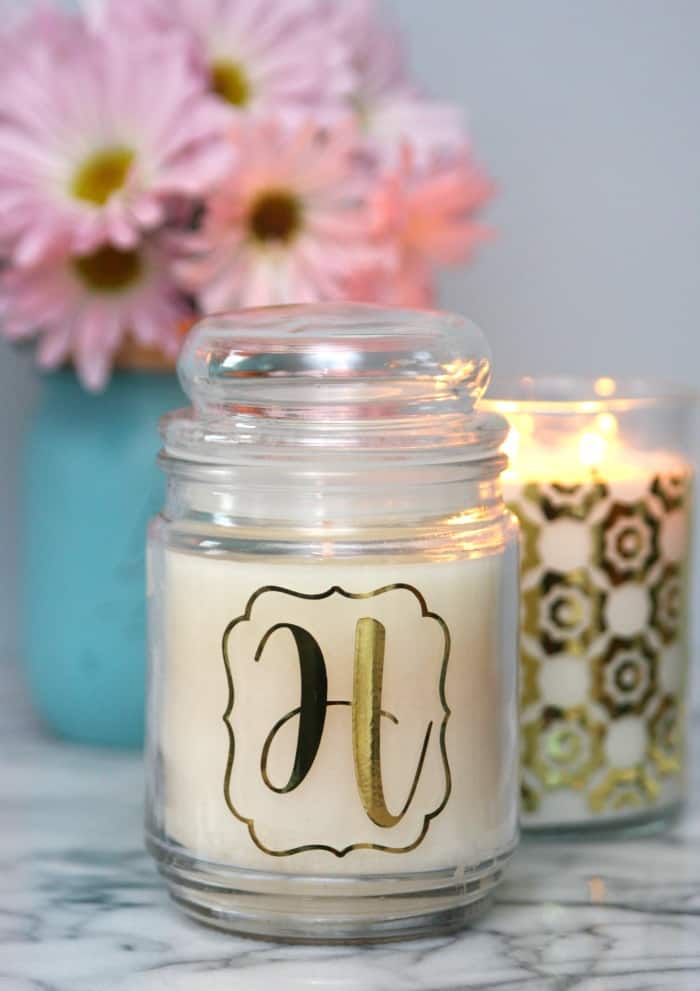
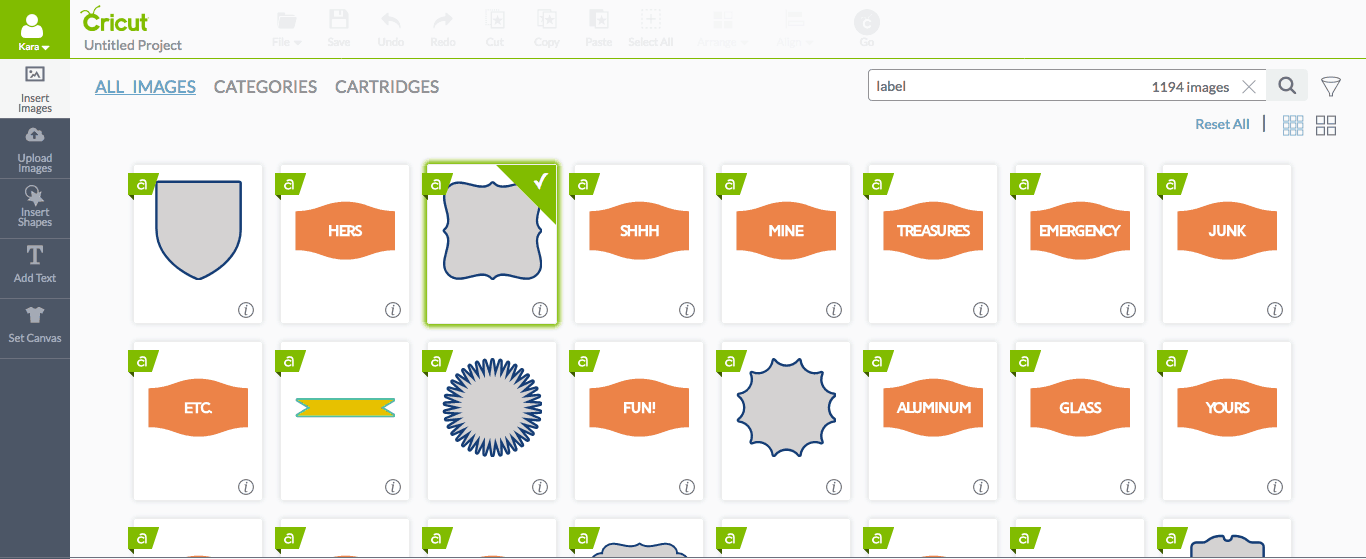
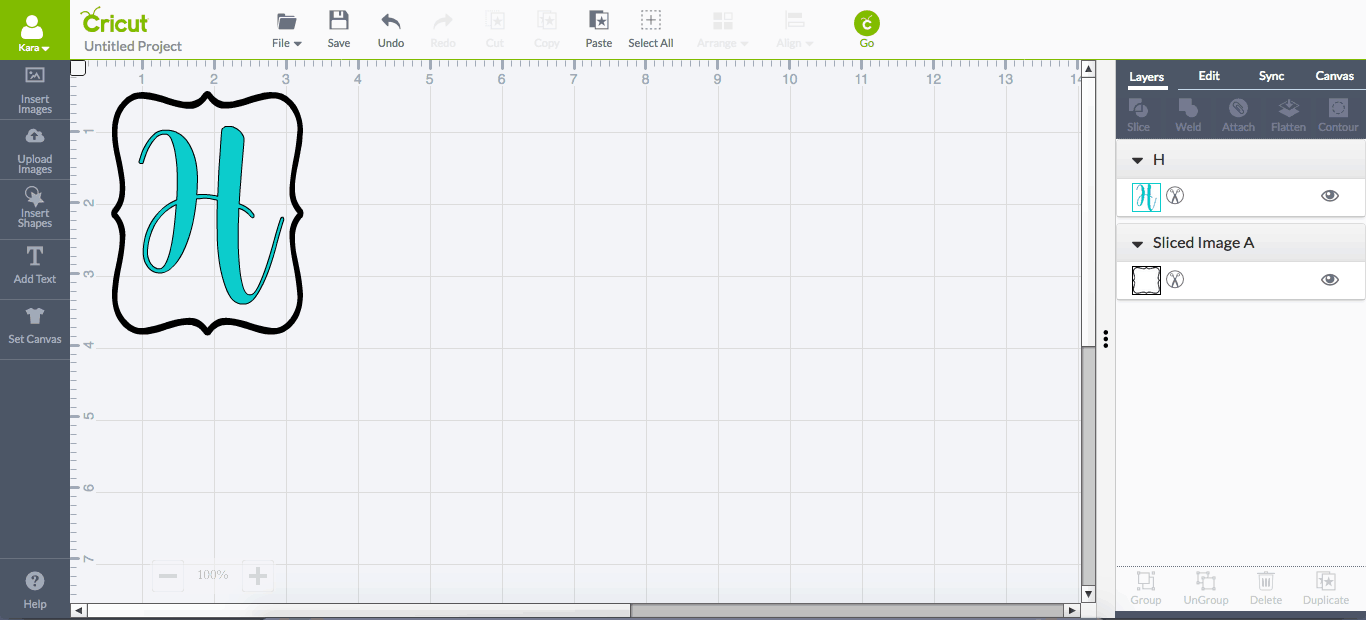
Next, I made a simple monogrammed candle for my sister-in-law. I inserted a label from the Cricut images and sliced out the center of the label. Then I added an H. The font is called Magnolia Sky that I downloaded for free. I love that I can use fonts from my computer and the Cricut fonts. I think that’s the hardest thing about creating projects. I can never decide which font to use because there are so many to choose from.
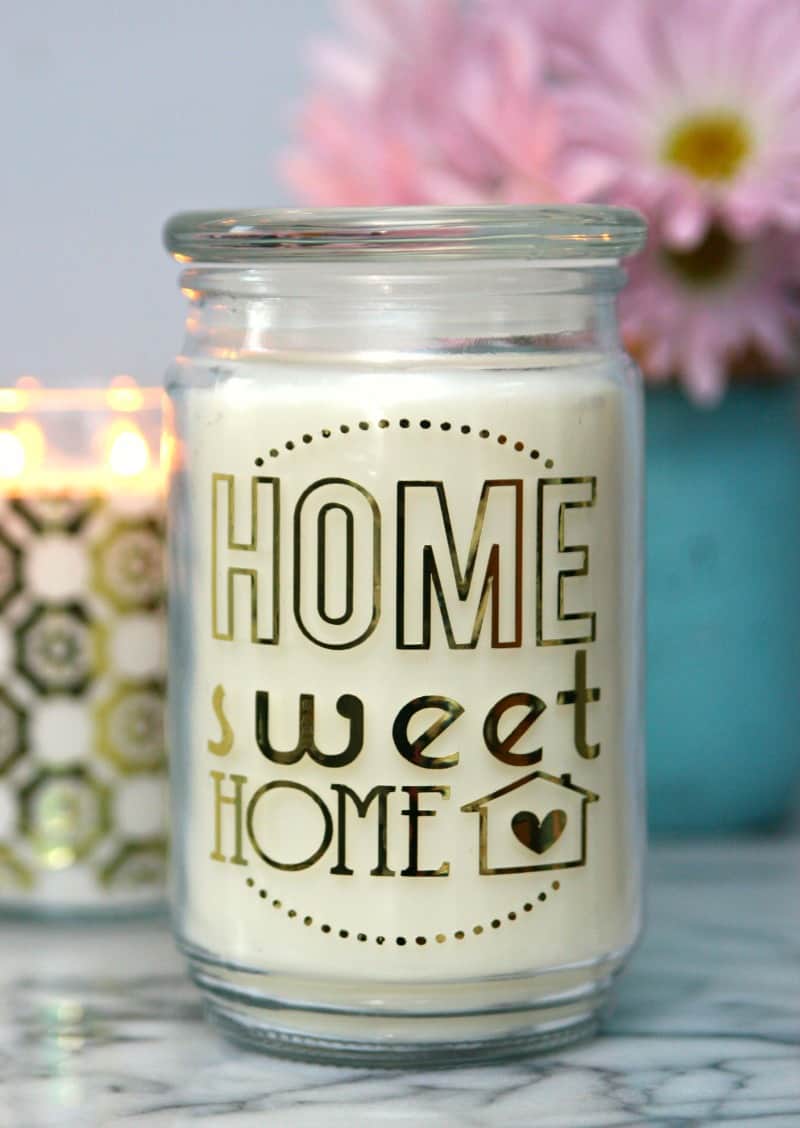
Finally, I made a house warming gift for our friends who just bought a new home. This image is also available right in the Cricut Design Space. All I had to do was measure the height of my candle, insert the image, resize it, and cut it out.
Super easy! I can’t decided which candle I like more and now I want to keep them all for myself. I guess I’ll be decorating more candles this weekend.
Have I convinced you that you need one yet? I have so many fun projects to share that I’m pretty sure you’ll realize you need a Cricut too.
Hi is permanent vinyl safe to use with a burning candle??
I have been so desperately wanting to try a candle since getting my Explore Air 2 but I have been too scared.
Thanks