This post and its photos may contain affiliate links. As an Amazon associate I earn from qualifying purchases. If you make a purchase through these links, I may receive a small commission at no extra cost to you.

I was so excited to work on this project. My friend Brandy and I came across this idea on Budget Wise Home one day over the summer but I couldn’t picture in my mind how everything would fit together. I was determined to figure out how it was made and I wanted to do it for less than $10.
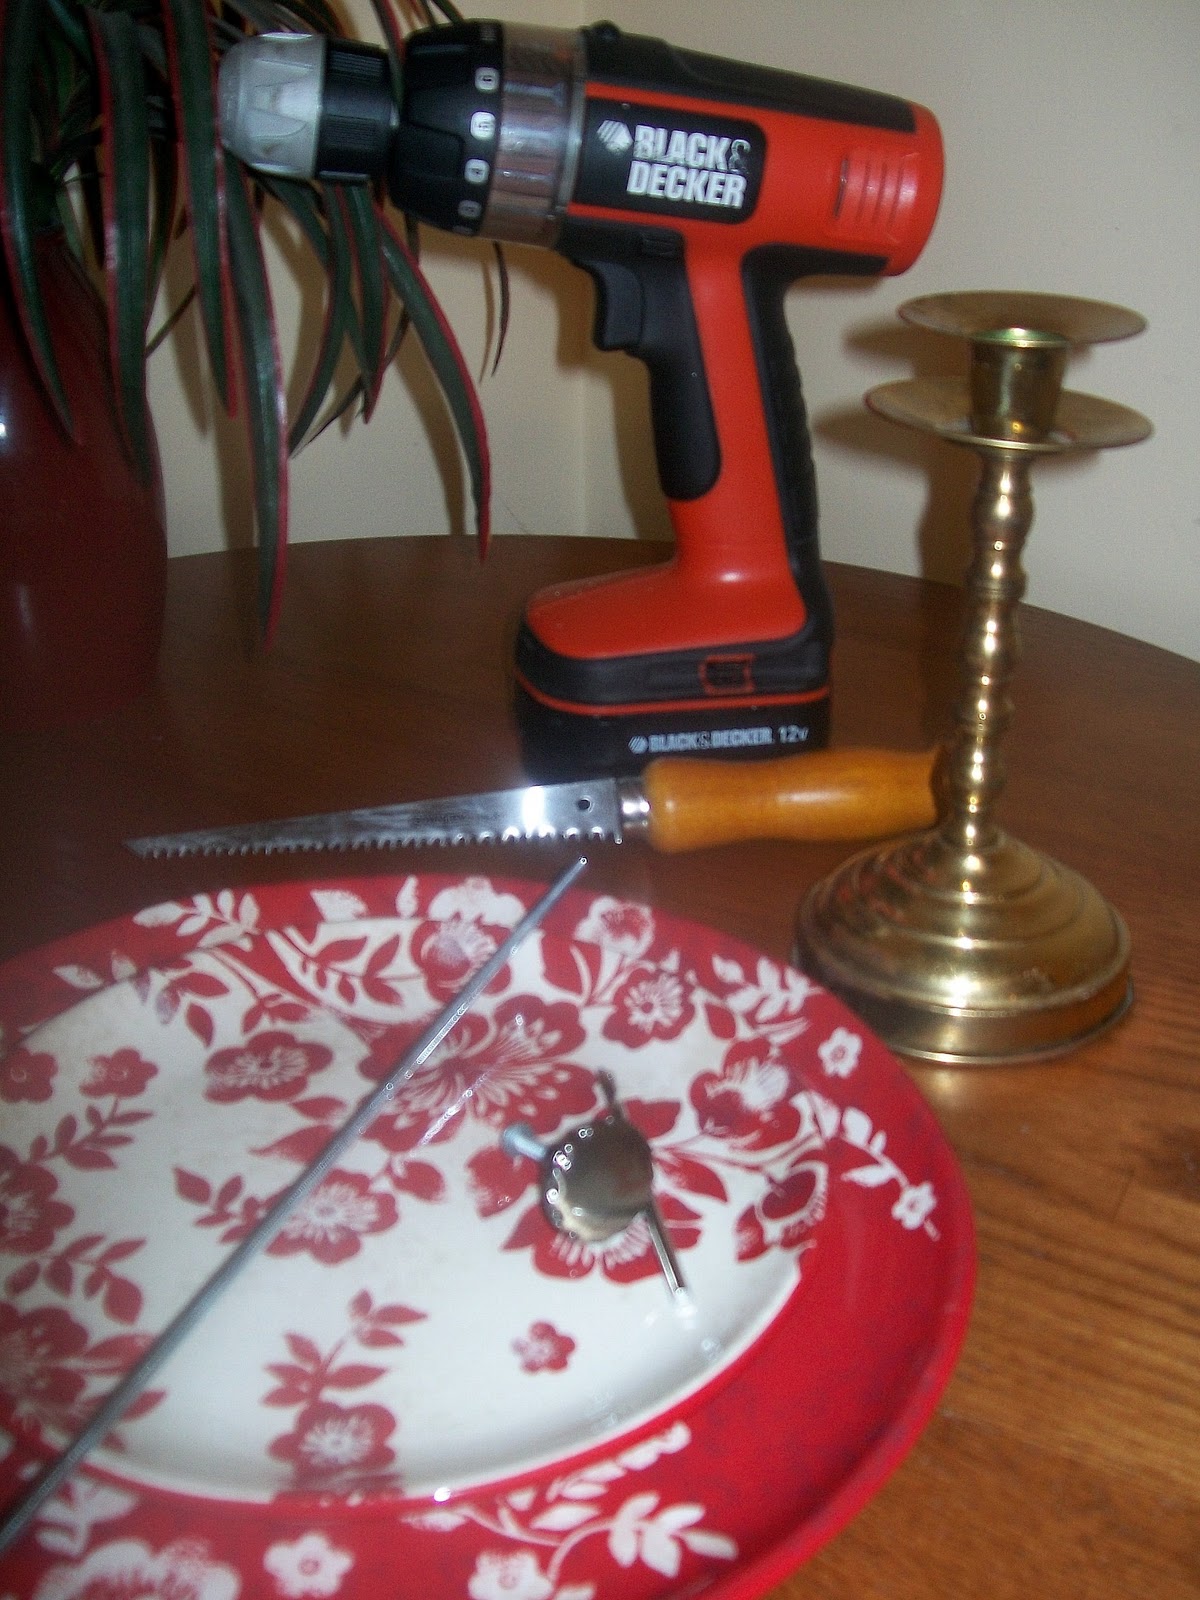
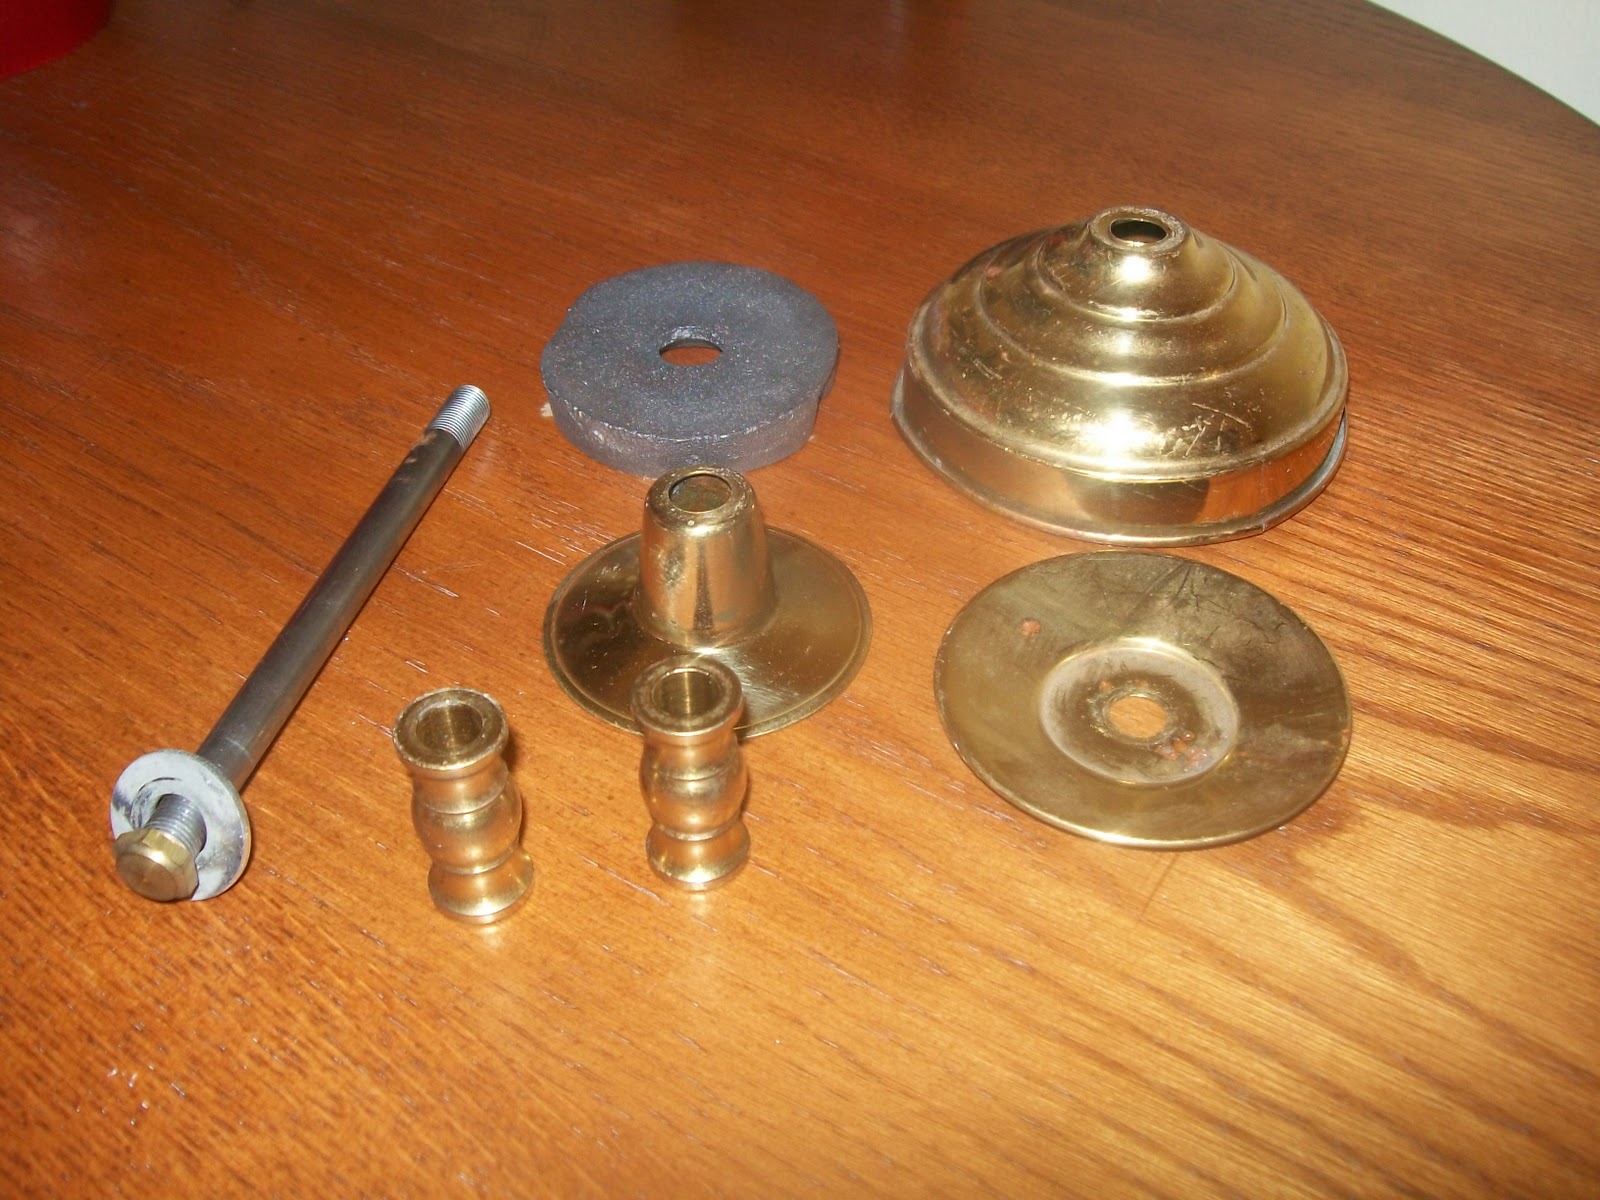
I started by looking for a candlestick that could be unscrewed and taken apart. I was able to find a few at my local thrift store but I had to figure out a way to connect the candlestick to the two plates. I headed over to Home Depot looking for something I could use and I found a long thread rod. Once I found this, I knew I could easily complete the project. I also picked up a drawer knob that could screw onto the thread rod. You will also need a masonry bit to drill a hole in the plates. The last thing I needed to find were two plates I liked. I finally found them at TJ Maxx. I could’ve found them sooner but I was determined to find inexpensive ones.
Supplies and Materials Needed:
- Candlestick: $1.49
- Thread rod: $.98
- Two Plates: $2.00 each
- Drawer knob: $1.29
- Nut that fits thread rod: $.08
- Drill
- Masonry bit
- Hack saw or something to cut thread rod
- Paint
- I started by taking the candlestick apart. You will only need the center part that should be long and skinny. The center part of the candle stick I used was actually three smaller pieces but it still worked perfectly.
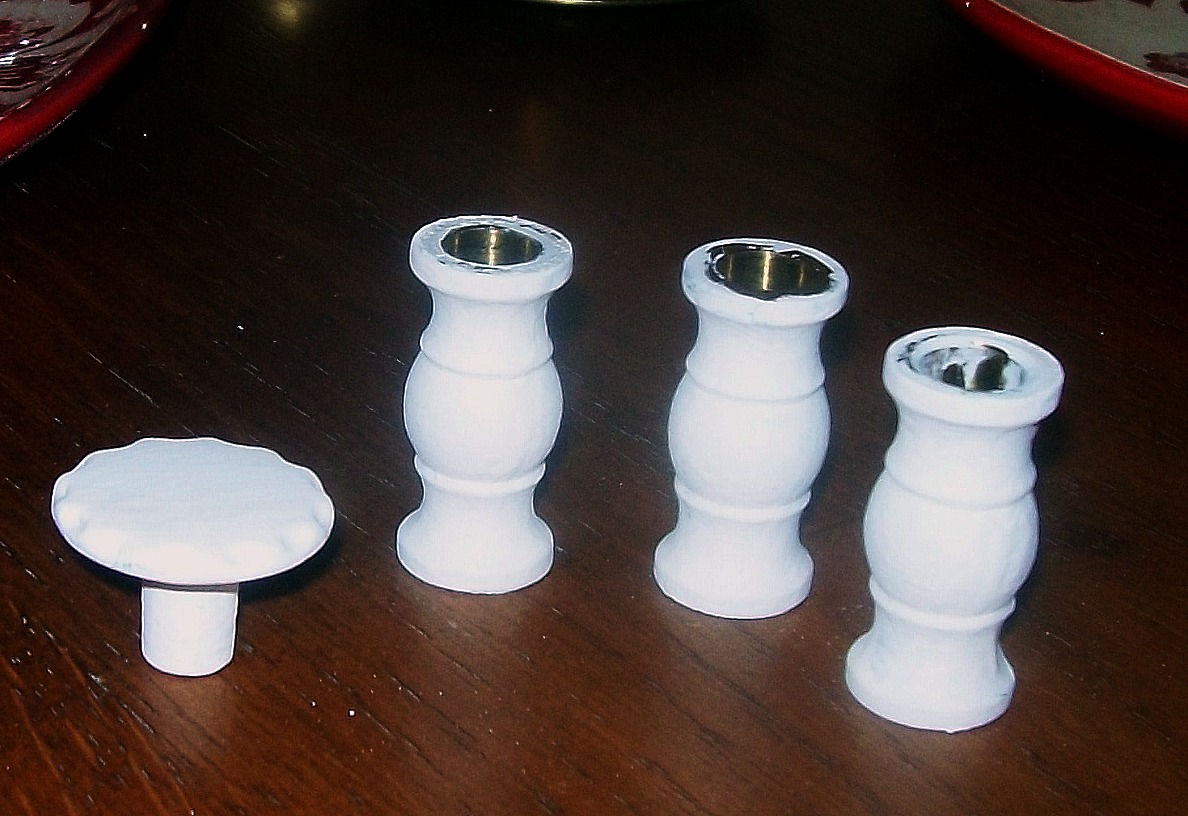
- Paint this part and the drawer knob to match your plate. I painted mine white so I can use it with other plates.
- Drill holes in the center of each plate.
- Measure how long the thread rod will need to be and cut using a hack saw or sharp wire cutters.
- Place the thread rod through the candlestick center piece. Then place it through the bottom plate hole. Attach with a small nut so the center piece is attached securely to the bottom plate.
- Place the top of the thread rob through the top plate and screw on the drawer nob.
I can’t wait to fill it with yummy treats this holiday seasons. It will also be fun to change the plates for the different holidays and seasons.
Let me know what you think and if you make one please share pictures. I’d love to see how others turn out. Have fun picking out cute plates to use:)
I’m linking up to Vintage Wanna Be, Creations by Kara, The Thrifty Home, I Heart Nap Time, Under the Table and Dreaming, and the Painted Holiday Challenge at The CSI Project
I love this idea! I have seen other plate stands but I like that this one comes apart for easy storage! Now I just need to find that type of candlestick!
Wow- I am impressed! You obviously put quite a bit of effort and planning into it and it turned out great!
-Rochelle @ http://homesweethomebodies.blogspot.com/
I want one of these for Christmas!
love it looks very creative
Really cute! It looks wonderful.
I love how it turned out!! Great job!! 🙂
Saw you in the One Month to Win It auditions. Love what you made here, this is beautiful!
Gorgeous!! Thanks for auditioning for OMTWI!!