This post and its photos may contain affiliate links. As an Amazon associate I earn from qualifying purchases. If you make a purchase through these links, I may receive a small commission at no extra cost to you.
This is a sponsored post written by me on behalf of Cricut. All opinions are 100% mine.
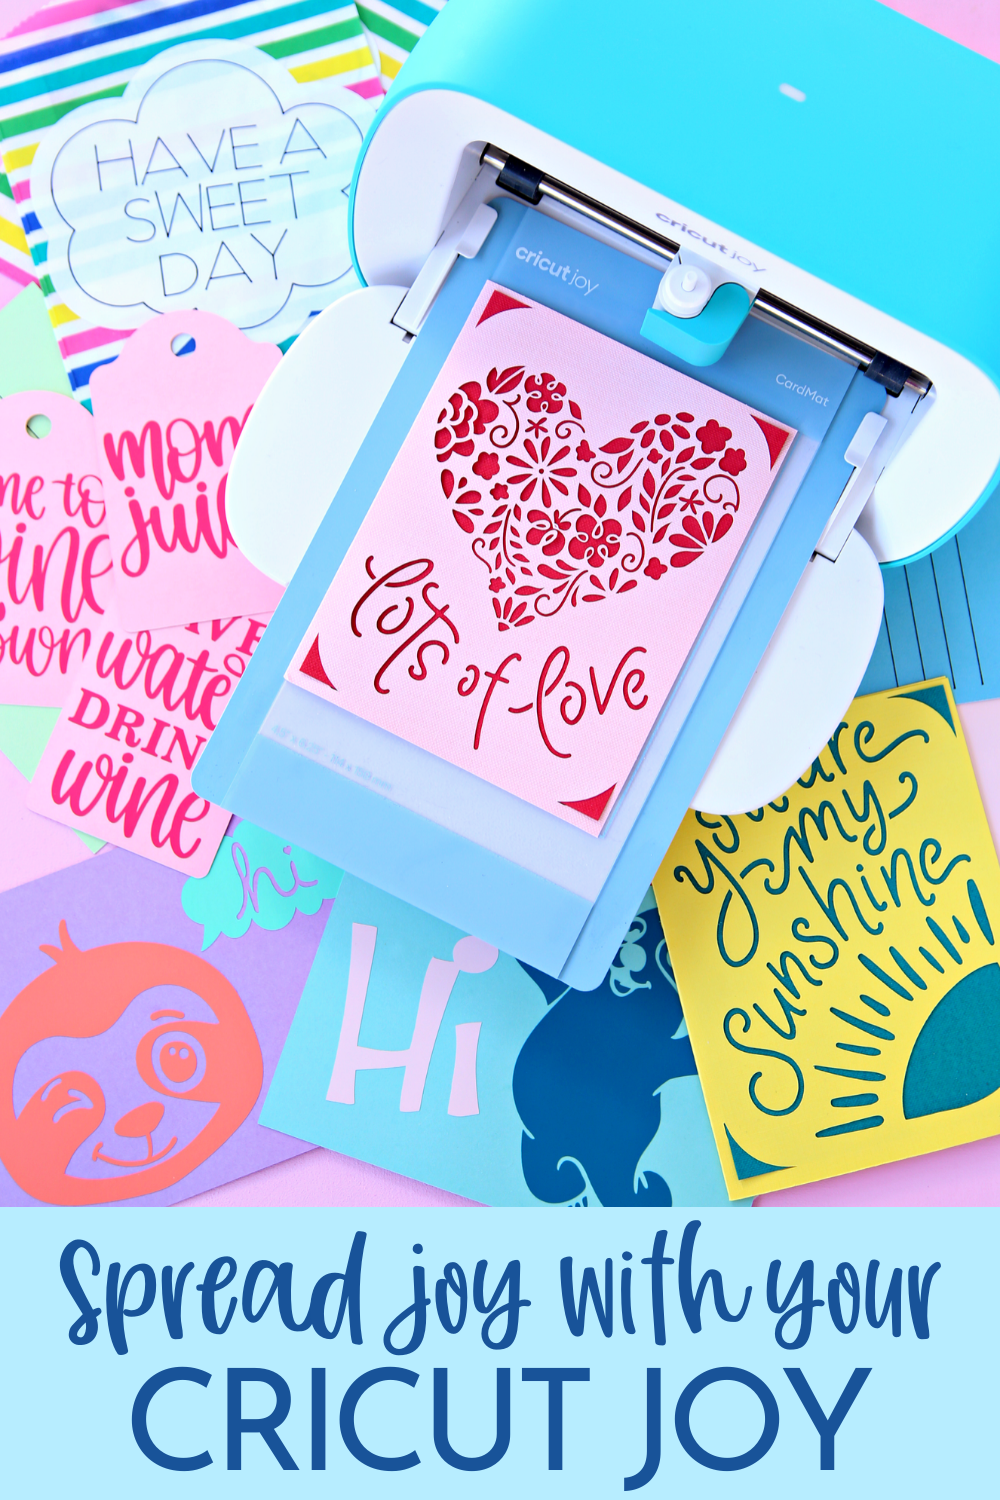
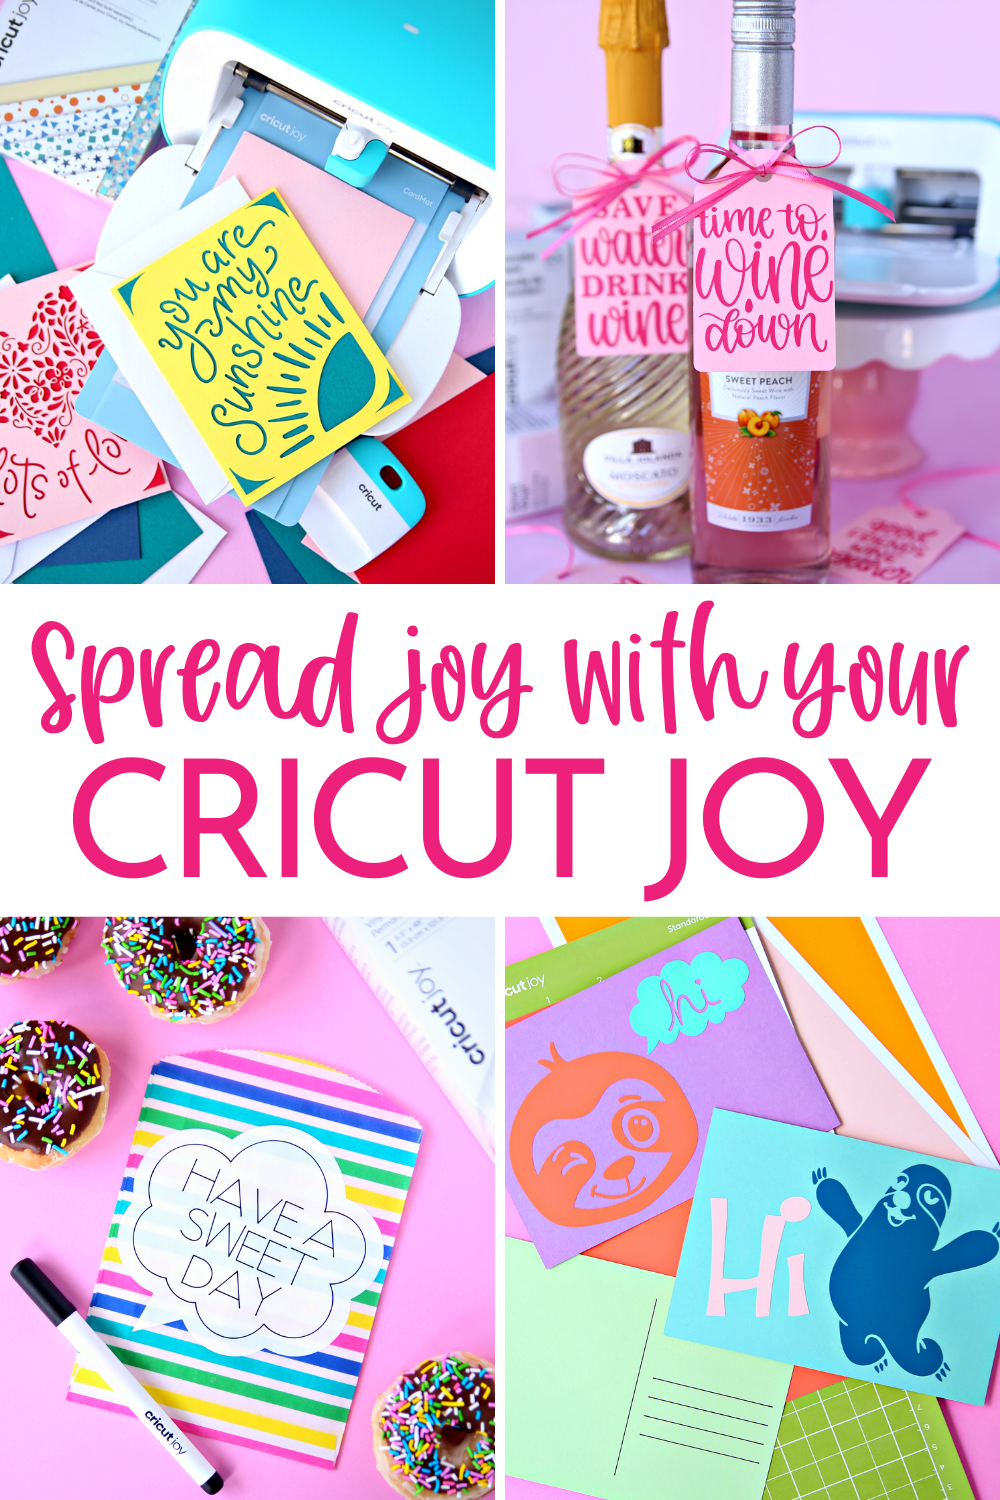
A collection of quick and easy projects you can create to spread joy with your Cricut Joy.
Guess what I finally got my hands on?
Yep – you guessed right and it’s even better than I thought it would be!
The new Cricut Joy is definitely my new DIY best friend and I’m so excited to share five fun little project that you can make quickly with this awesome crafting tool.
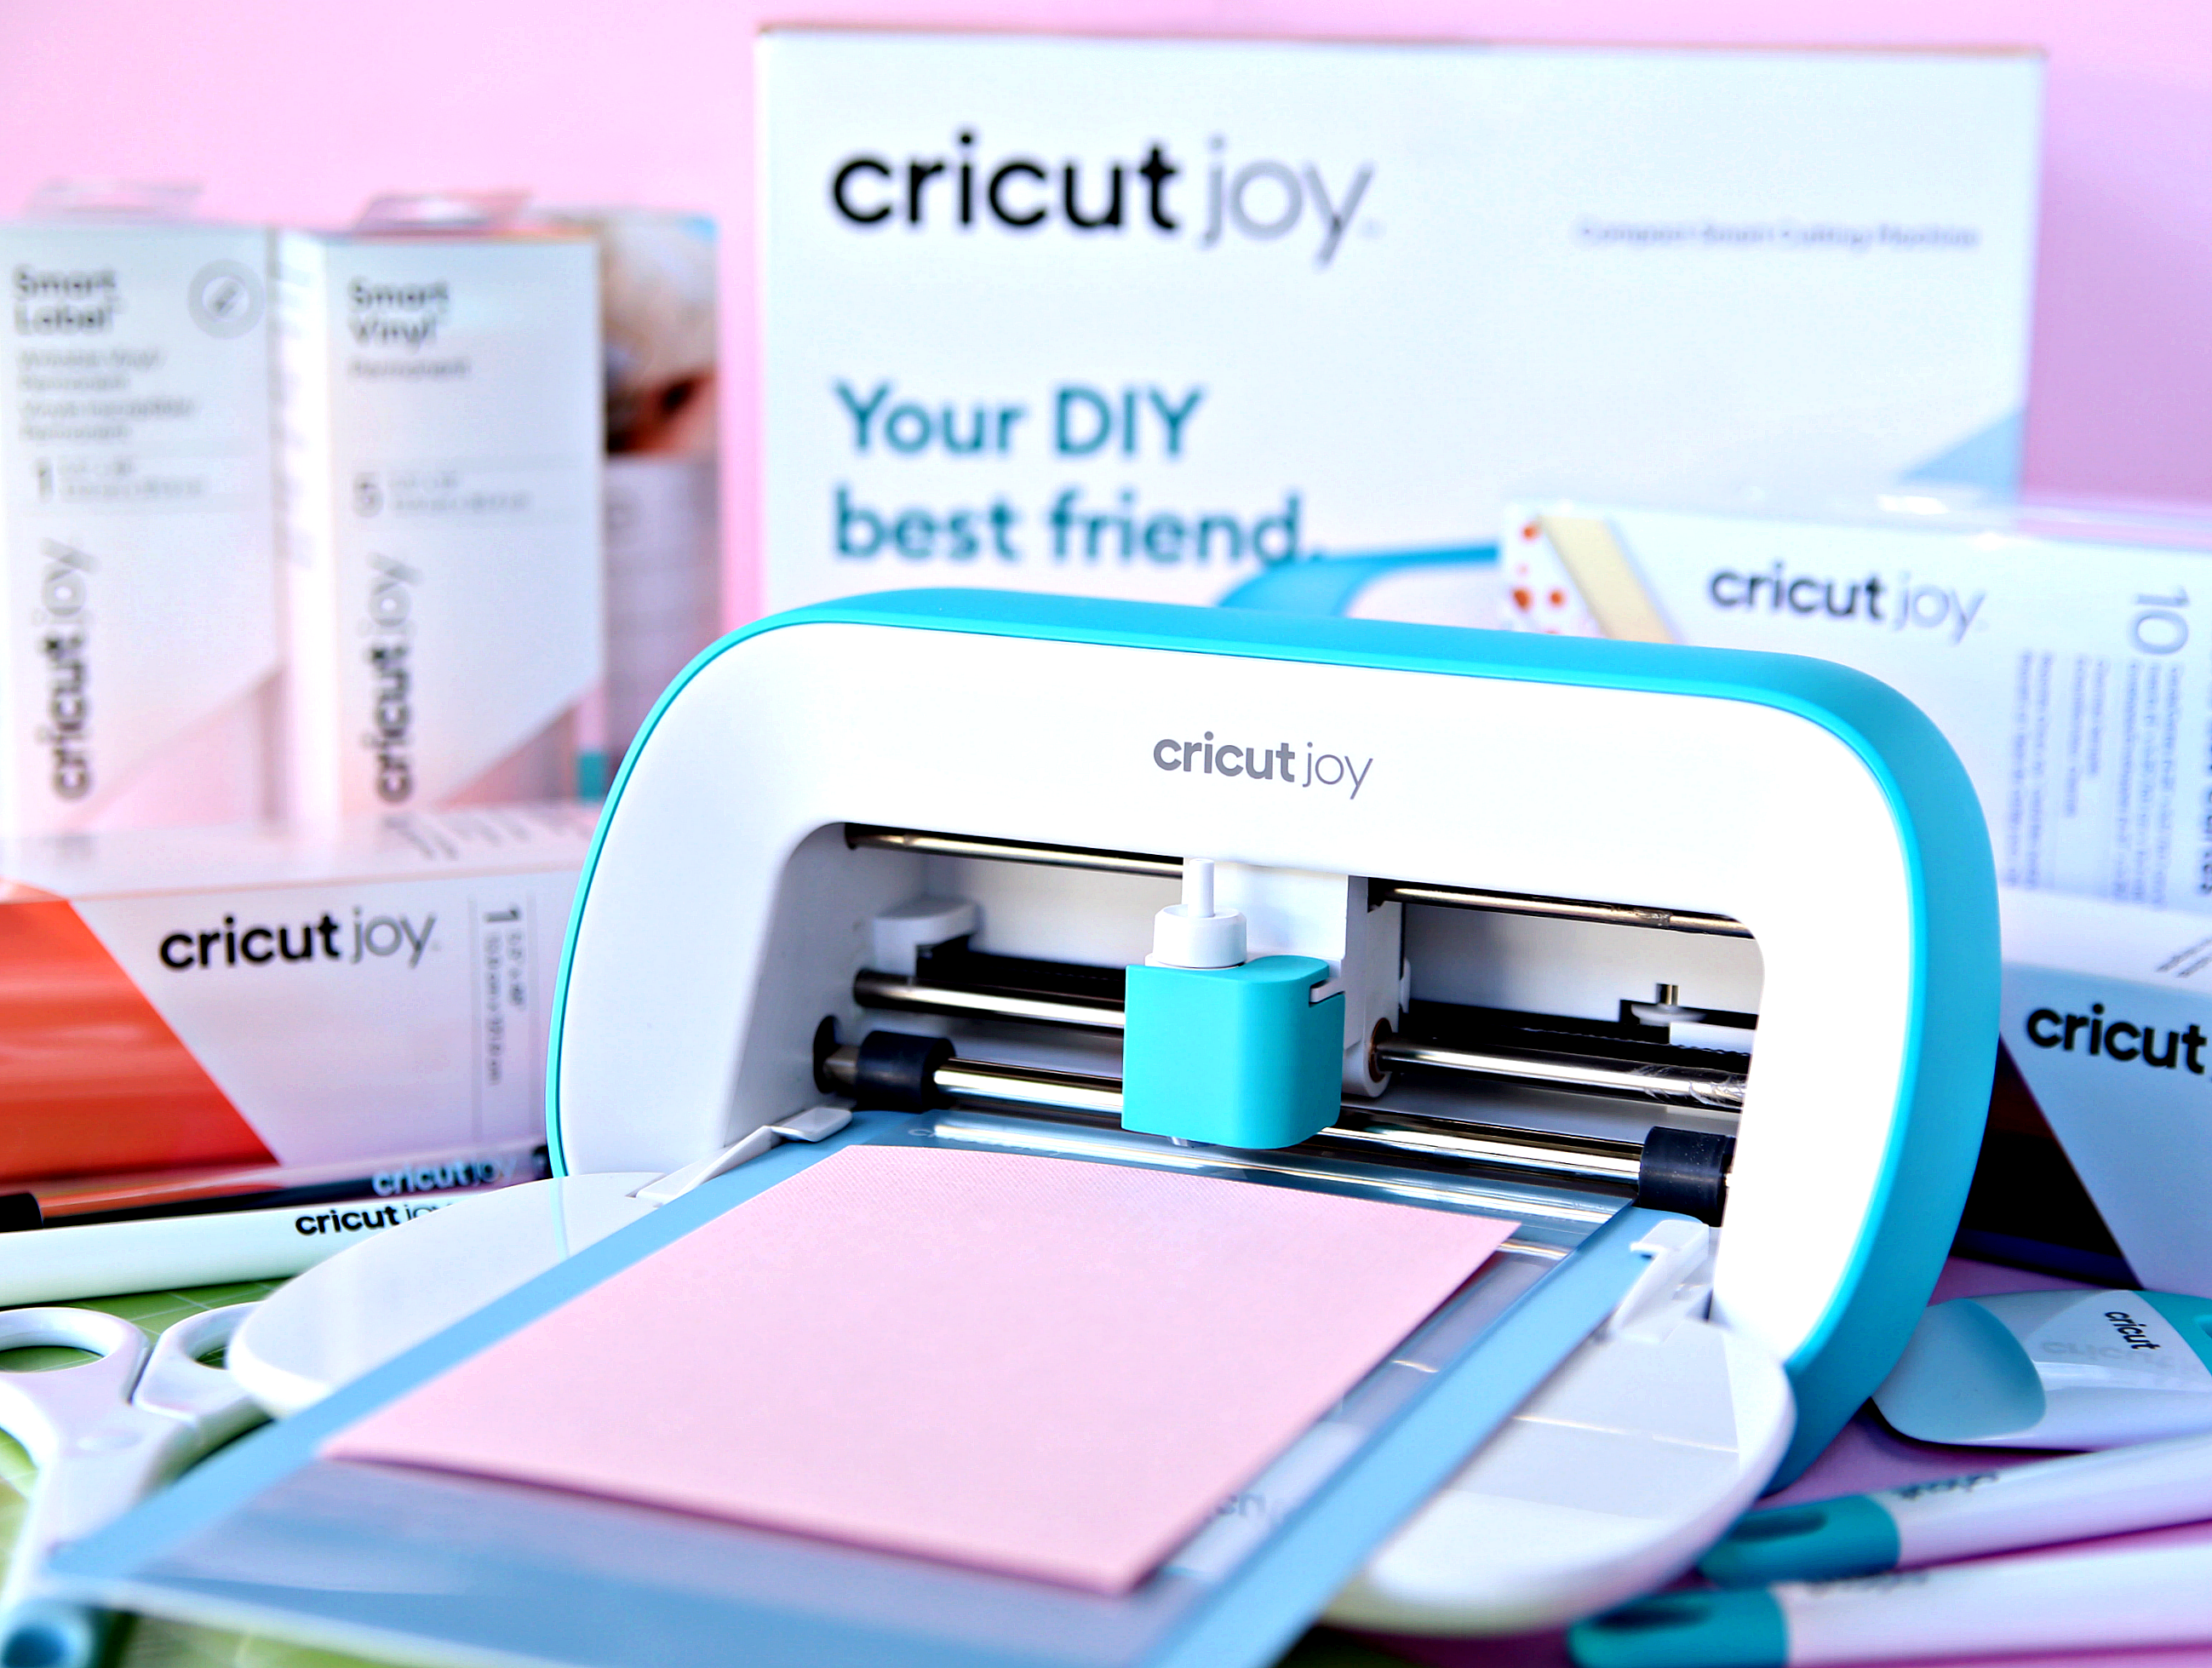
What is the Cricut Joy?
First, I want to talk about why you need the Cricut Joy even if you already have a Cricut Explore or Maker. Not only does it cut vinyl, paper, adhesive backed paper, Infusible Ink Sheets and more, it also has unique features making it the perfect crafting companion for quick, mat-free projects. Cricut Joy allows users to create projects with one cut and one color, in 15 minutes or less. Plus, It has an awesome card making feature that allows you to create homemade cards quickly.
The best thing about the Cricut Joy is it’s size. You don’t need a craftroom to DIY and personalize the little things that make a big difference. Create and work on all your Cricut crafts right on kitchen counter, coffee table or anywhere in your home in 15 minutes or less. The Cricut Joy is Cricut’s smallest cutting machine ever! It fits perfectly on a bookshelf or looks great on a counter. Cricut Joy packs away easily and sets up instantly – which means it is super easy to move from room to room. All the accessories are small too so it’s easy to just grab what you need and start cutting.
The Cricut Joy definitely puts the JOY in crafting!
10 THings I love about the Cricut Joy
- It’s light, compact, and portable.
- Mats optional! Cricut Joy has a full collection of materials that do not require a mat.
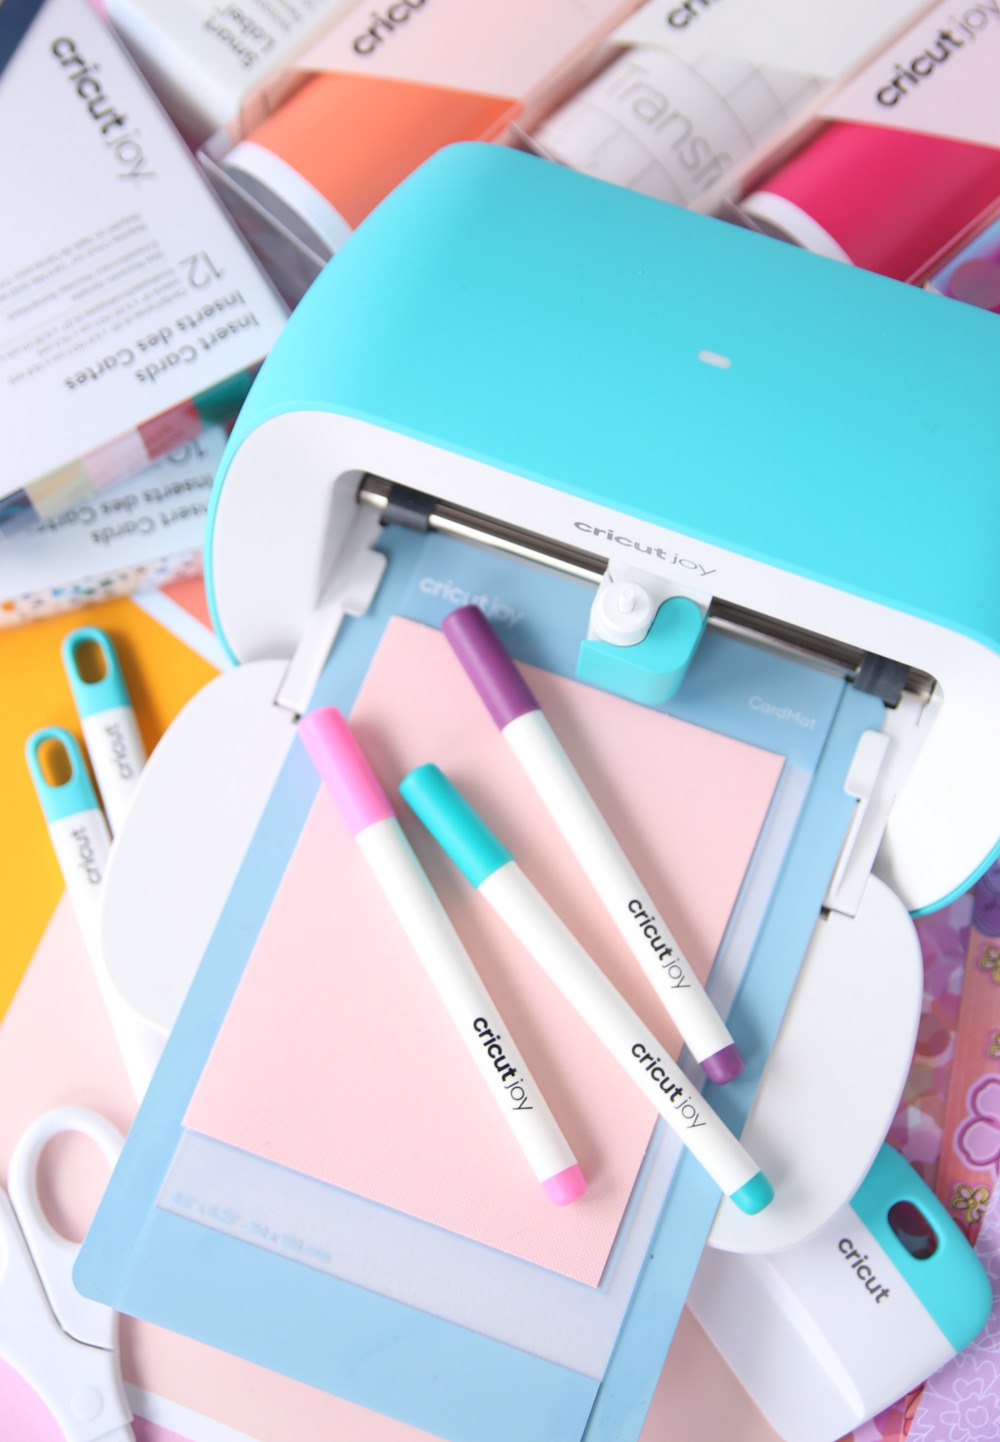
- The Card Mat and exclusive blank insert cards makes it easy to create cards in no time at all.
- So easy to set up with Bluetooth capability.
- Perfect for small projects.
- Cut shapes up to 4 feet long or make repeated cuts up to 20 feet long without a cutting mat.
- Great for everyday tasks like labels,
- The New Cricut Joy Smart Label Vinyl is awesome!
- It writes too! Draw and write with Cricut Joy pens and Infusible Ink pens.
- Extremely user-friendly (even my 11 year old can use it)
5 Easy Projects to Spread Joy with the Cricut Joy
Now, it’s time to get our craft on! There’s nothing better than surprising people with special gifts for no reason and The Cricut Joy is the perfect crafting tool to spread joy to loved ones. It’s makes creating small gifts and cards for family, friends, neighbors, and all your favorite people a breeze. And, now more than ever, we need to let people know we love and appreciate them. So, Connor and I spent an afternoon creating fun and easy gifts with the Cricut Joy to surprise a few of our neighbors. The best thing about all of these projects is they take less than 15 minutes to make which is always the best craft project.

Thank a Nurse (or Healthcare Worker)
I love mugs and I love making mugs for people with my Cricut. The Cricut Joy is the perfect size for decorating mugs, wine glasses, and tumblers and you can literally make them in a matter of minutes. Our first gift was created for our neighbor who is a nurse. We had to thank her for her dedication to our community during this difficult time. We filled the mug with chocolate for a quick gift that we knew would put a smile on her face.
Supplies Needed to Make a Mug with Your Cricut Joy
- Cricut Joy
- Blank Mug
- Cricut Joy Smart Vinyl
- Cricut Joy Smart Label Vinyl
- Weeding Tool
- This Project in Design Space
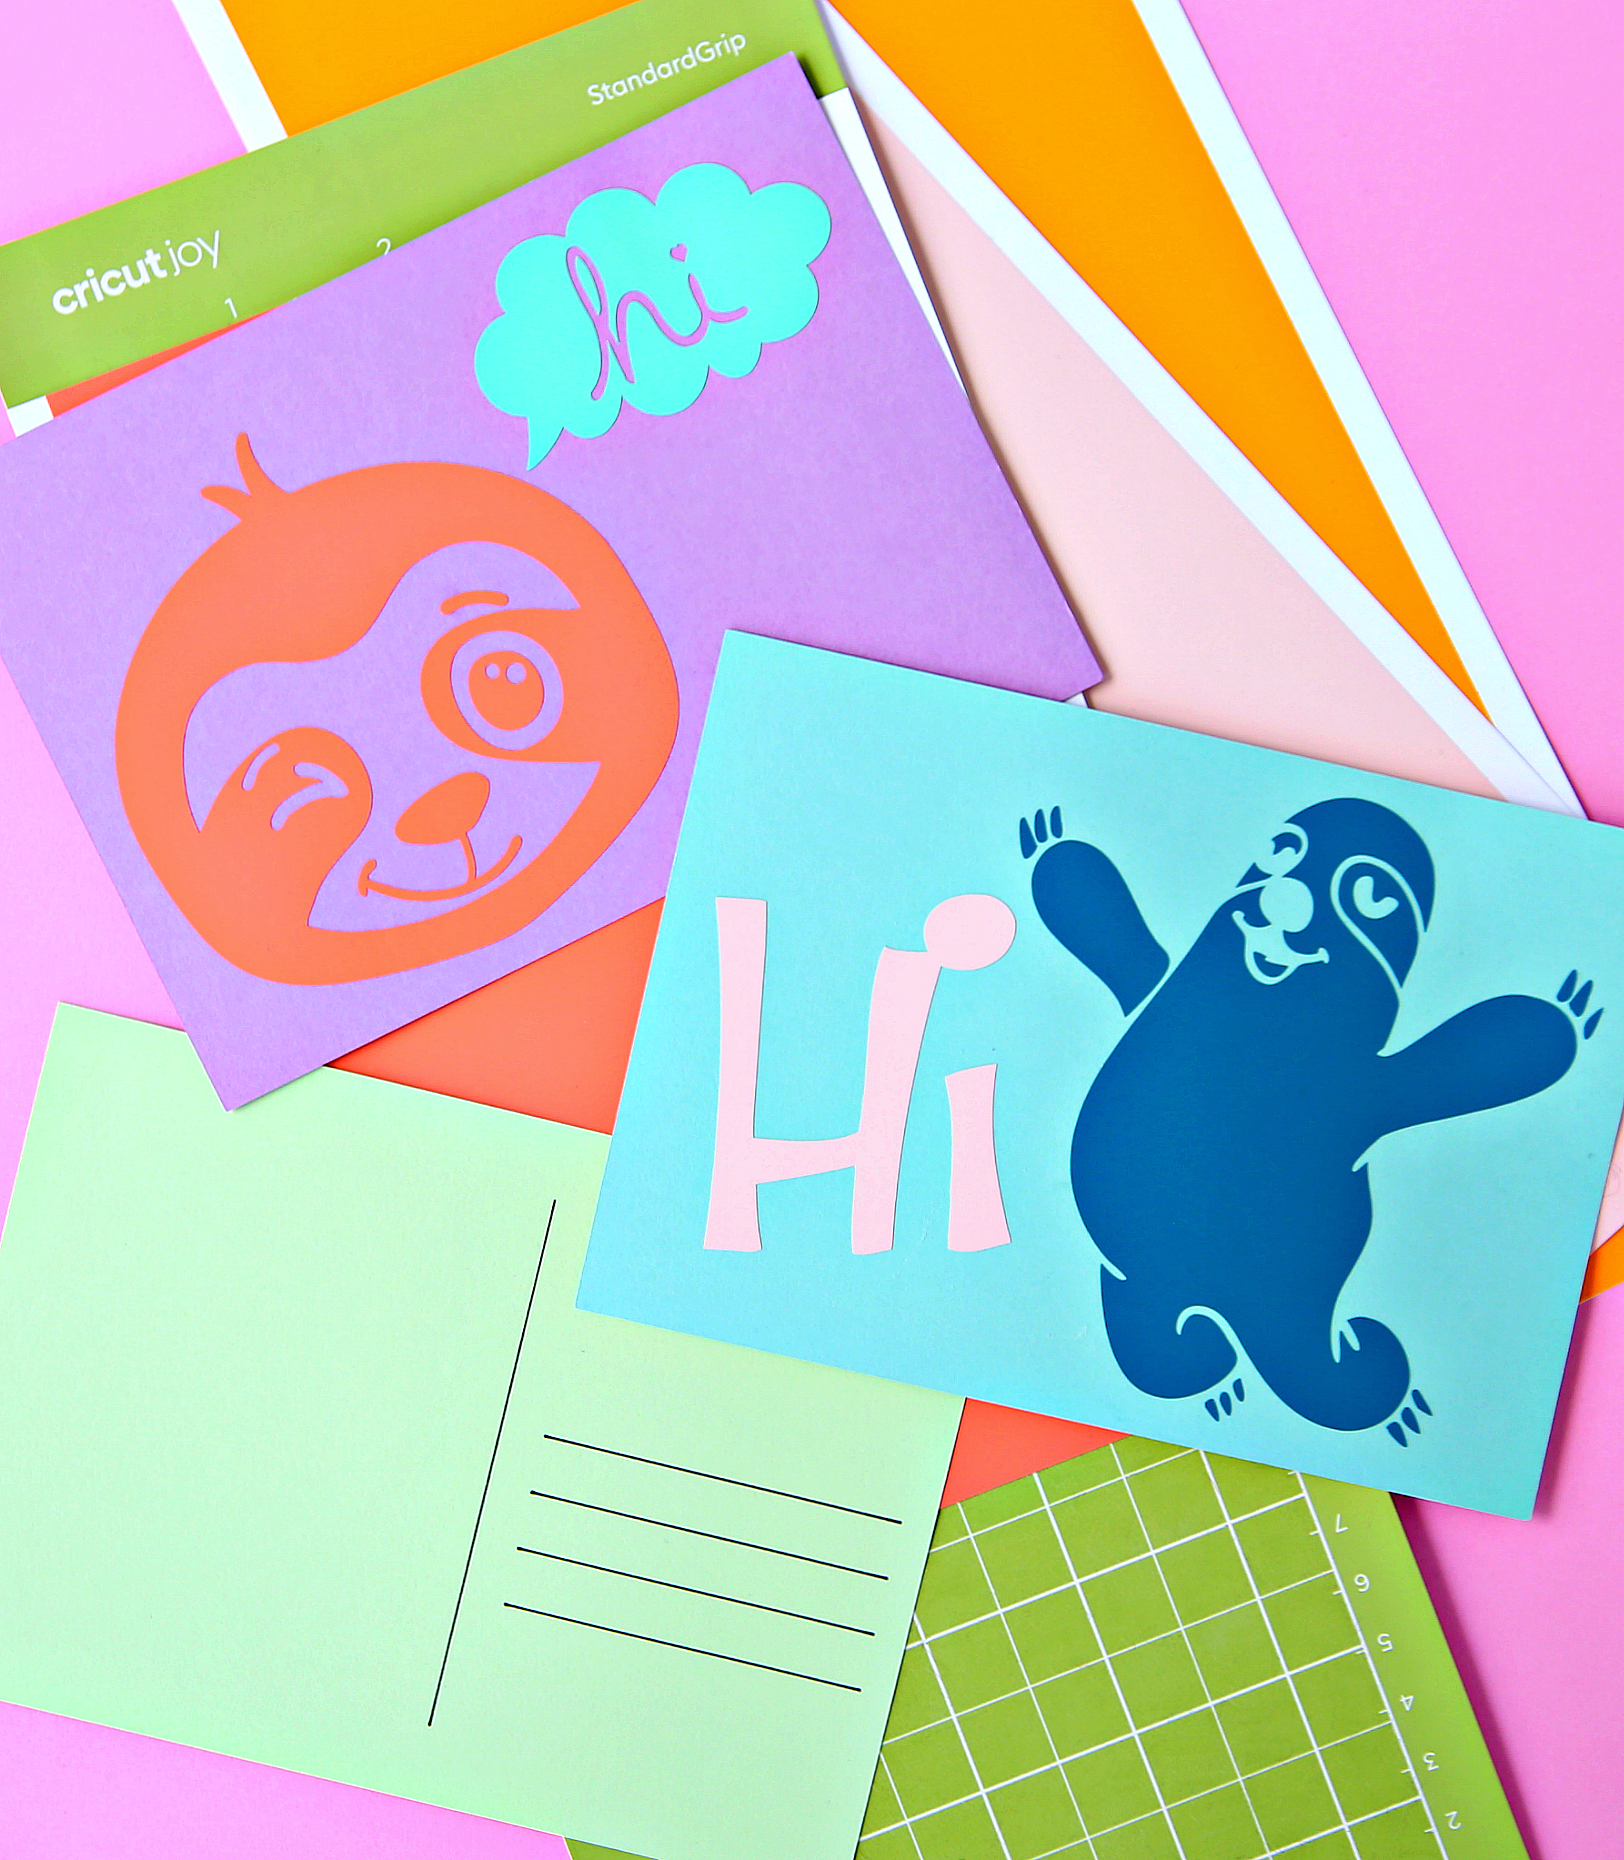
Send a Postcard
We were excited to see how the Cricut Joy pens work and thought it would be fun to create postcards. Connor loves sending notes to his cousins who live out of state and he’s also obsessed with sloths so we combined those two things to create these awesome sloth postcards.
Supplies Needed to Make Sloth Postcards:
- Cricut Joy
- Cricut Joy Pen (comes with Cricut Joy)
- Cardstock
- Cricut Joy Smart Vinyl
- Cricut Joy Smart Label Vinyl
- Weeding Tool
- This Project in Design Space
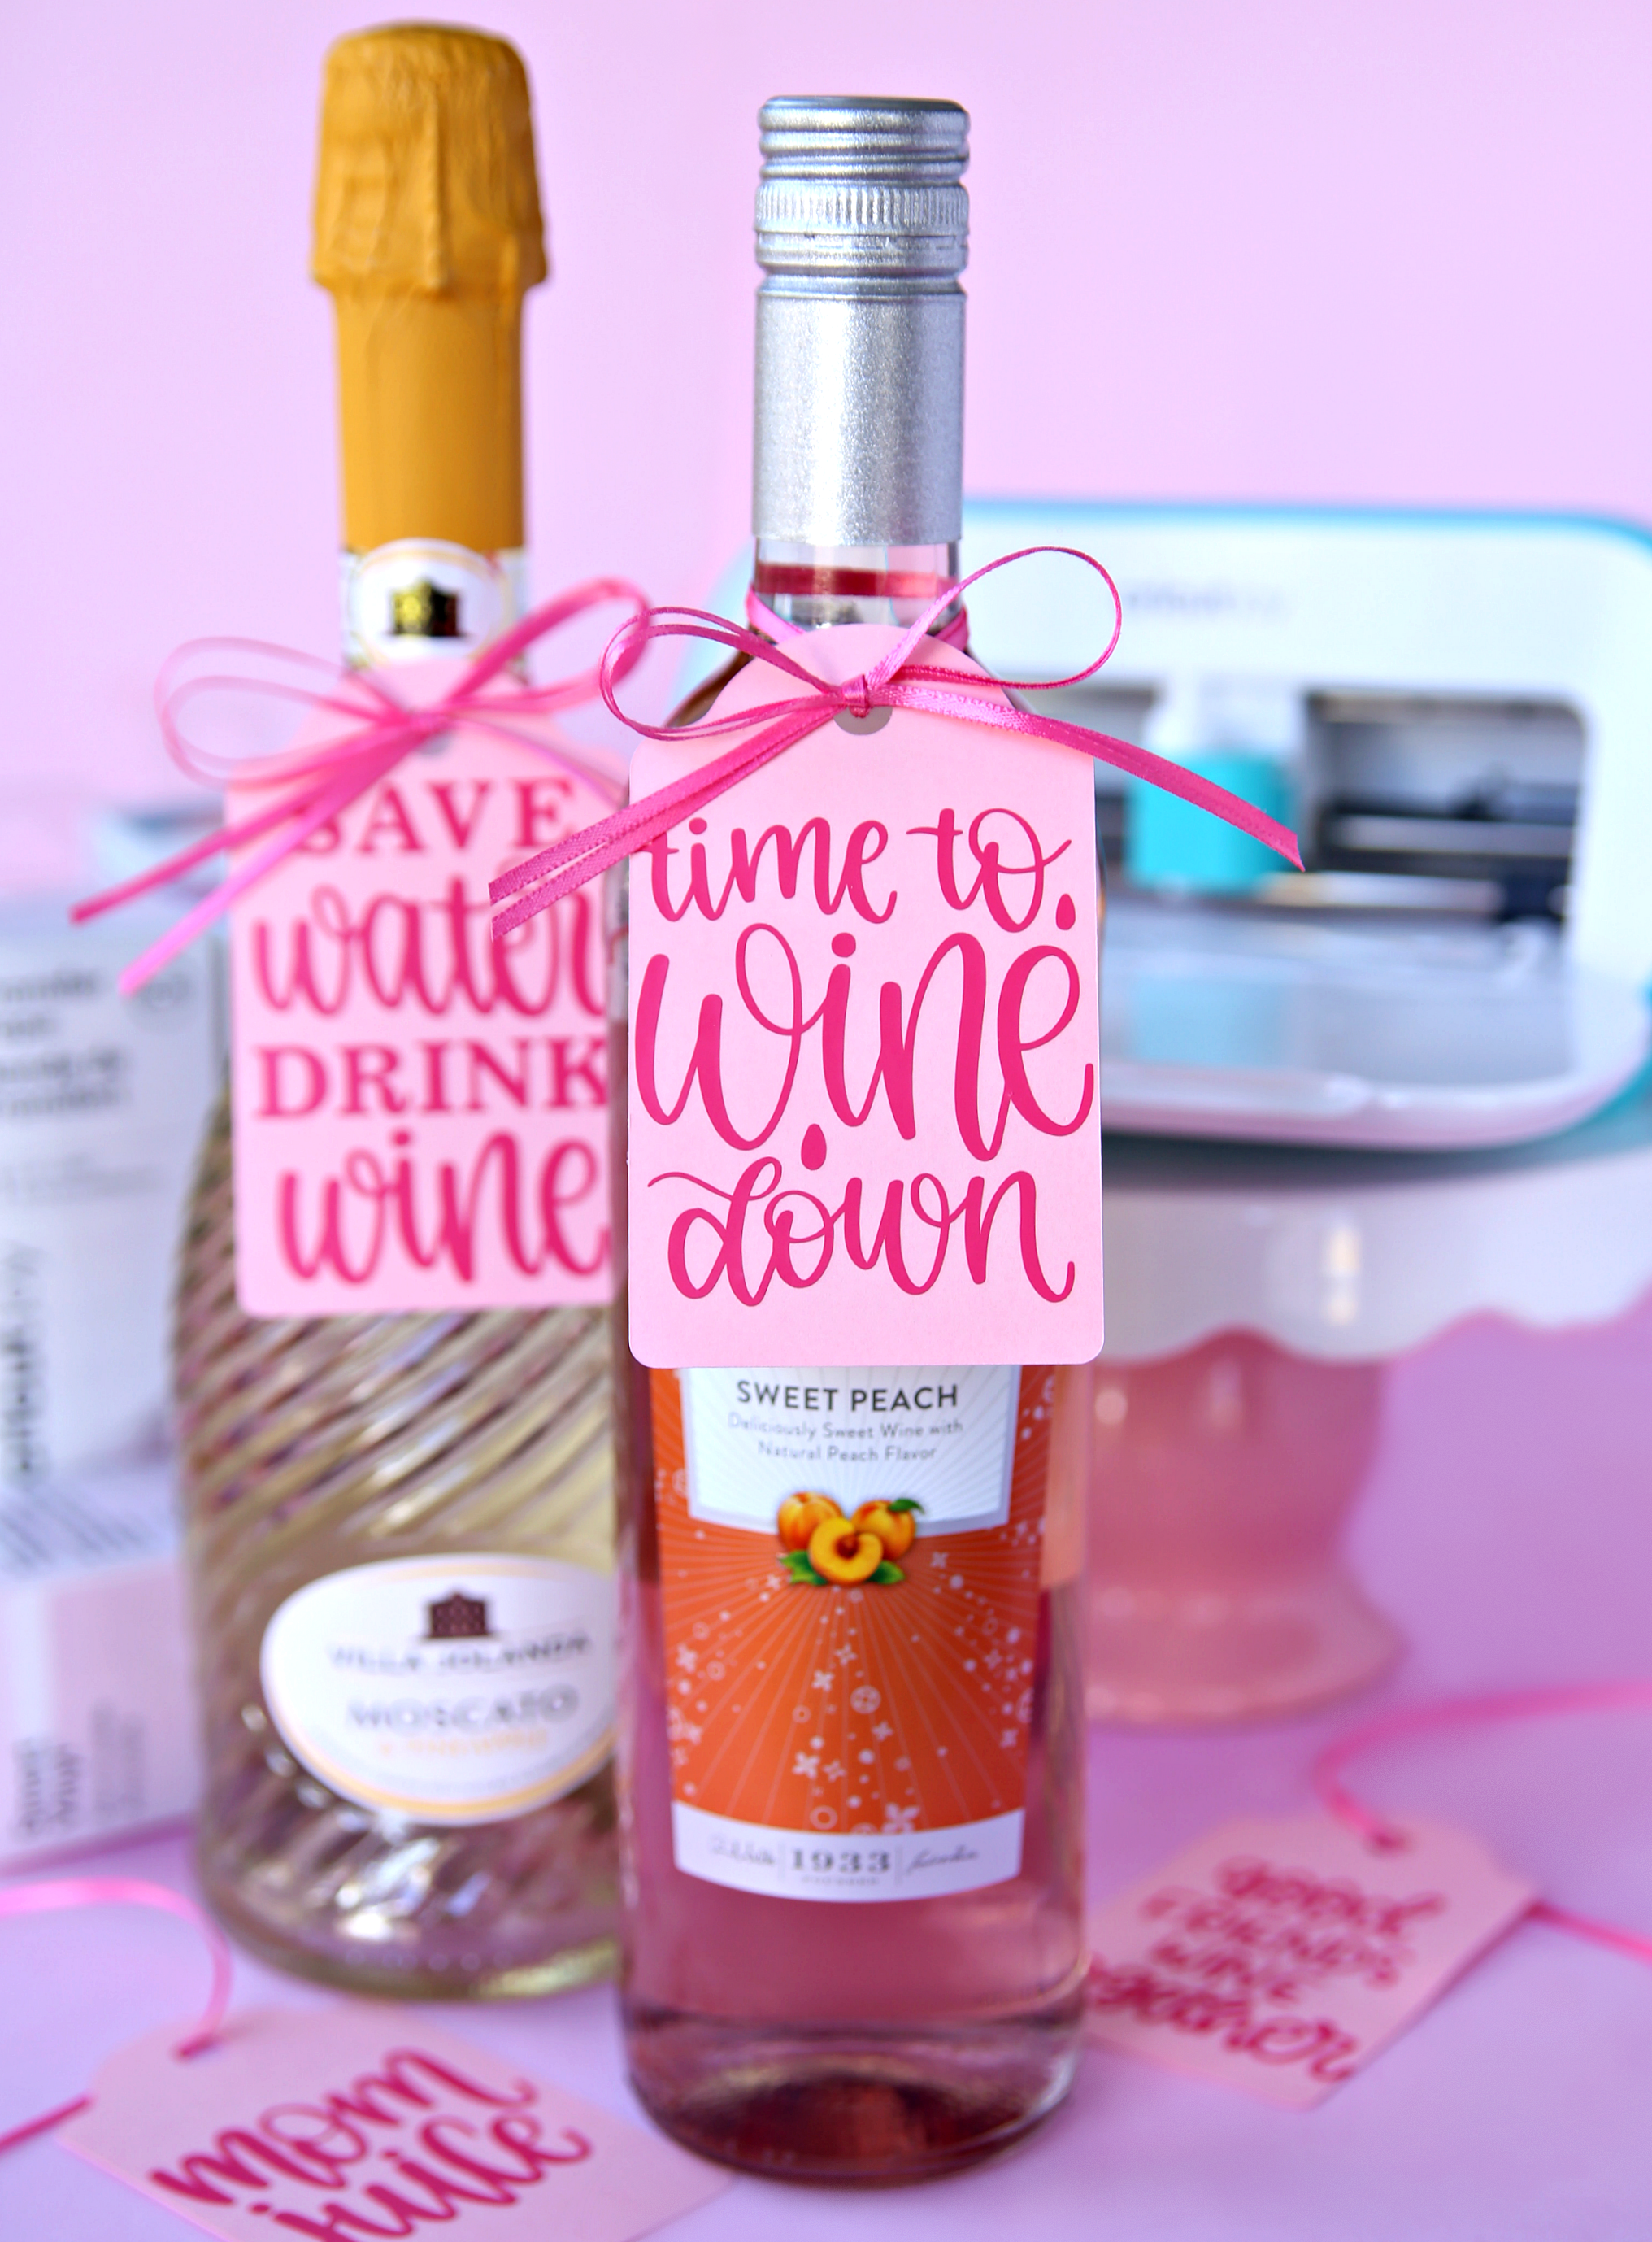
Surprise a Friend
The Cricut Joy makes it so easy to make gift tags. It’s almost too easy to call this a craft project because all you have to do is add vinyl quotes to paper gift tags. The Cricut does all the work for you and the small cutting mat makes it so easy and convenient. These wine gifts were delivered to a few of my besties so we could have a virtual happy hour together.
Supplies Needed to Make Wine Bottle Gift Tags
- Cricut Joy
- Cardstock
- Cricut Joy Smart Vinyl
- Cricut Joy Smart Label Vinyl
- Weeding Tool
- Ribbon
- This Project in Design Space
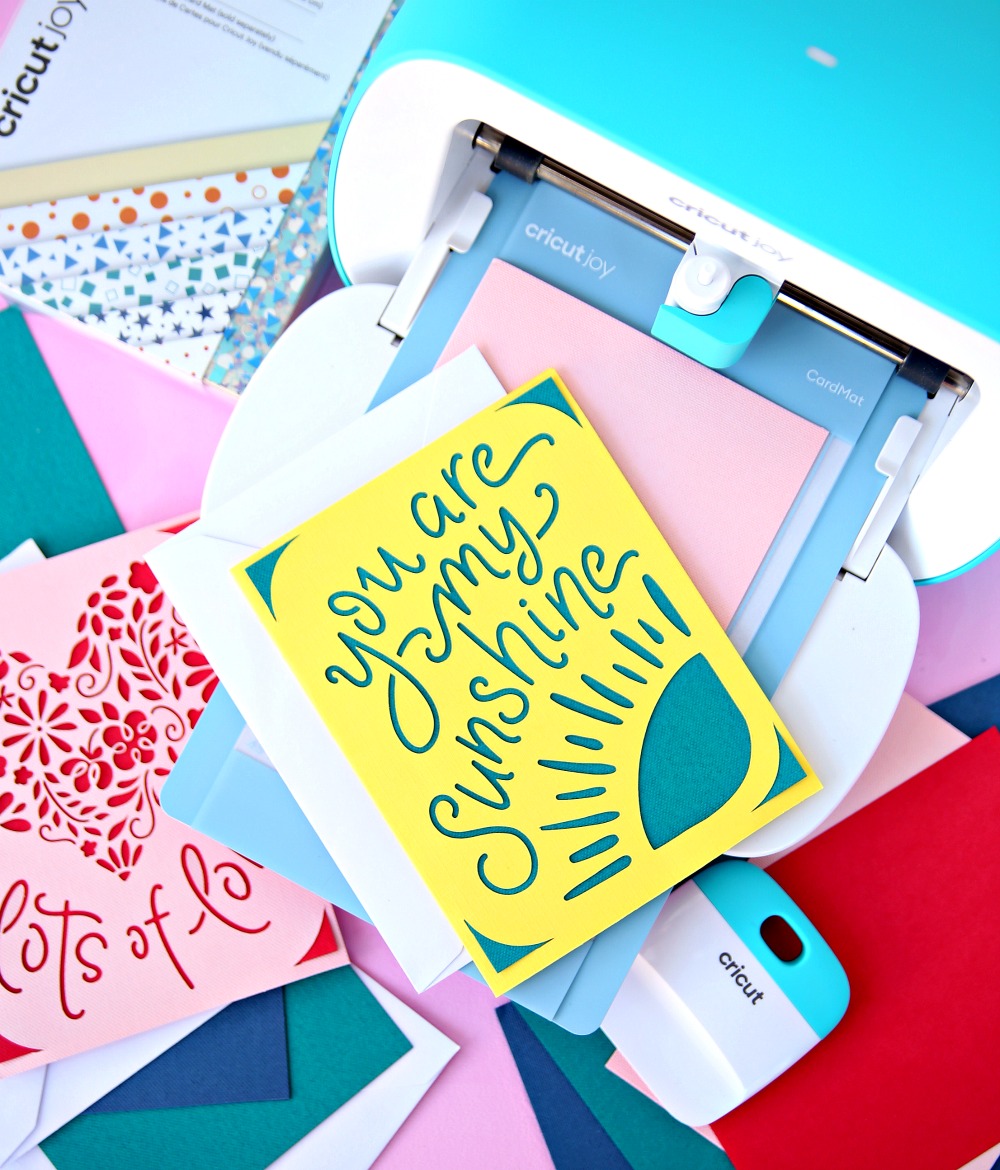
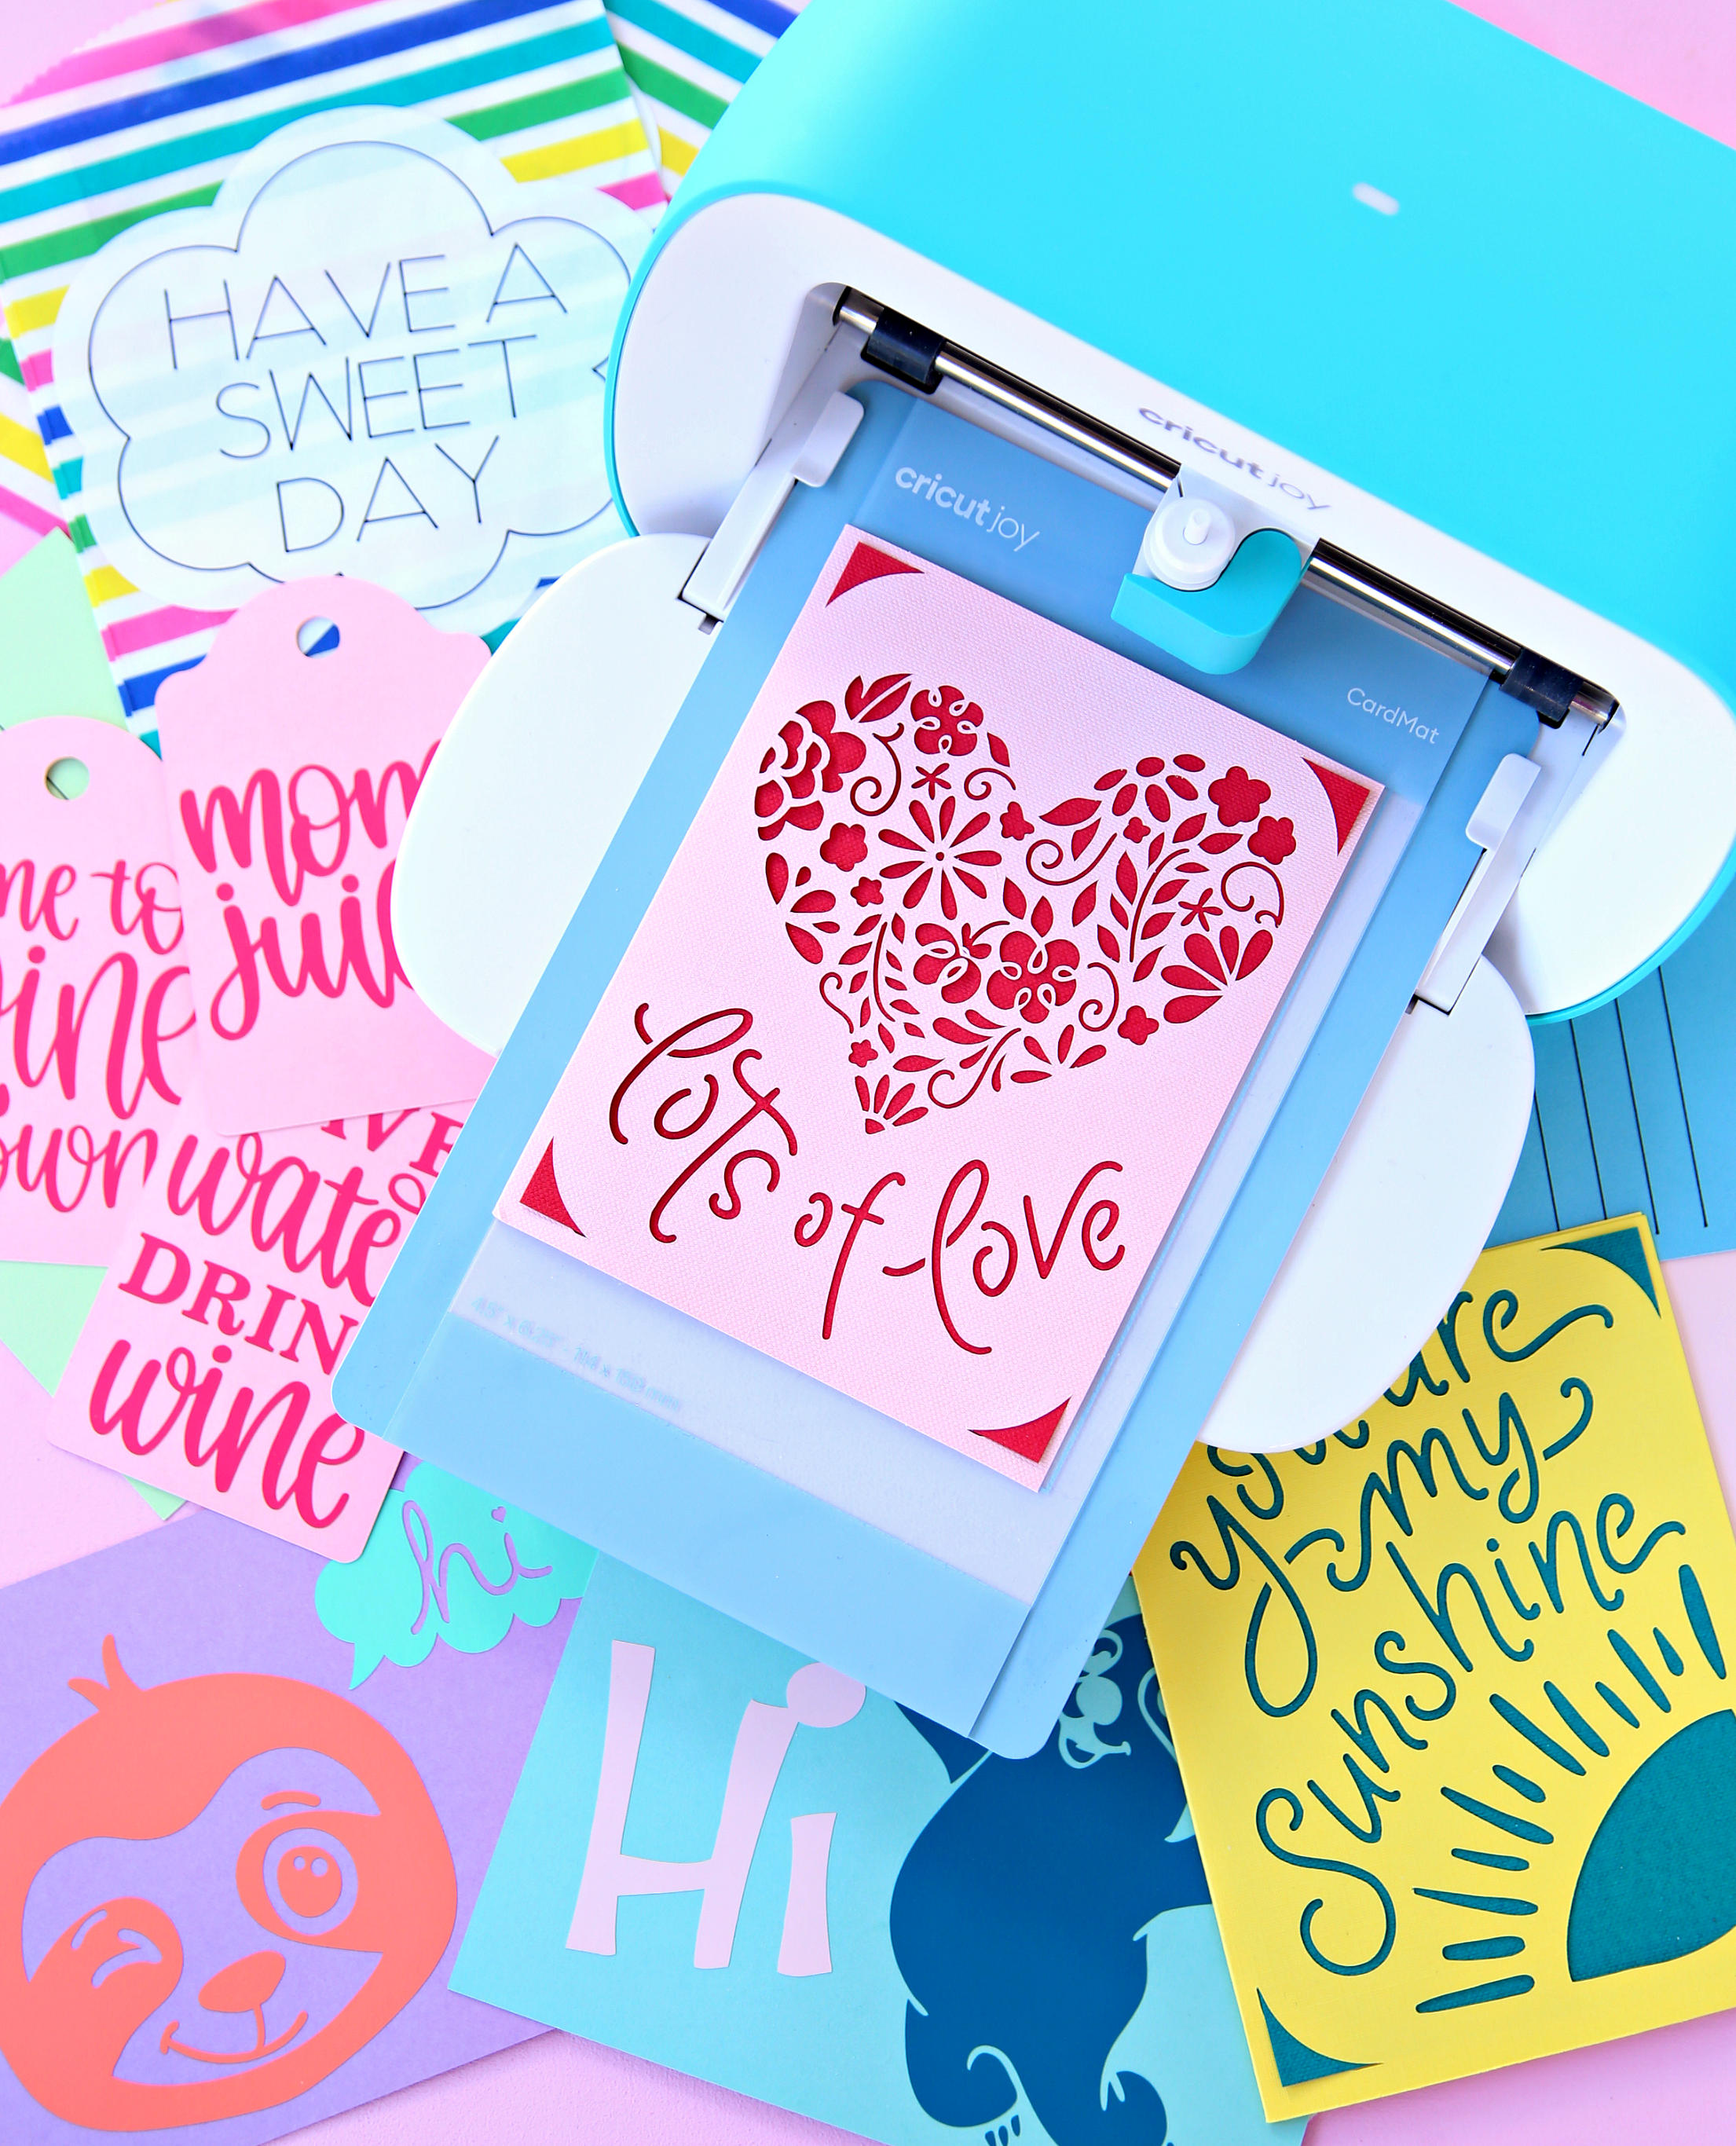
Send a Handmade Card
And, of course, we had to make cards with the Cricut Joy Card Mat. We all know sending cards is a simple way to spread joy and I’m pretty sure I will never by another card again! The Cricut Joy, Cricut Card Mat, and the Cricut Card Insert Packs makes it so easy to create cards for every occasion. The hardest part is choosing which design to make because there is a huge collection of card designs to choose from in Design Space.
Supplies Needed to Make Cards with Your Cricut Joy:
- Cricut Joy
- Cricut Joy Card Mat
- Cricut Joy Card Insert Pack
- You Are My Sunshine Card Design
- Lots of Love Card Design
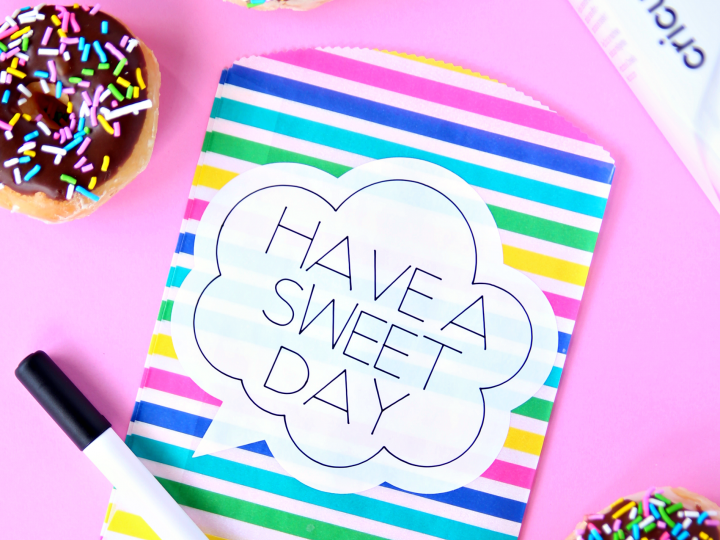
Leave a Sweet Treat for a Neighbor
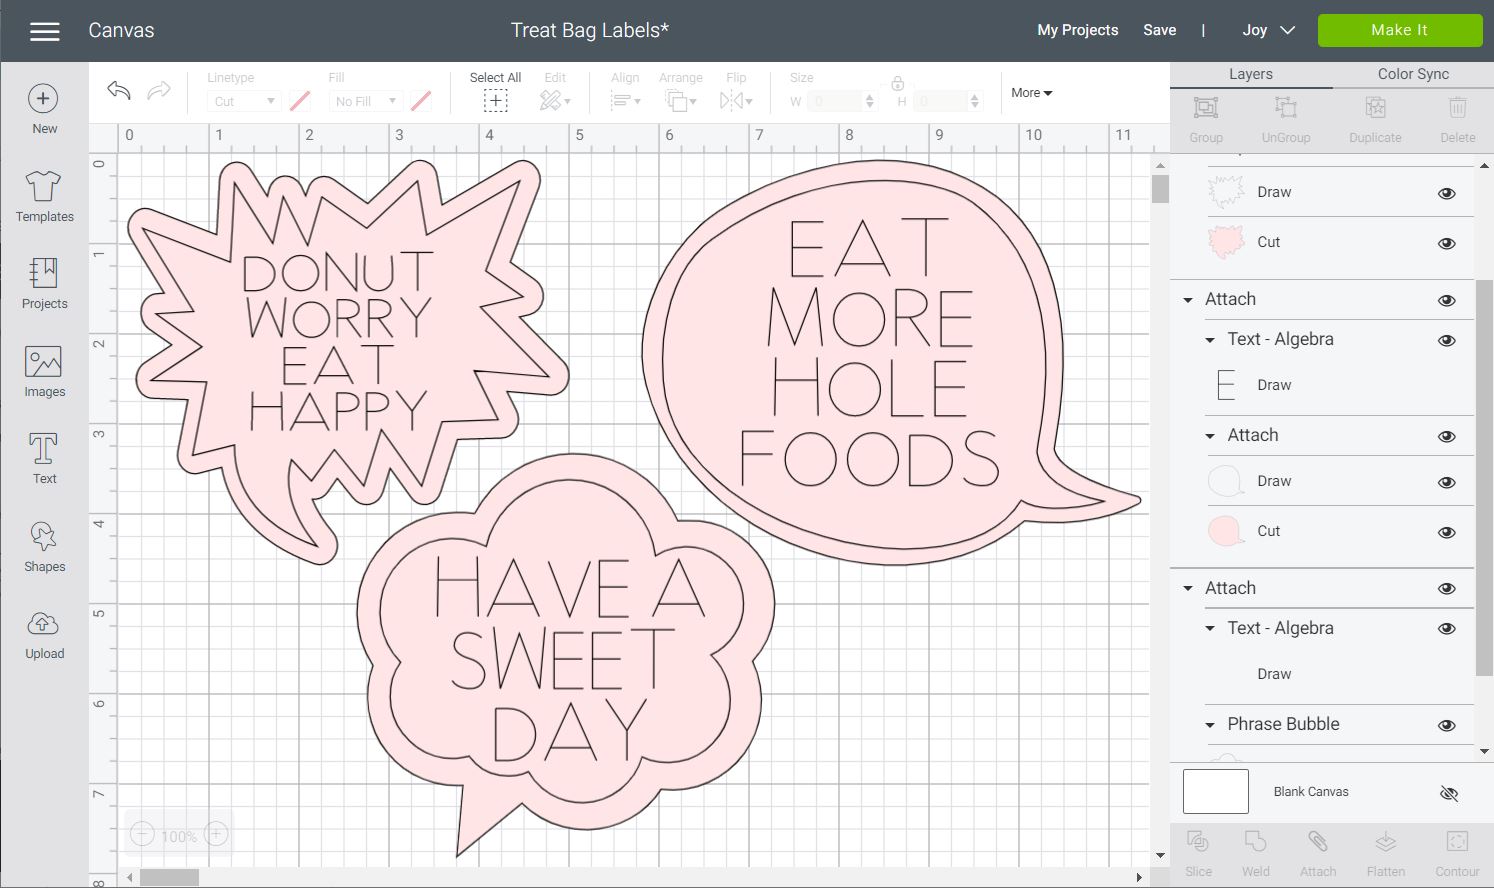
And, finally, we had to test out the Cricut Joy Smart Label Vinyl. For this fun project, we added donuts to treat bags and added fun labels to each bag. We then delivered them to our neighbors because who doesn’t love donuts?!
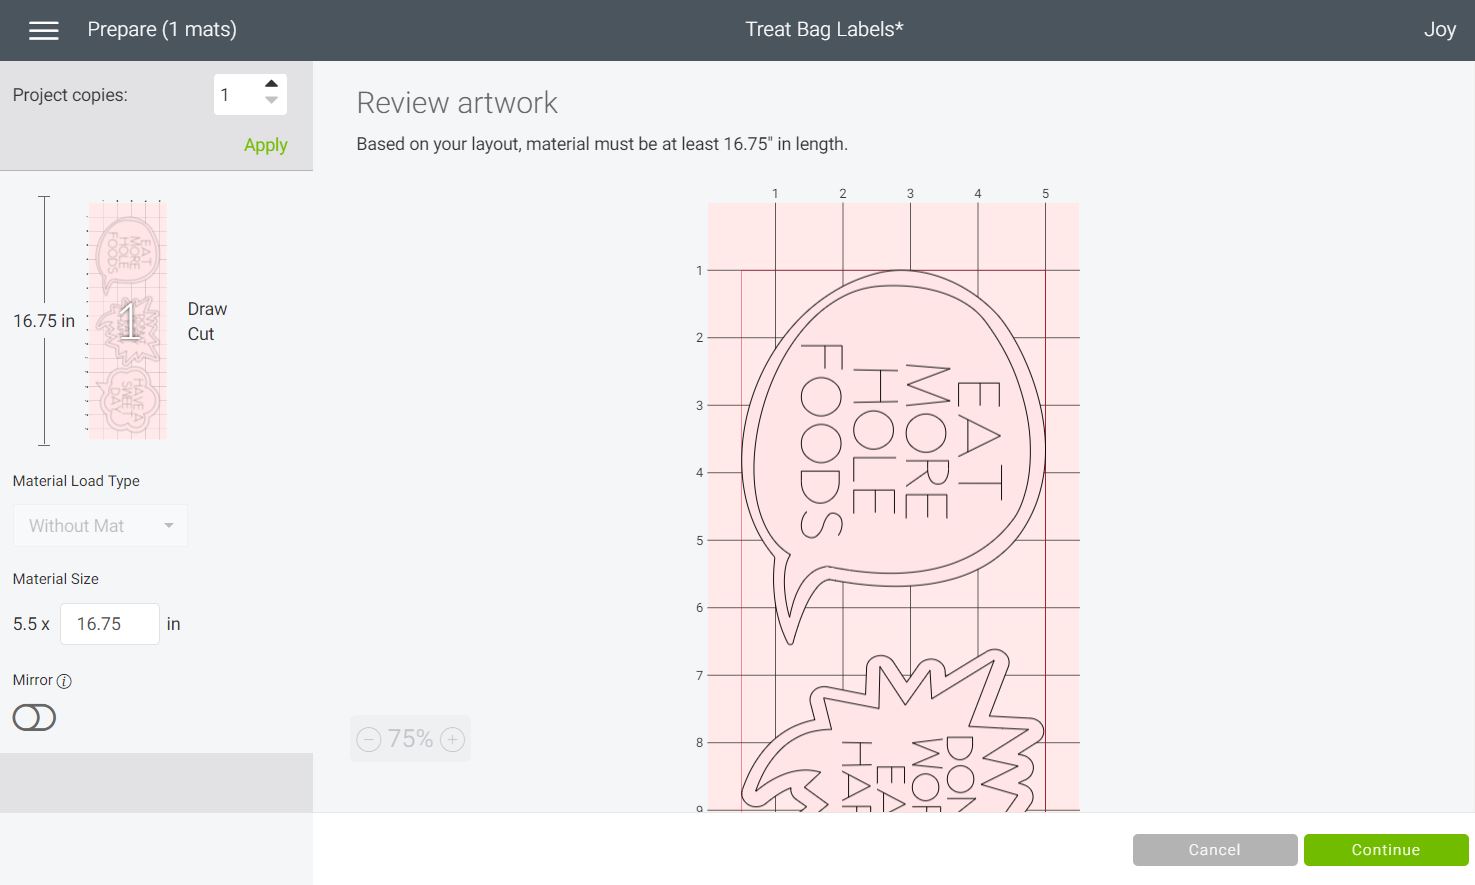
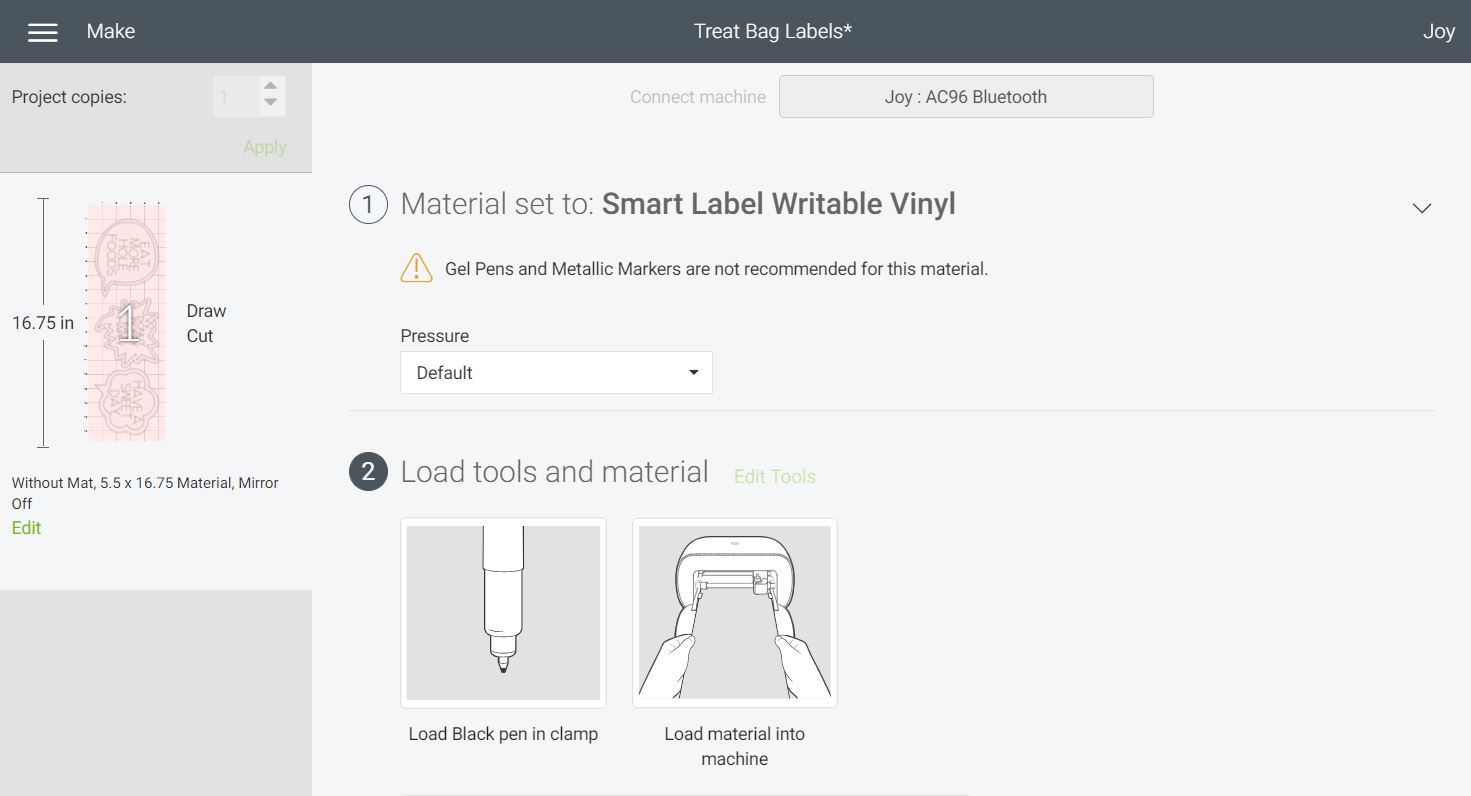
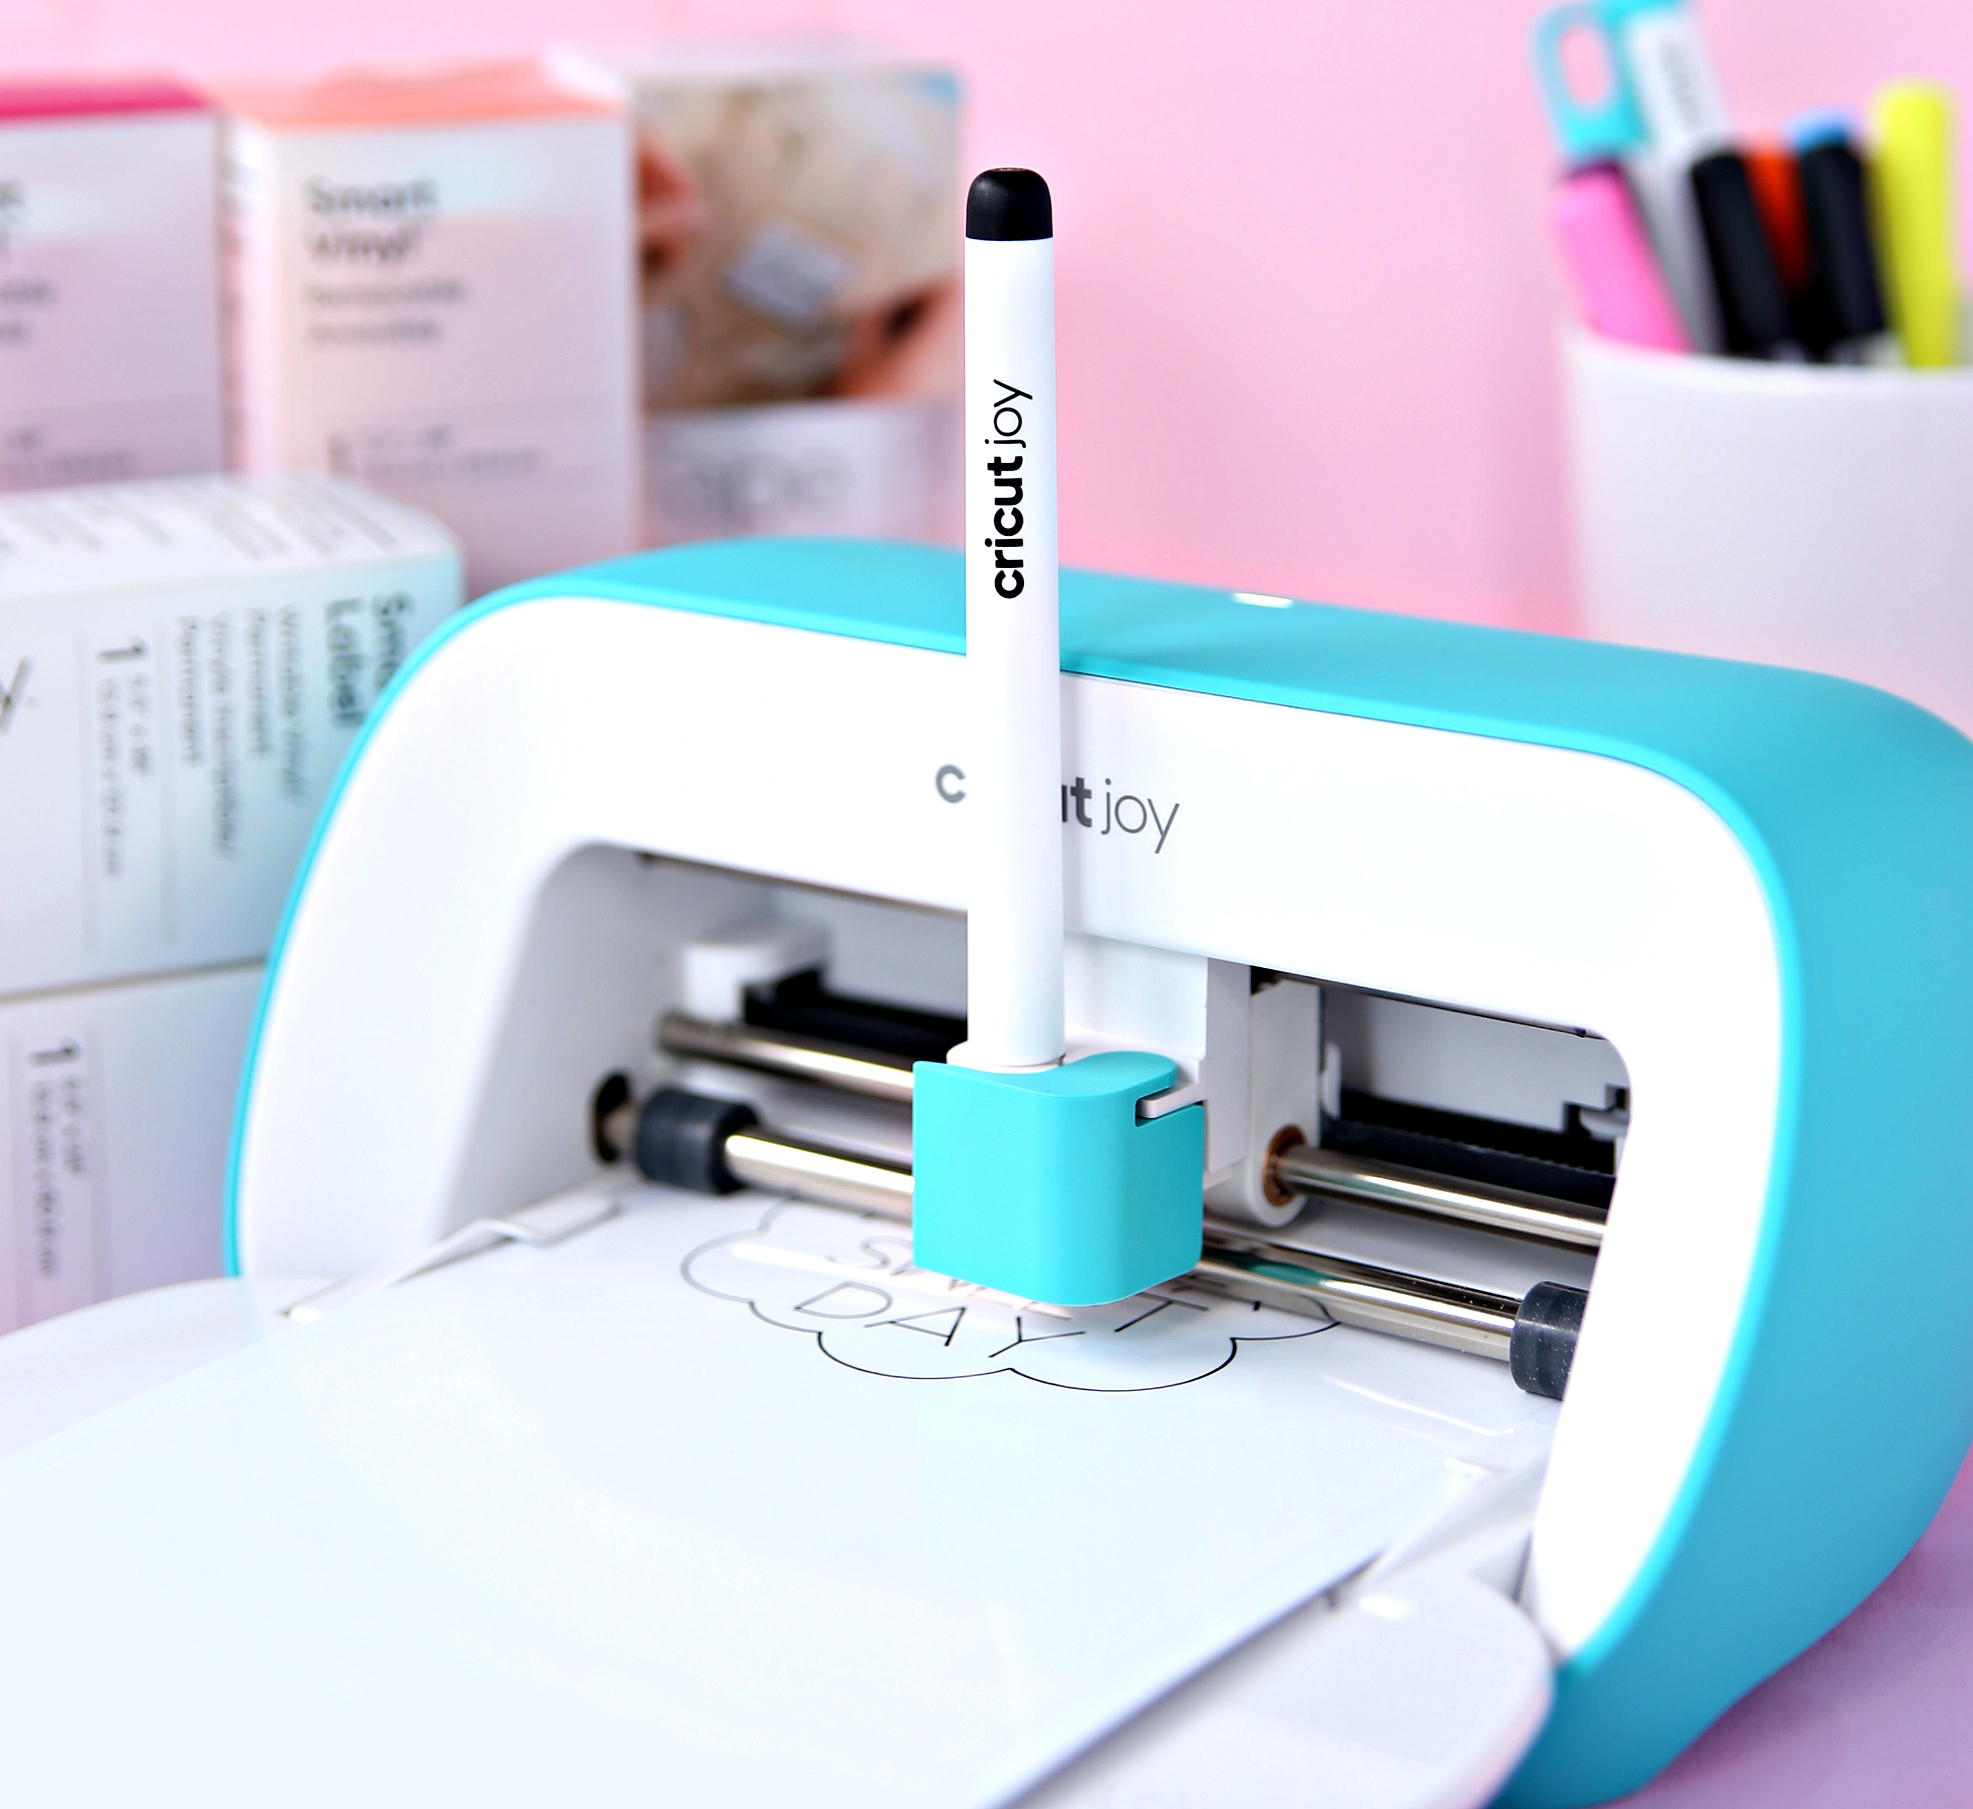
Make labels quickly with the new Cricut Joy and surprise someone special with a sweet treat. 1. Create Labels in Design Space Open this project in Design Space. Use the labels that I've created or edit the text to create your own. Size to fit your treat bags. 2. Review Design Select JOY in the top right corner and click MAKE IT to review artwork. This is where you select to cut with or without a mat depending on the size of your design. These labels are wider than 4.25 inches so we don't need a mat. 3. Write and Cut Labels First, load your Cricut Joy pen and vinyl into your machine. Click GO and let your new best friend work it's magic. 4. Add Blade When prompted replace the pen with the Cricut blade. 5. Click Unload Click unload on your Design Space screen. Allow ink to dry for a few minutes before applying. 6. Apply Labels Gently peel label from liner and apply to treat bags. IMPORTANT: There is no need to use transfer tape when using Cricut Smart Label Vinyl.How to Make Treat Bag Labels wth Cricut Joy
Materials
Instructions

Happy crafting my friends! If you make one of these fun crafts, please share your fabulous creations and make sure you tag me on Instagram – @happy_go_lucky_blog. Visit Cricut.com for more information about Cricut Joy.
can I please have the svg files for spread joy with your circuit
thankyou
It’s a straightforward yet really fun game concept! I can easily imagine it being a crowd favorite at a New Year’s party, especially among kids and families.