This post and its photos may contain affiliate links. As an Amazon associate I earn from qualifying purchases. If you make a purchase through these links, I may receive a small commission at no extra cost to you.
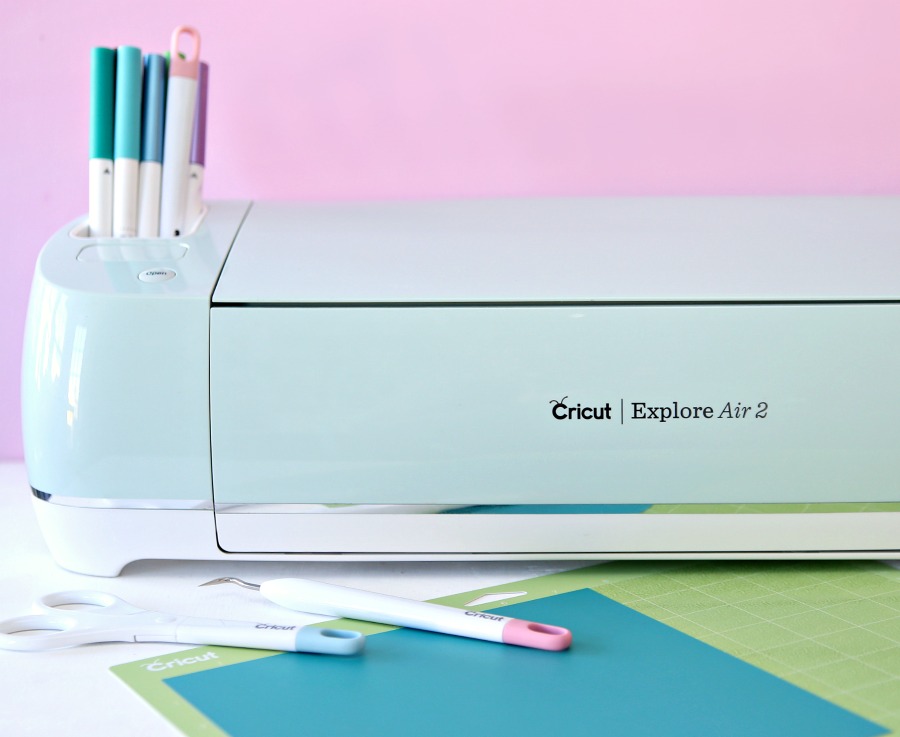
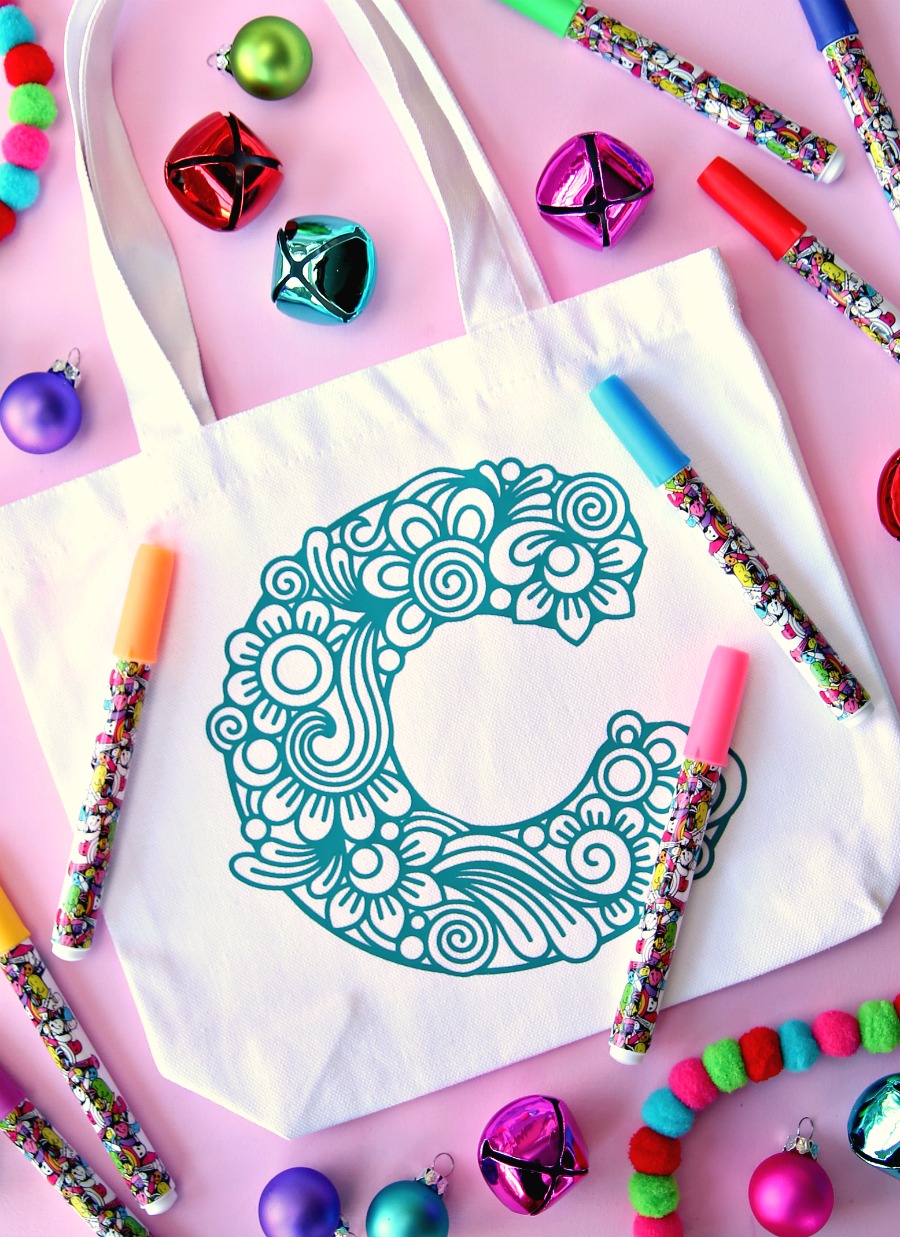
These Personalized Color Your Own Gift Bags are easy to make thanks to the Cricut Explore Air 2 and are the perfect way to gift wrap your holiday gifts this year.

These fun Personalized Color Your Own Gift Bags are easy to make! Just grab a blank tote bag, your favorite Cricut machine, and some iron-on vinyl.
The holidays are right around the corner and it’s time to start shopping – or at least think about the gifts we need to buy:) I’ll be honest – I usually wait until December to start shopping but I do love to come up with fun ways to wrap holiday gifts. And, what’s better than a fun Cricut craft project? A personalized Cricut craft project that’s perfect for the holidays!
Create Color Your Own Gift Bags with Cricut Explore Air 2
This DIY Color Your Own Gift Bag tutorial is the perfect way to wrap gifts this holiday season. Grab a few tote bags, some iron-on vinyl, and your Cricut because we’re making personalized tote bags and using them to wrap gifts this year!
My favorite part about these gift bags is that they become part of the gift. Tuck a few fabric markers inside the tote bag so they can color in the monogram and use the tote for their toys, sleepovers, and more!
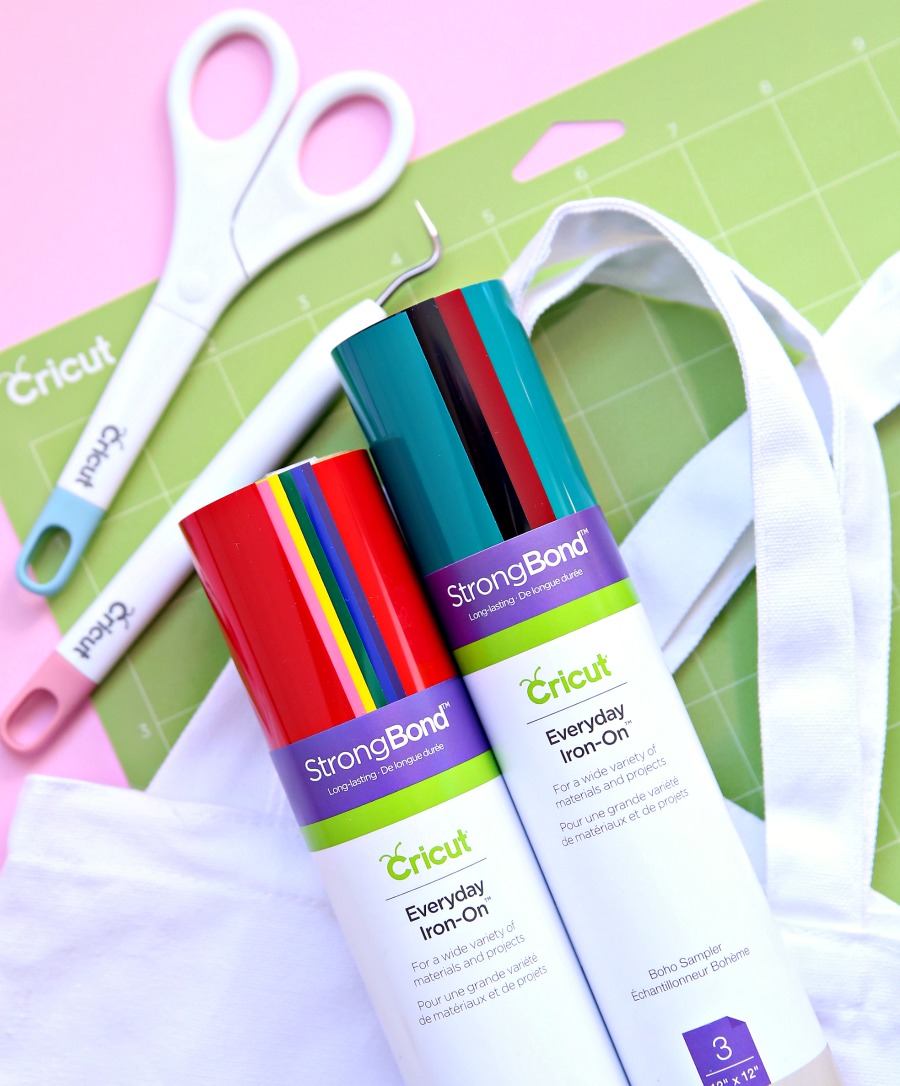
Supplies Needed to Make Color Your Own Gift Bags
- Cricut Explore Air 2
- Monogram Image from Cricut Design Space
- Cricut Cutting Mat
- Iron-on Vinyl
- Cricut Weeder
- Scissors
- Cricut EasyPress 2
- Cricut EasyPress Mat
- Canvas Tote Bags
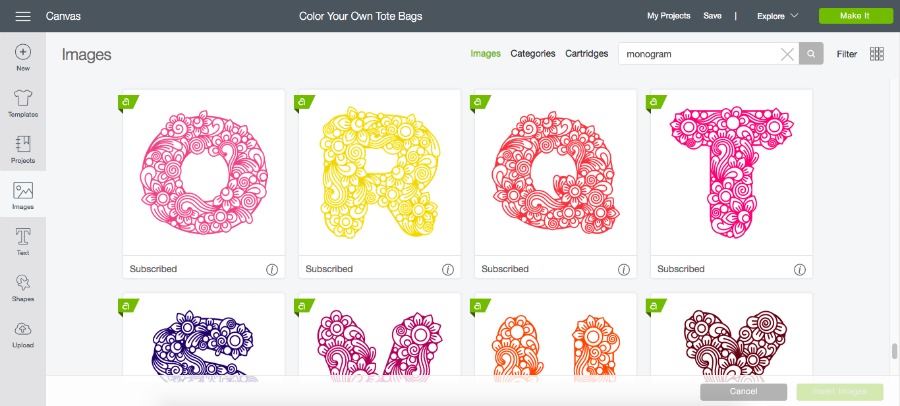
Step 1: Launch Cricut Design Space and open a new project. Click Images on the left and type “monogram'” in the search box. You’ll see lots of fun monogram designs that are perfect for kids of all ages. Select a black and white image that looks like a fun image to color in. I love the flower monograms for my nieces but there are fun monster images that I’m going to use for my nephew’s bag.
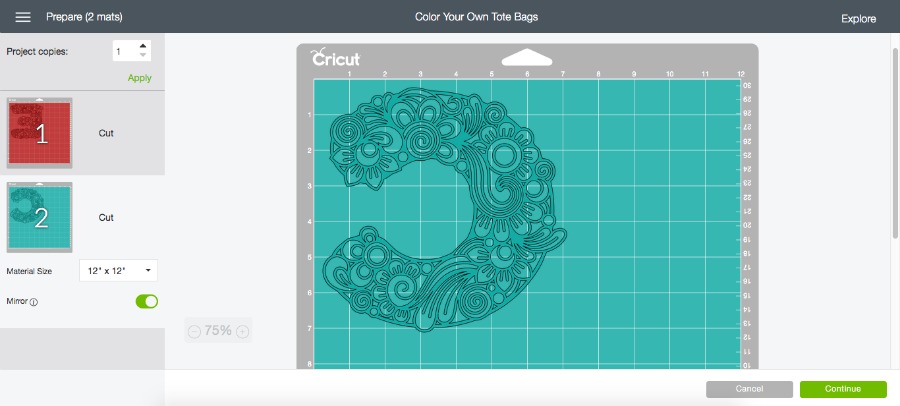
Step 2: Once you’ve added the images to your design space, adjust the size to fit your tote bags and select MAKE IT. Make sure to MIRROR the image. Click CONTINUE.
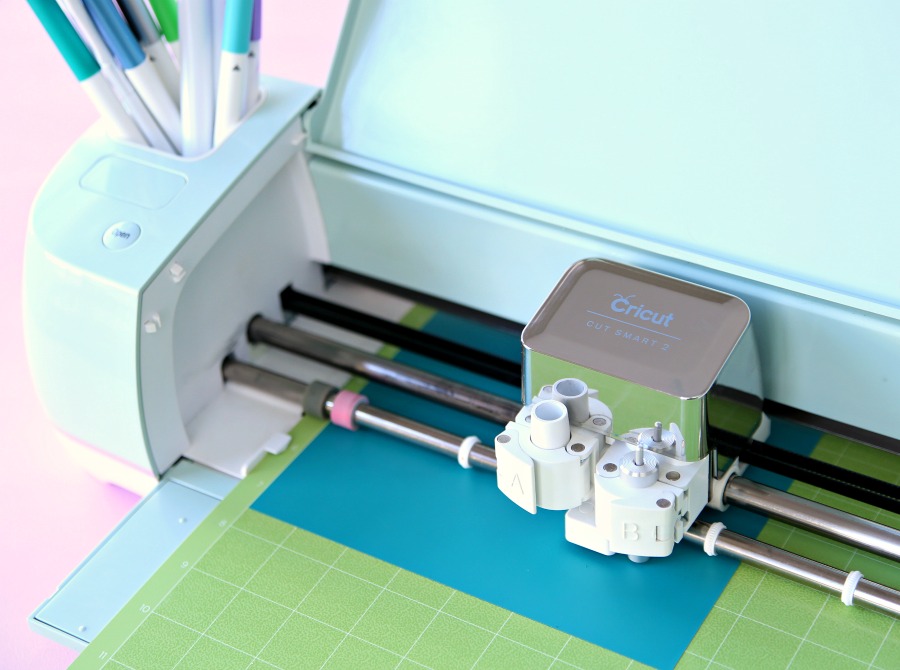
Step 3. Add iron-on vinyl to the cutting mat, shiny side down, and load the mat into your Cricut Explore Air 2. Turn the knob to select Iron-On and you’re ready to let your Cricut work it’s magic.
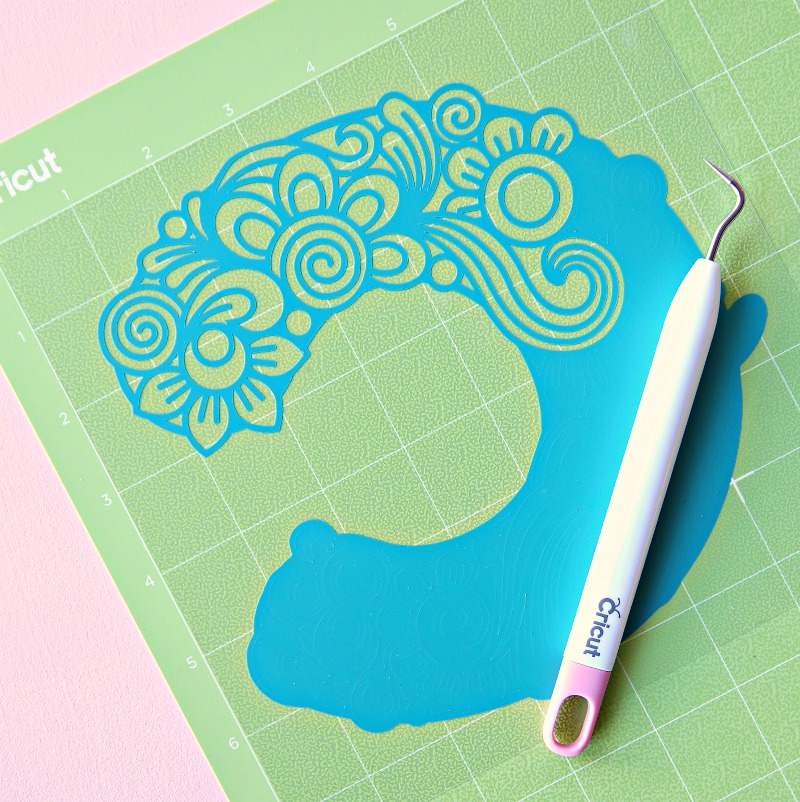
Step 4 – Once your Cricut has finished cutting the image, it’s time to weed around the image. This is a bit time consuming but it’s so worth it. Just turn on a good movie, your favorite podcast or blast your favorite music. And, since this design requires a lot of weeding, I’ve found it’s easier to keep it on the cutting mat while I weed out the design.
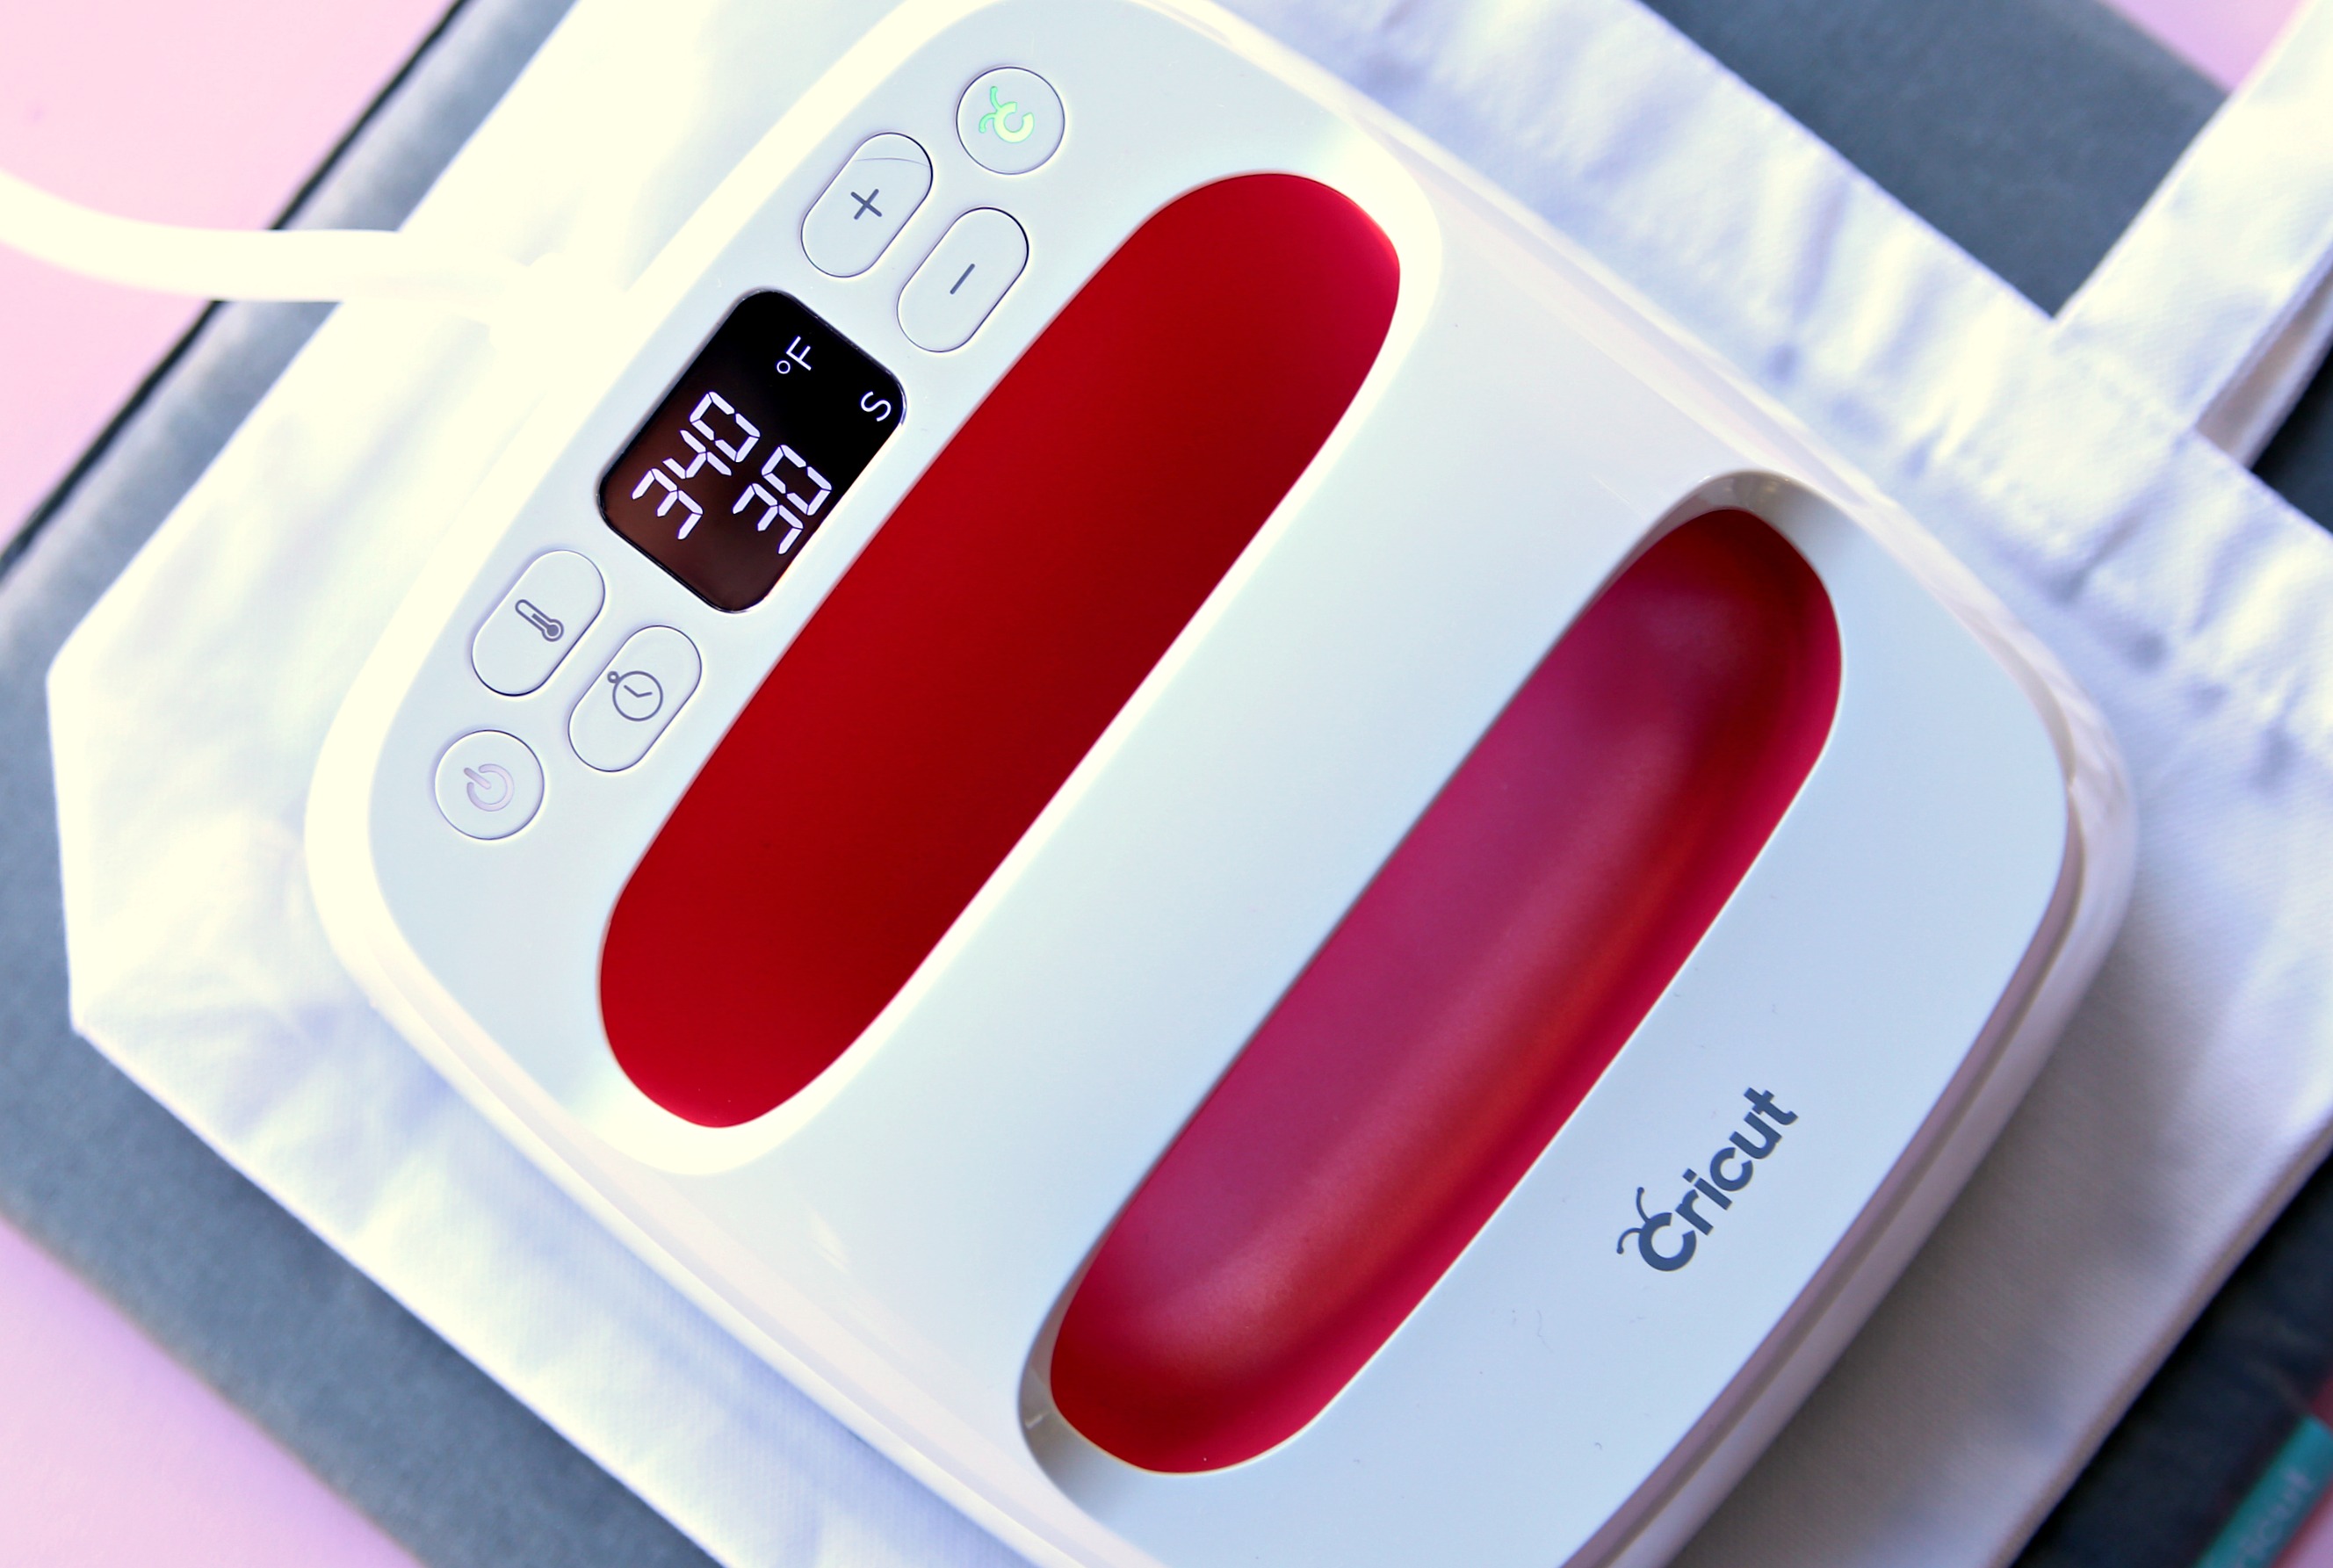
Step 5 – Preheat Cricut EasyPress 2 to 340 degrees. Place tote on mat. Preheat tote for 5 seconds. Place iron-on face down, liner side up on the tote bag. Place EasyPress on image and lightly press for 30 seconds. The image that I used was the perfect size for the small Cricut EasyPress and I love this size. It’s definitely the one I use the most.
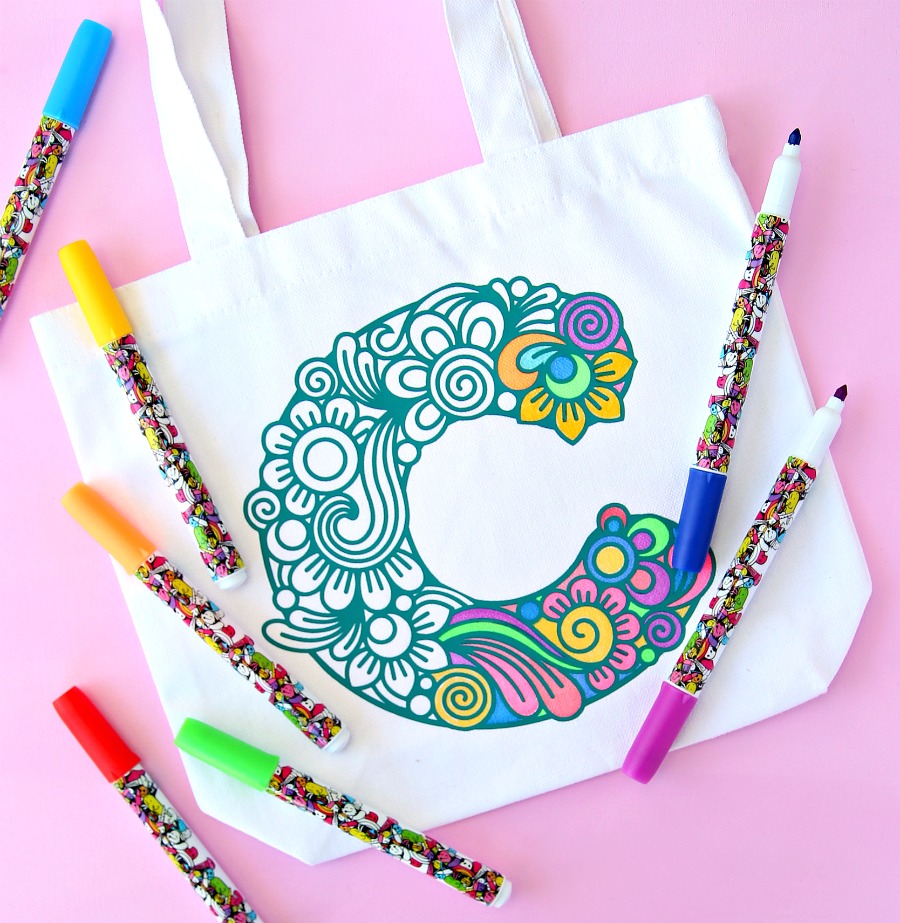
Step 6 – Flip the tote over and press for 15 seconds. Flip back over and slowly remove liner while warm. Now, hold out your tote bag and admire your gorgeous work. (I can’t be the only one that does this?)
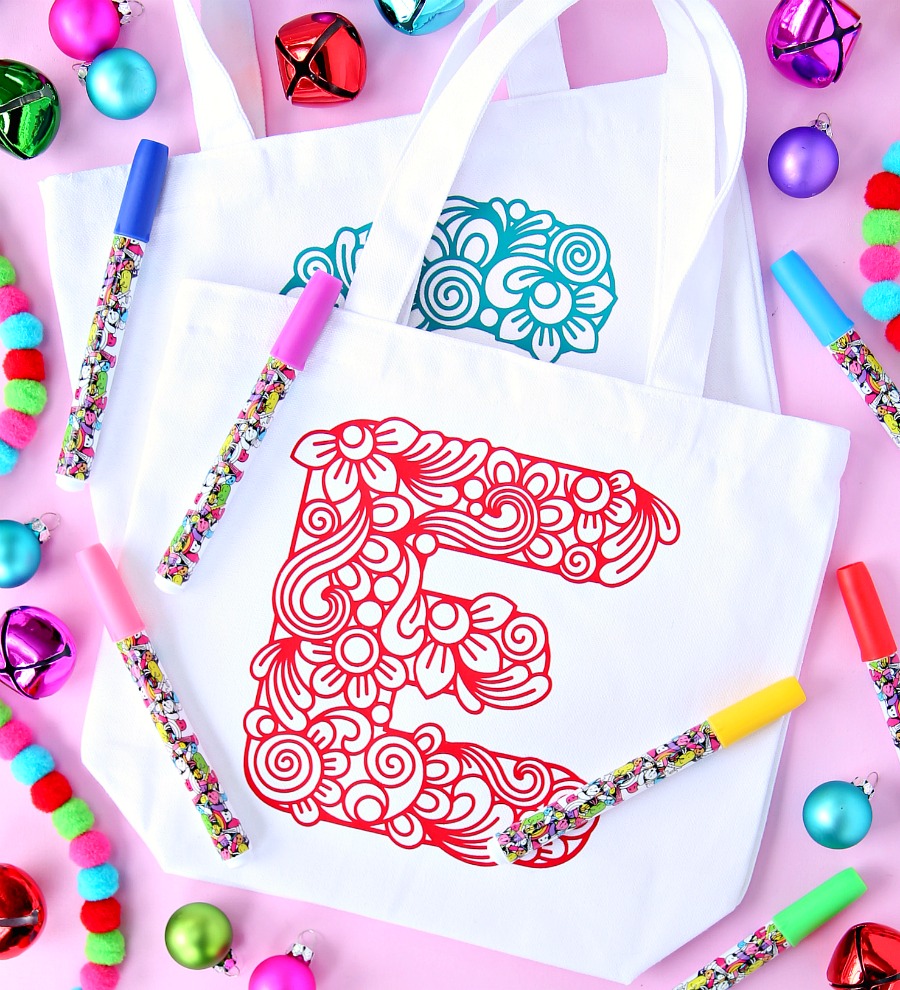
So, what do you think? Aren’t these the cutest personalized gift bags ever?! Now, all you have to do is place your gift inside with a little tissue paper and you have the best gift ever. Wrapping presents is going to be a breeze.
I must say that these tote bags turned out even cuter than I imagined they would! These two gift bags are for my nieces. They love to color and they love purses so I figured it’s the perfect gift bag for each of them. After they open their gift, they can color it and then use the tote bags to carry their toys around in. I also found cute space monograms in Design Space that I’m going to use to make gift bags for my nephews. I also think my mother-in-law would love a larger tote that she can color and then use for her trips to the library.
One more reason to love the Cricut Explore Air 2! Not only does it cut tons of different materials but I can personalize everything I make and I can create unique gifts for all my favorite people!
What personalized gifts are you making this holiday season?
What markers can you use on this?
It’s hard to find experienced people for this subject, however, you sound like you know what you’re talking about! Thanks
Hi! What is the name of the floral monogram you used? I’ve looked at a couple options but have not found any as cute as those. Planning to make them for my nieces as well 🙂
This is amazing. I’d love to make one but I can’t find the same monogram letters you’ve used. Would you mind telling me the name of the artist so I can find them? Im a Design Space subscriber. Thanks!! Your ideas are brilliant.