This post and its photos may contain affiliate links. As an Amazon associate I earn from qualifying purchases. If you make a purchase through these links, I may receive a small commission at no extra cost to you.
Easton turns one in two months and I’m in total denial. I wish I could freeze time and stop him from growing up so fast. This has been the best year. I feel like with Connor I couldn’t wait for him to reach each milestone since he was our first. Now with Easton, I just want him to stay a baby forever. I guess that’s because he’s our last baby. I wasn’t ready for him to crawl and I’m definitely not ready for him to turn one.

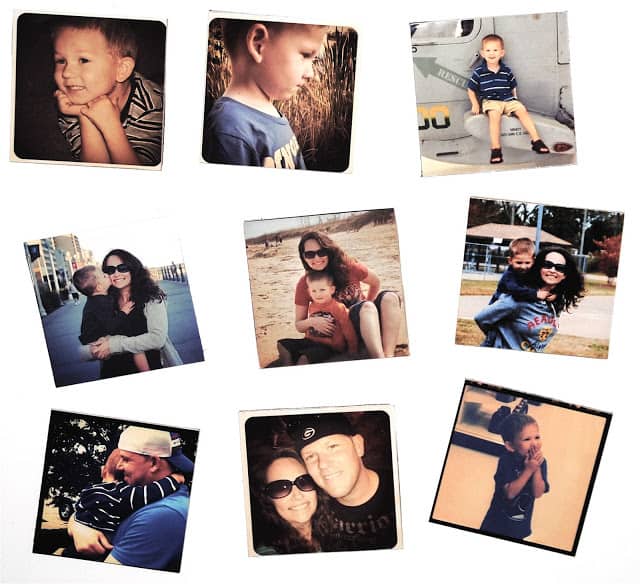
But we all know that isn’t possible so I created a fun little photo display over the weekend to highlight Easton’s first year. I wanted a fun way to display a few of my favorite pictures of Easton from his first year. I had 12 of my favorite Instagram pictures printed – one from each month. Then I got to work on making my photo display. This was so easy to make. Please don’t spend a fortune on these at the store. You can make one for less than $20.
Supplies:
- Frame
- Thumb tacks
- jute
- curtain clips or small clothespins
- 12 pictures
First, let’s talk frames. I found this awesome Barnwood Open Frame at Hobby Lobby and painted it white. I put a small amount of paint on my paint brush so the wood would show through. And it was 50% off so it was only $13. Painting the frame is totally optional. The walls in Easton’s room are painted grey so I wanted the frame to stand out a little.
I originally used clothespins but I didn’t like the way it looked so I took a pack of curtain clips that I had and used pliers to remove the clips from the rings. This was exactly the look I was going for. If you have a larger frame than the clothespins would totally work.
To make your photo gallery frame:
Step 1: Measure down from the opening about 3/4 of an inch. Add a thumb tack to each side.
Step 2: Cut your jute so it’s about two inches longer than the width of your frame.
Step 3: Tie a knot around the ends of your jute. Wrap your jute around the two thumb tacks. Push the thumb tacks down to hold jute in place.

Step 4: Measure the opening from the jute down and divide that by 4. Place your thumb tacks down the side dividing the opening into 4 even sections.
Step 5: Add your clips and pictures.
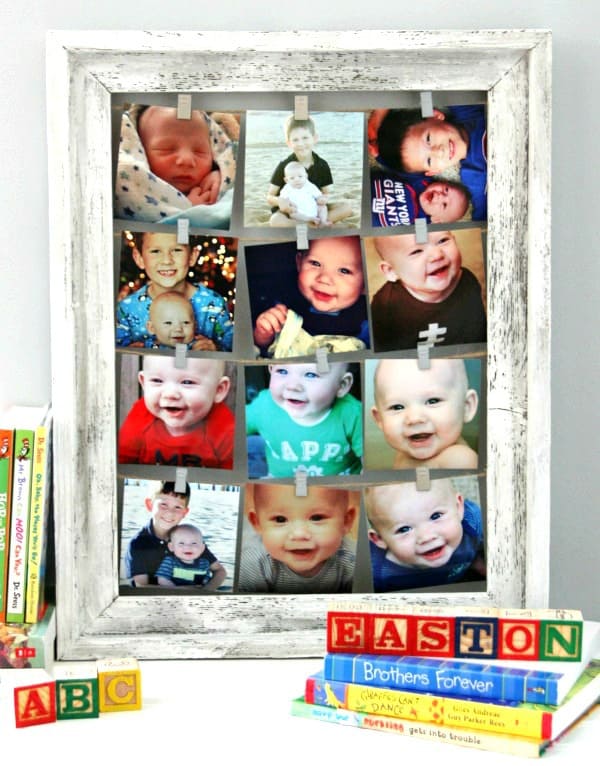
Oh my goodness! Look at that sweet face. I absolutely LOVE the way this turned out!!
Obviously I will have to update the pictures of him next month and then I will add a picture from his first birthday. I’m also thinking of making another frame to display pictures of Connor and Easton together on a monthly basis and change the photos every year. This is now the first thing I see when I walk in his room and it makes me smile every time I see it.
Plus, it was so easy to make. Another easy project in the books. I’m going to have to update it every year with monthly pictures.
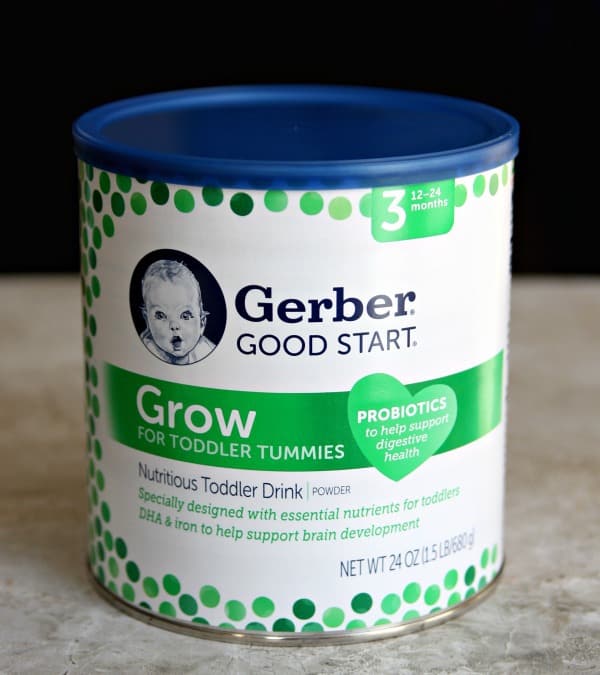
And, as Easton gets older, we’ve been introducing solid food into his diet. But he isn’t very interested in it at all so I need to make sure that he gets all the essential nutrients a growing boy needs. As he approaches his first birthday, I was excited to discover Gerber’s new Stage 3 Gerber® Good Start® Grow Toddler Drink. It’s specifically designed for toddlers 12-24 months and has essential nutrients to help fill common nutrient gaps that many toddlers experience as well as probiotics to support digestive health. This is exactly what Easton needs as he gets used to eating solid foods on a daily basis.
Stage 3 Gerber® Good Start® Grow Toddler Drink nourishes toddler tummies so they can focus on what makes them, and you, happy: their growing independence.
Do you love photo projects as much as I do? Then you’ll love these too:
Photo Collage Using PowerPoint

![]()
![]()
![]()
![]()
![]()
![]()