This post and its photos may contain affiliate links. As an Amazon associate I earn from qualifying purchases. If you make a purchase through these links, I may receive a small commission at no extra cost to you.
This tutorial and the photos within it may contain Amazon or other affiliate links. If you purchase something through the link, I may receive a small commission at no extra charge to you.
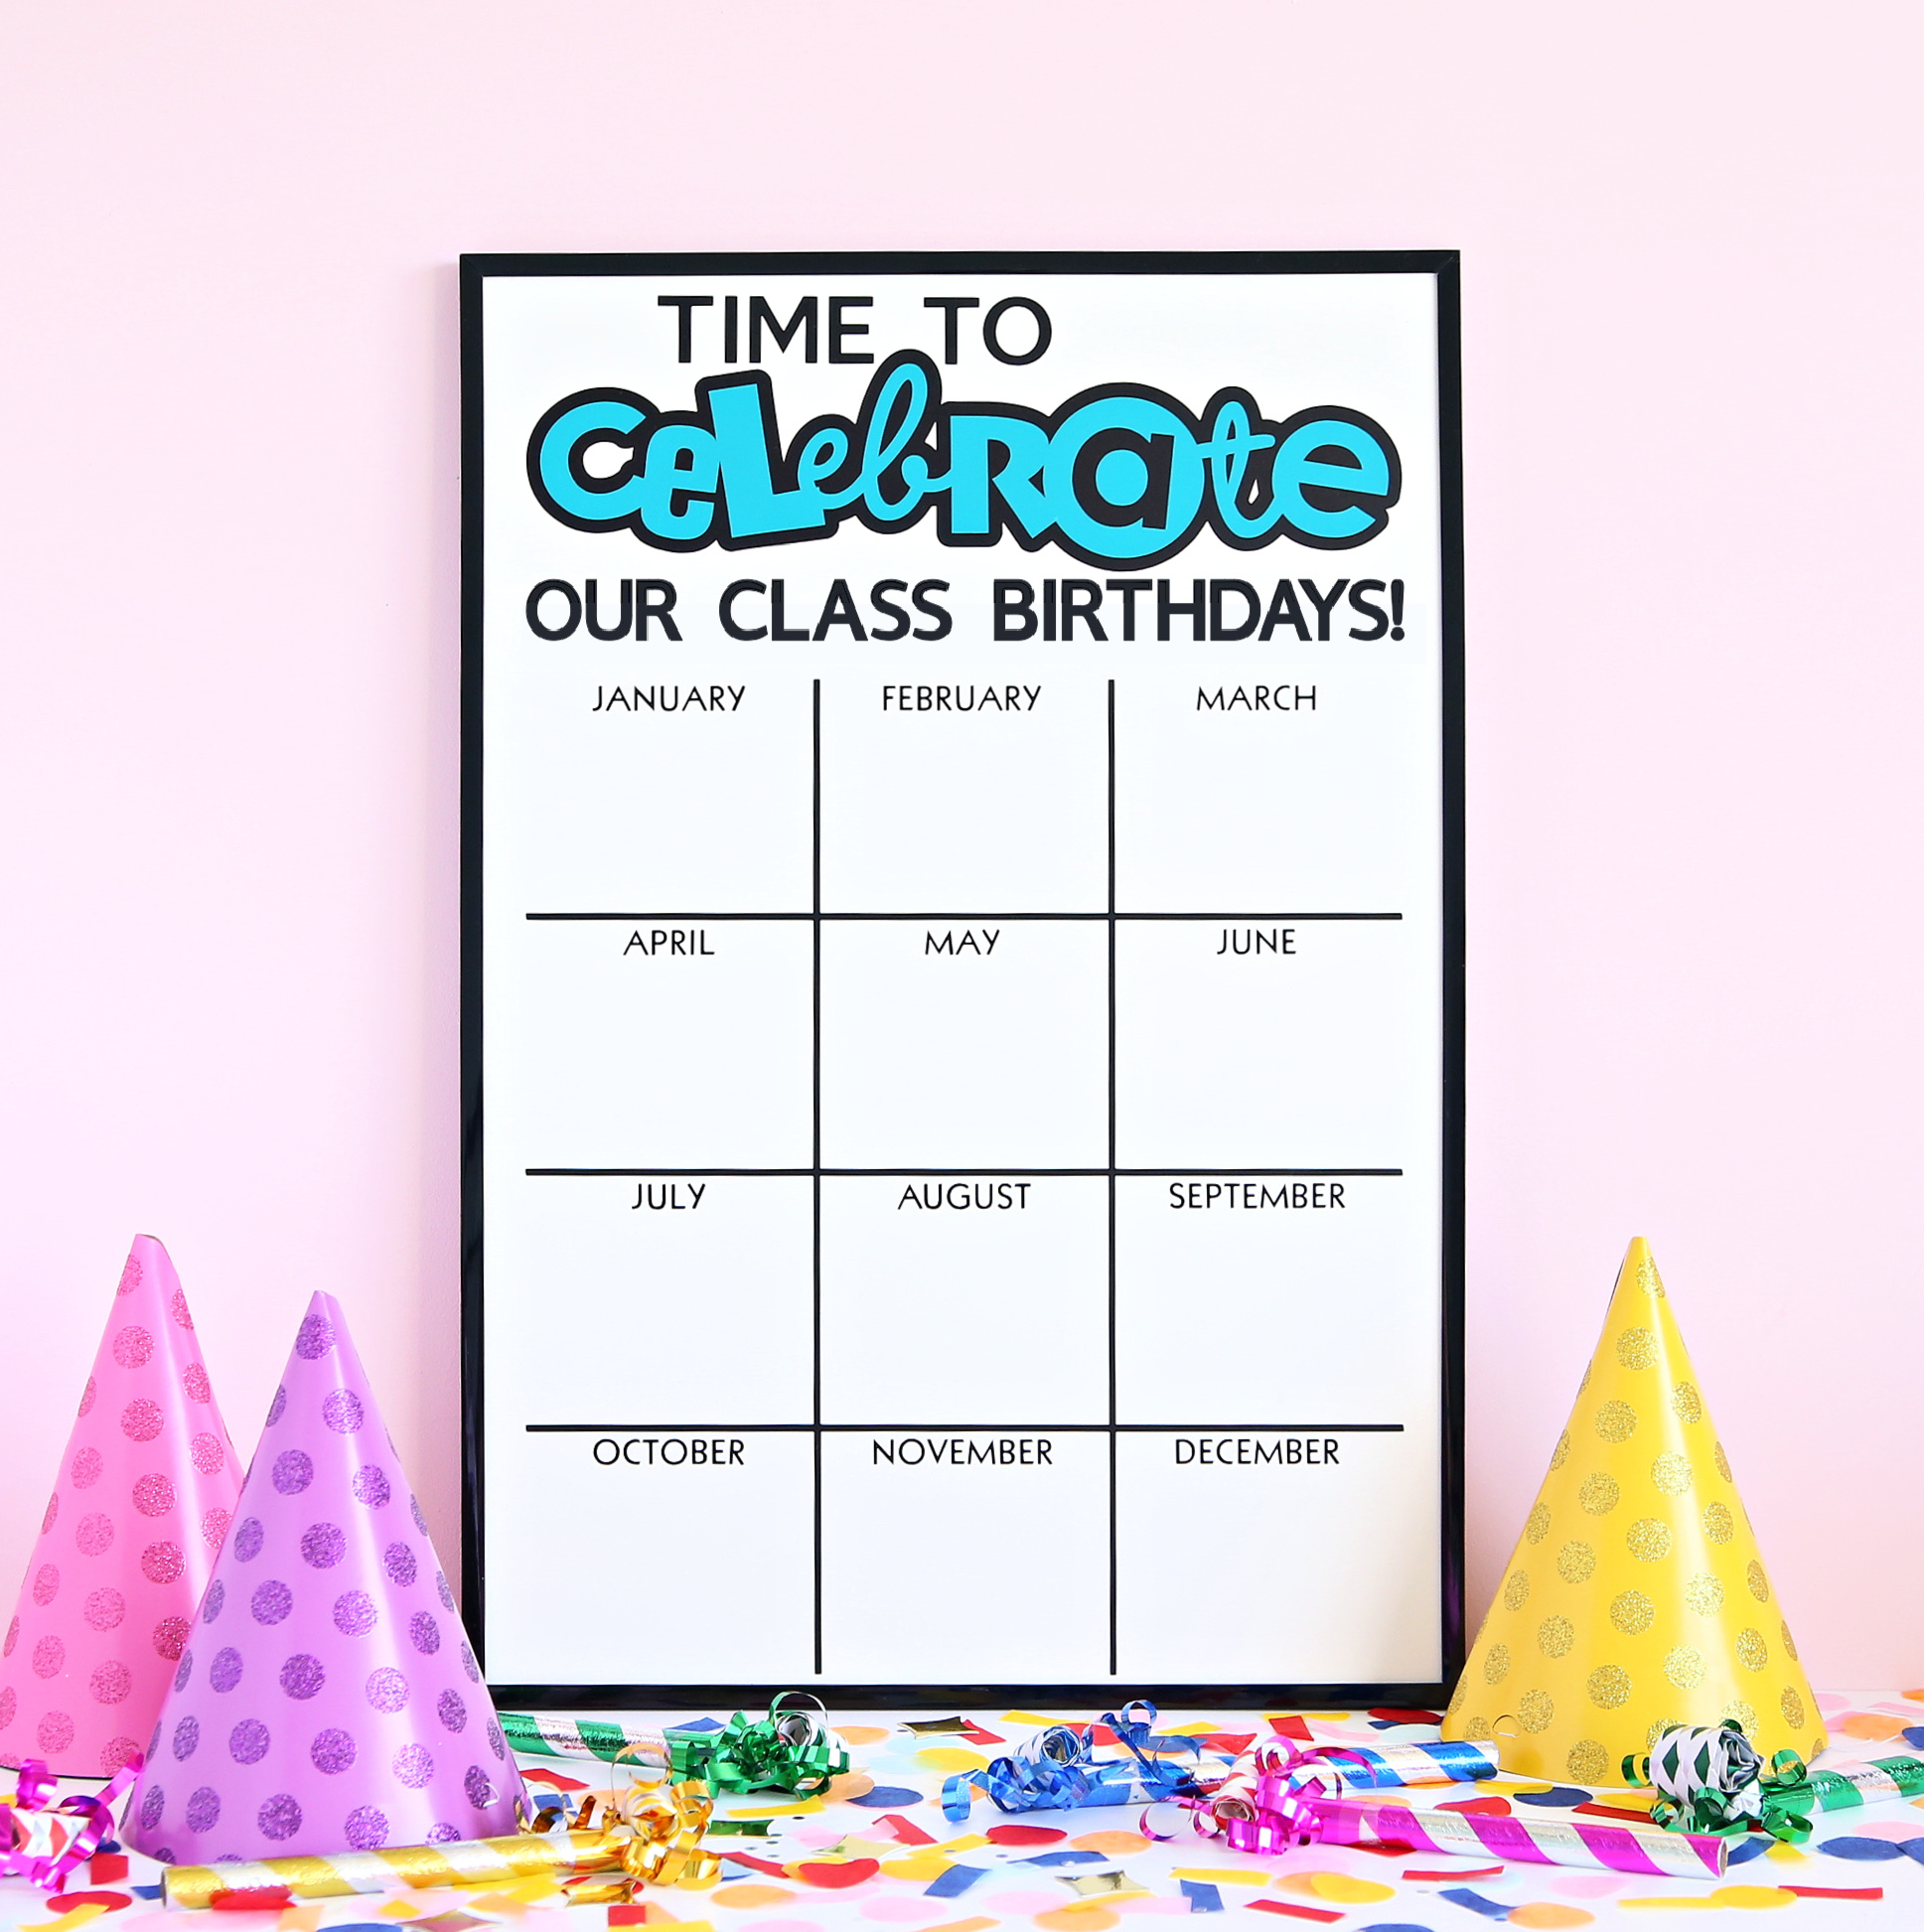
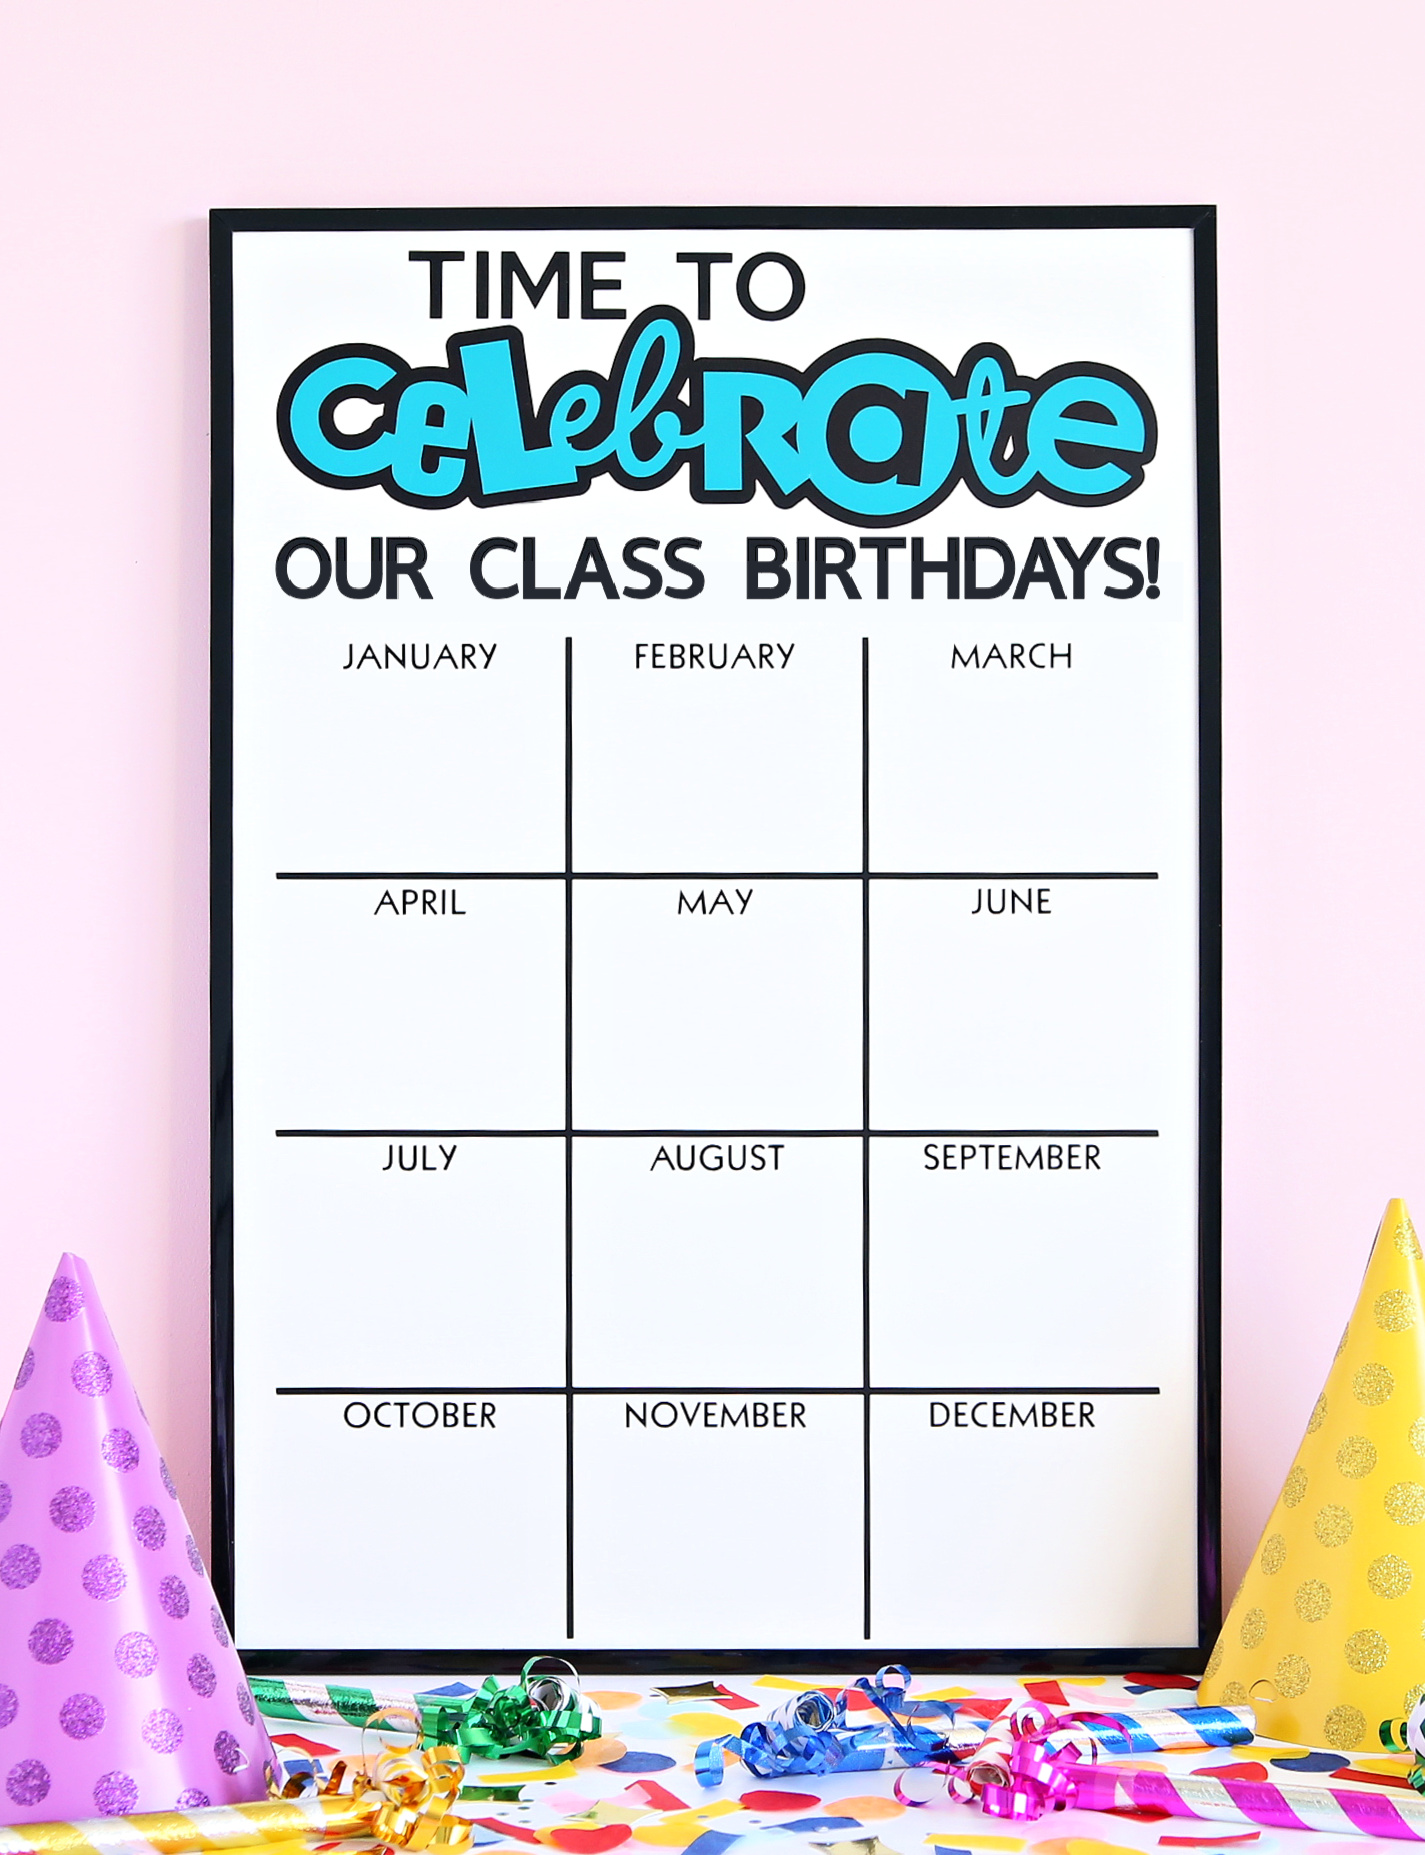
Use the new Cricut Explore 3 to create a Classroom Birthday Board for your classroom. It’s the perfect way to display birthdays all year long and it’s a dry erase board so it can be used year after year. This fun Cricut project is also the perfect gift idea for all your favorite teachers.
Special thanks to Cricut for sponsoring today’s post. All opinions are honestly my own.
I love creating fun crafts with my Cricut but I especially LOVE making gifts for teachers and sharing fabulous projects that teachers can use in their classroom. And, today I’m super excited to share a fun Cricut project for both teachers and students using the new Cricut Explore 3.
Teachers, if you don’t have a Cricut – you need one! Not only can you use Cricut machines to label everything in your classroom but it can be used to decorate bulletin boards, classroom doors – pretty much everything and every space in your classroom. I’ve also used my Cricut to make matching t-shirts for the teachers I used to work with.
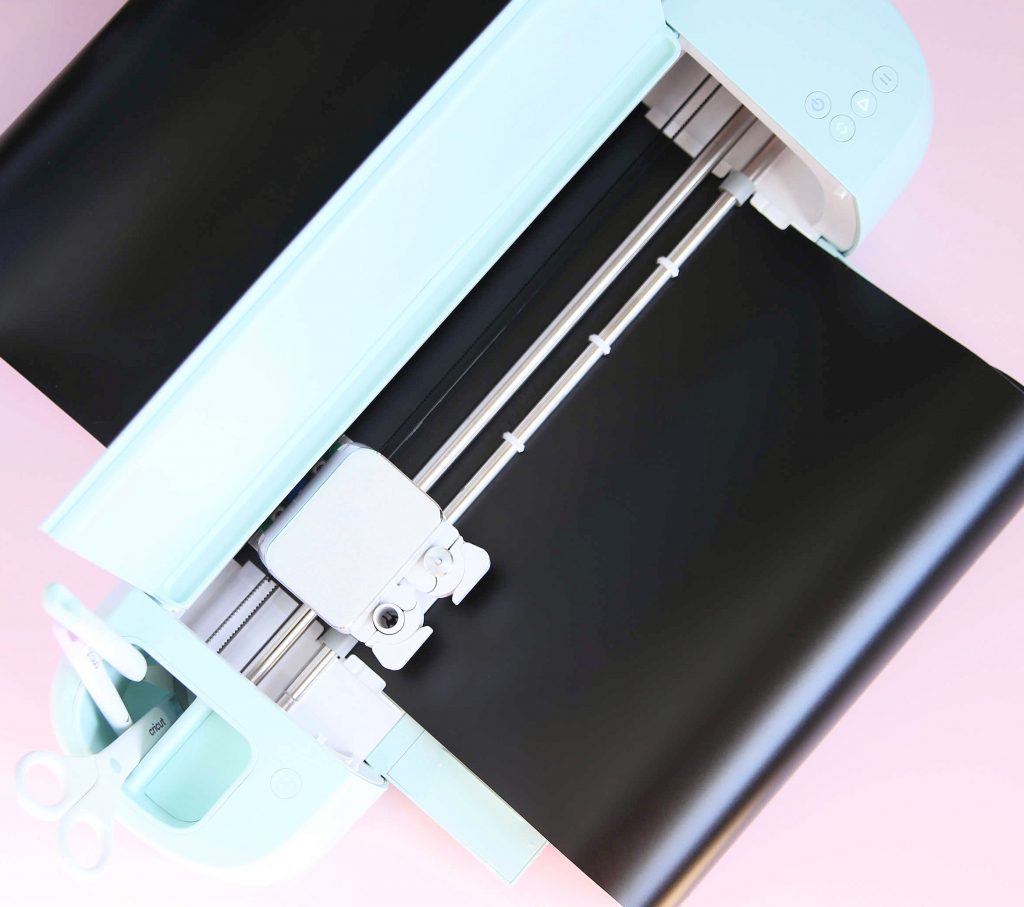
And, today’s Cricut craft is the perfect addition to every classroom. We all know children love to celebrate their birthdays so we’re turning an inexpensive frame into a Classroom Birthday Board using our Cricut Explore 3 and Smart Vinyl. Using the new Cricut Explore 3 means that we don’t need to use a cutting mat and our design cuts faster. Plus, it can cut material up to 12 feet long. How awesome is that?!
We’re adding permanent adhesive vinyl to a piece of poster board behind the frame and using the glass as a dry erase board so teachers can use the same board over and over again every year. Just write everyone’s name and birthdate in the month box and wipe clean at the end of the school year. This design can also be placed right on a dry erase board if you have one in your classroom.
Classroom Birthday Board Supplies
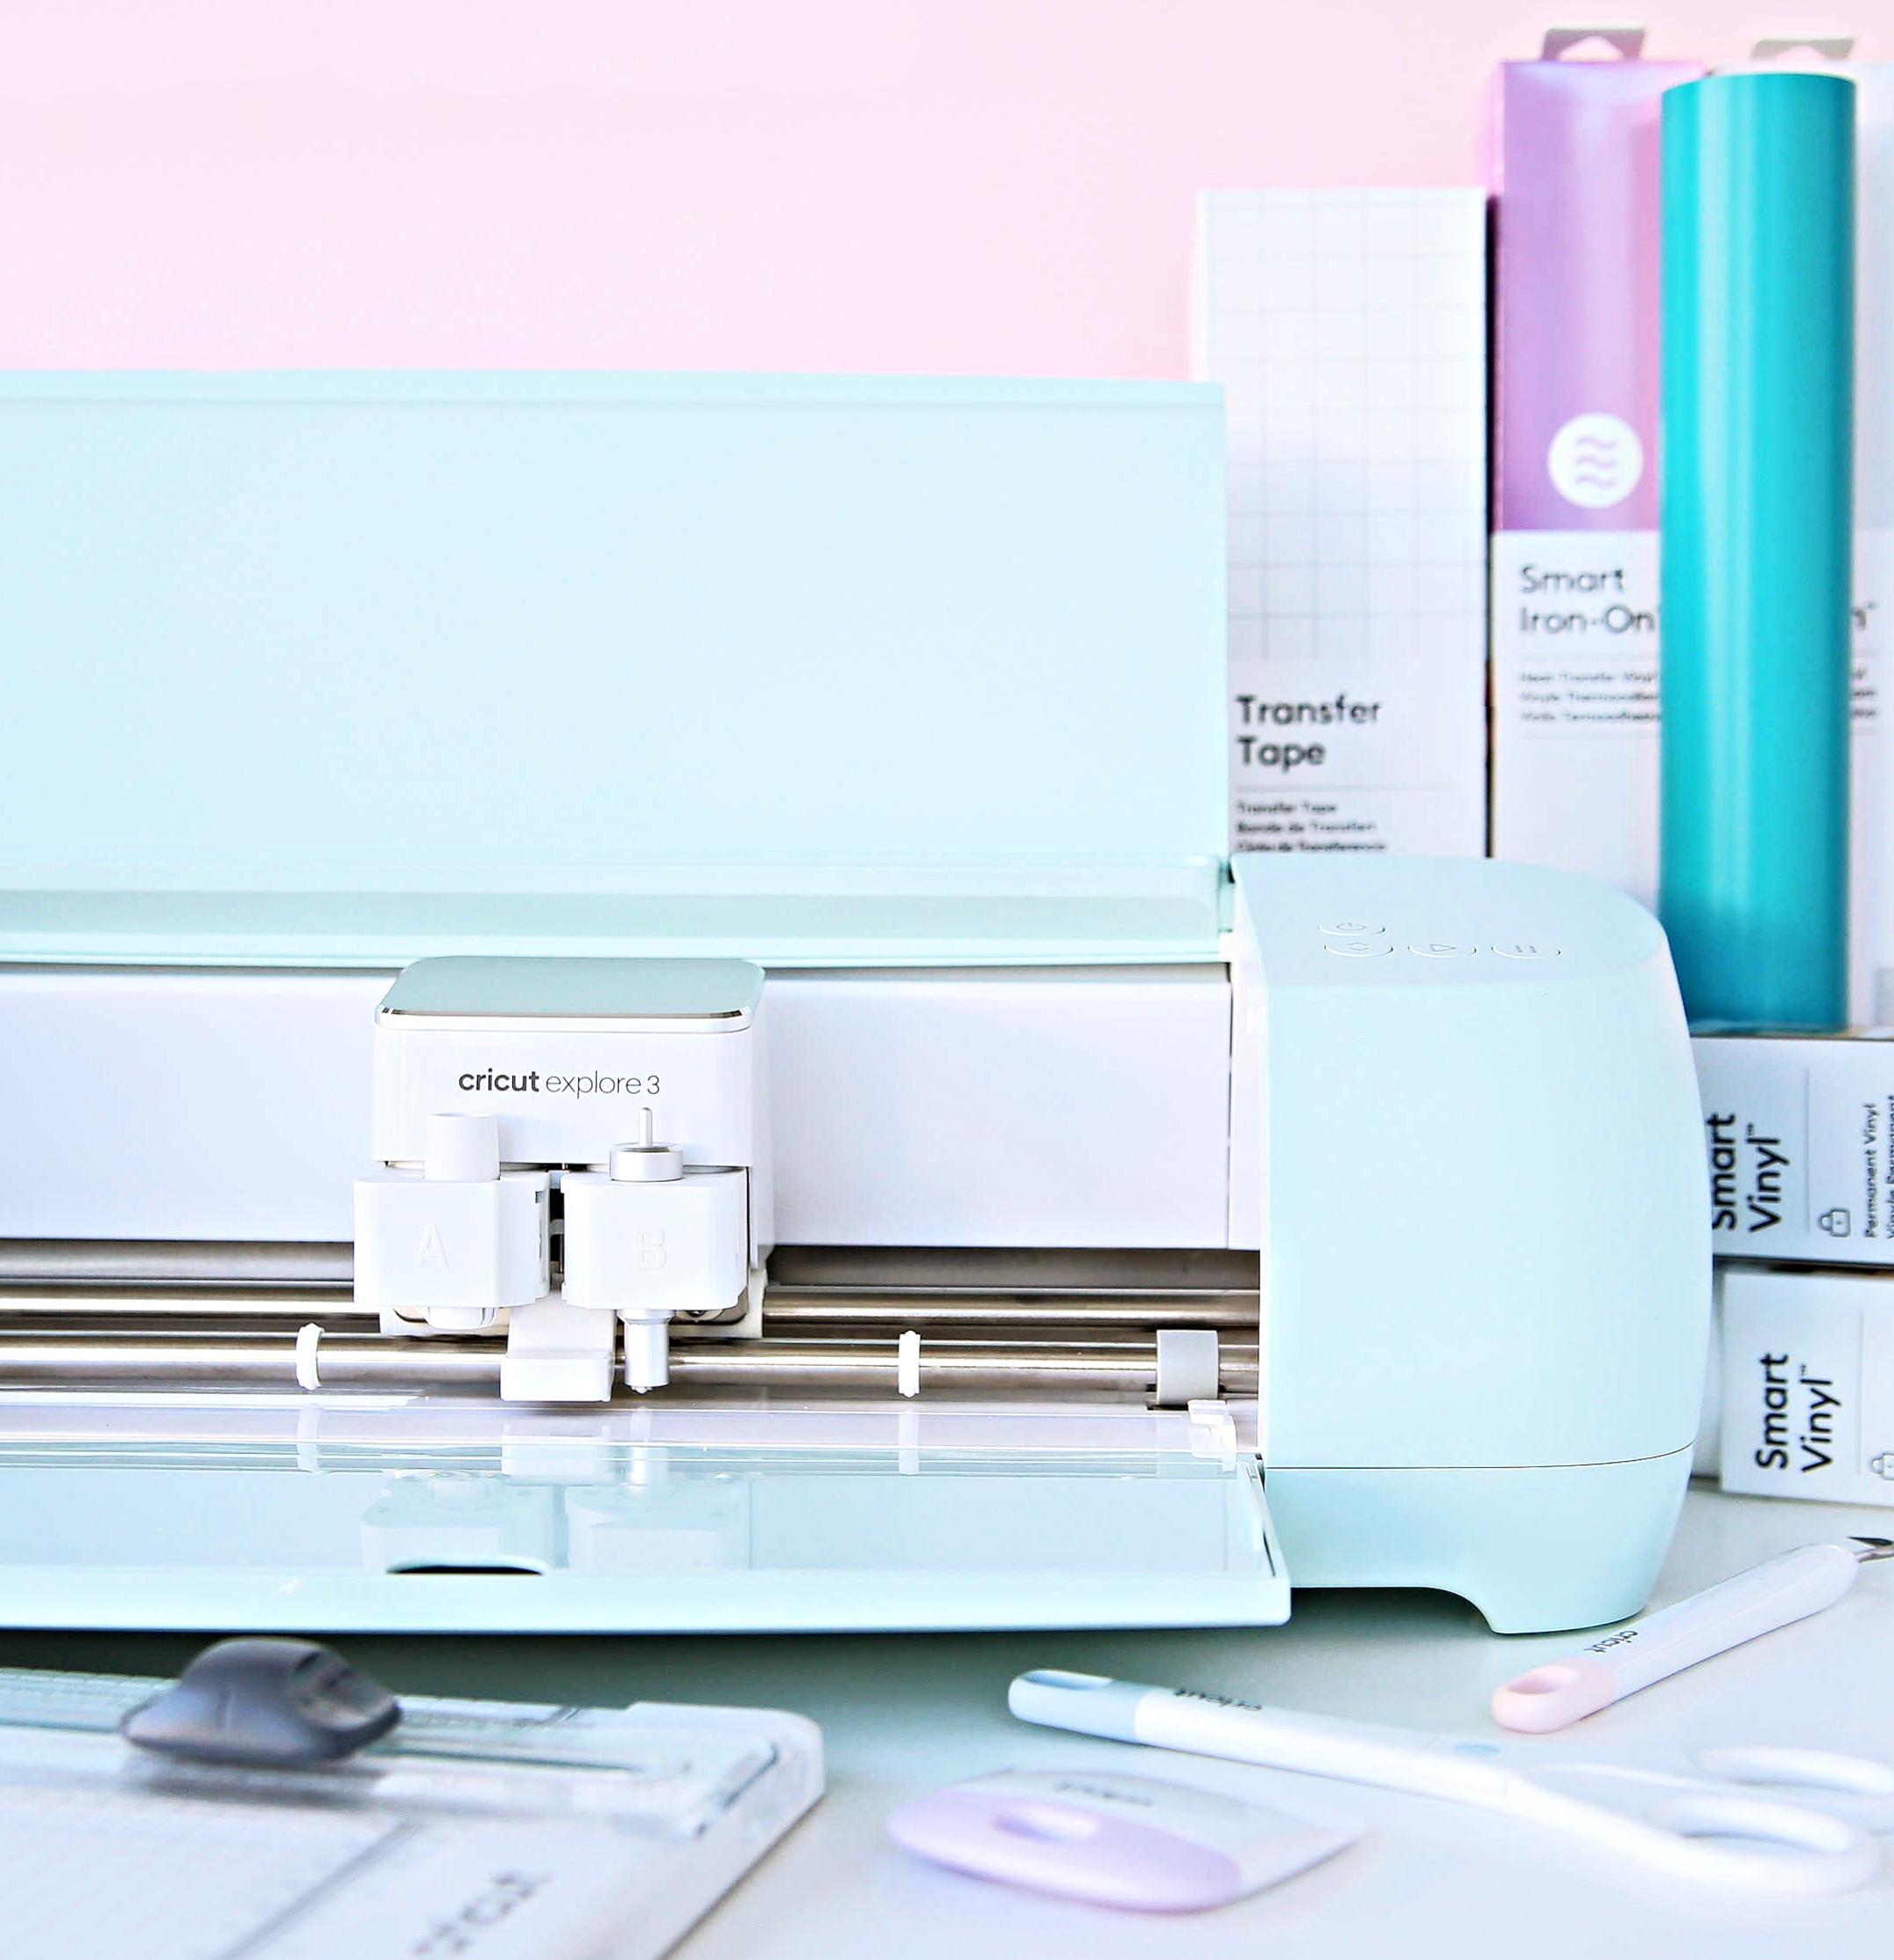
- Cricut Explore 3
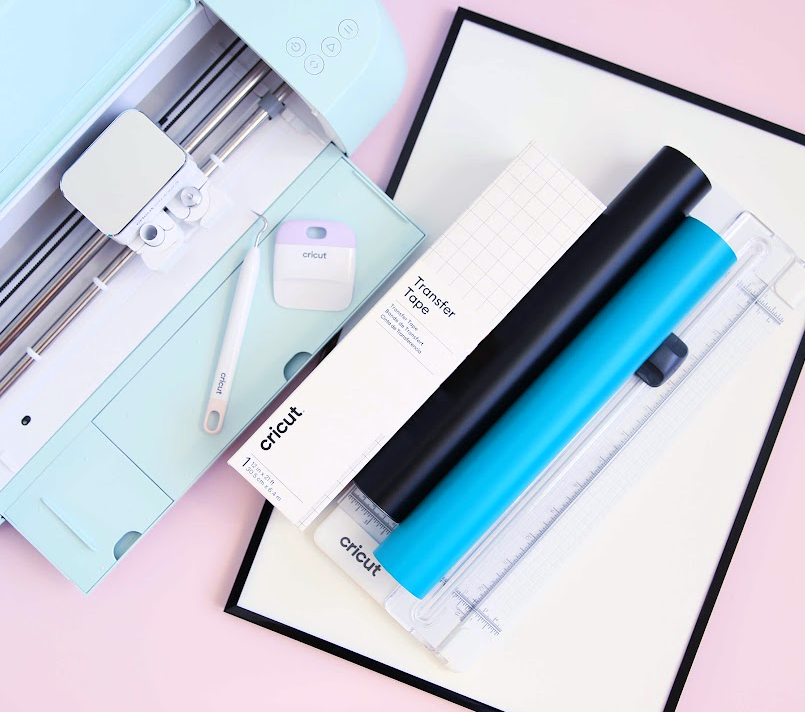
- Permanent Vinyl – I’m using black and teal Smart Vinyl™
- Transfer Tape
- Weeding Tool
- Scraper
- 13×19 Picture Frame
- White Poster Board – cut to fit inside the frame
Classroom Birthday Board Instructions
Start by opening this project in Cricut Design Space.
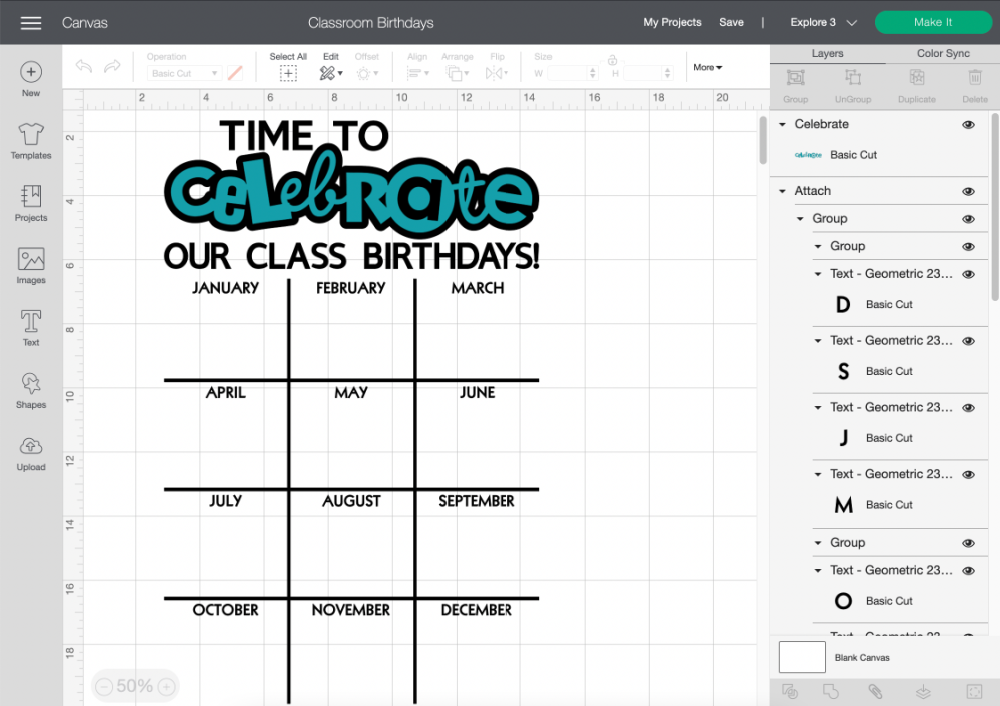
I created this fun birthday cut file using free elements in Design Space. I’ve grouped and attached everything to make cutting easy for you. Feel free to unattach and ungroup if you want to use additional vinyl colors or change the fonts I used.
Make sure to select the right machine you are using at the top and click MAKE IT.
Since we’re using the Explore 3 and Smart Vinyl, we can cut without a mat which is awesome. I never really knew how much I would like cutting without a mat until I started using the Cricut Joy. Now I don’t have to worry about my vinyl not sticking to the mat or sticking too much.

The Cricut Explore allows you to cut with or without a mat so select how you want to load your material and click DONE. Review artwork and click CONTINUE.
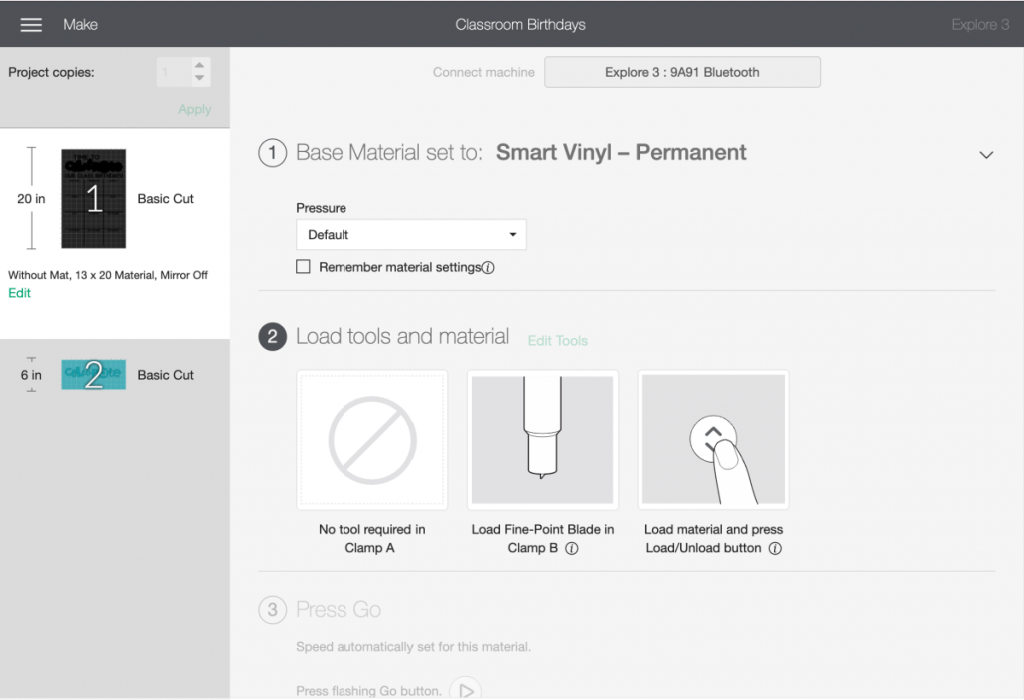
Next select the material you are using. We’re using Permanent Smart Vinyl so that’s what we selected. Press the load and unload button (up and down arrows) on your Cricut Explore 3 machine to load the vinyl and press the flashing GO button to start cutting your project.
Repeat the steps above for the second cut.
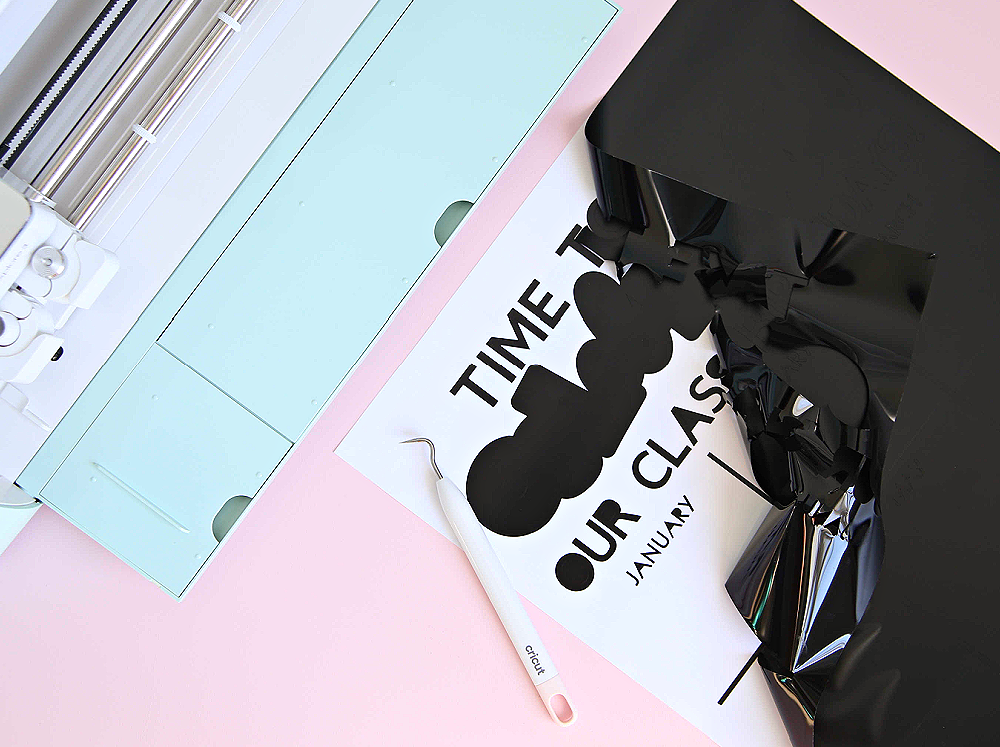
Next we’re going to weed our project. Weeding is removing the negative vinyl from around the design. I highly recommend using the weeding tool for this.
Once all the vinyl is weeded, it’s time to use transfer tape to transfer our design to the board. We can do this a few different ways. We can adhere the design to the glass or to the poster board. I went back and forth on this decision and decided to add the vinyl to the poster board. I think this will be the easiest way to wipe off the names of the students and not worry about the vinyl peeling off. You could also mirror the design and apply it to the back of the glass.
Cut a piece of transfer tape so it covers the entire width and height of the design. Peel the backing of the transfer tape and place the sticky side of the transfer tape over your design. I like to start from one corner and work my way diagonally. Use your scraper to burnish the transfer tape onto the vinyl.
Carefully peel the transfer tape up and remove the vinyl from the backing sheet. You can also flip your design over and peel the backing sheet away from the transfer tape.
Place your design on the poster board and use your scraper to burnish the vinyl onto the board. Peel the transfer tape off the poster board while making sure to leave the vinyl design on the poster board. Repeat these steps for the second cut.
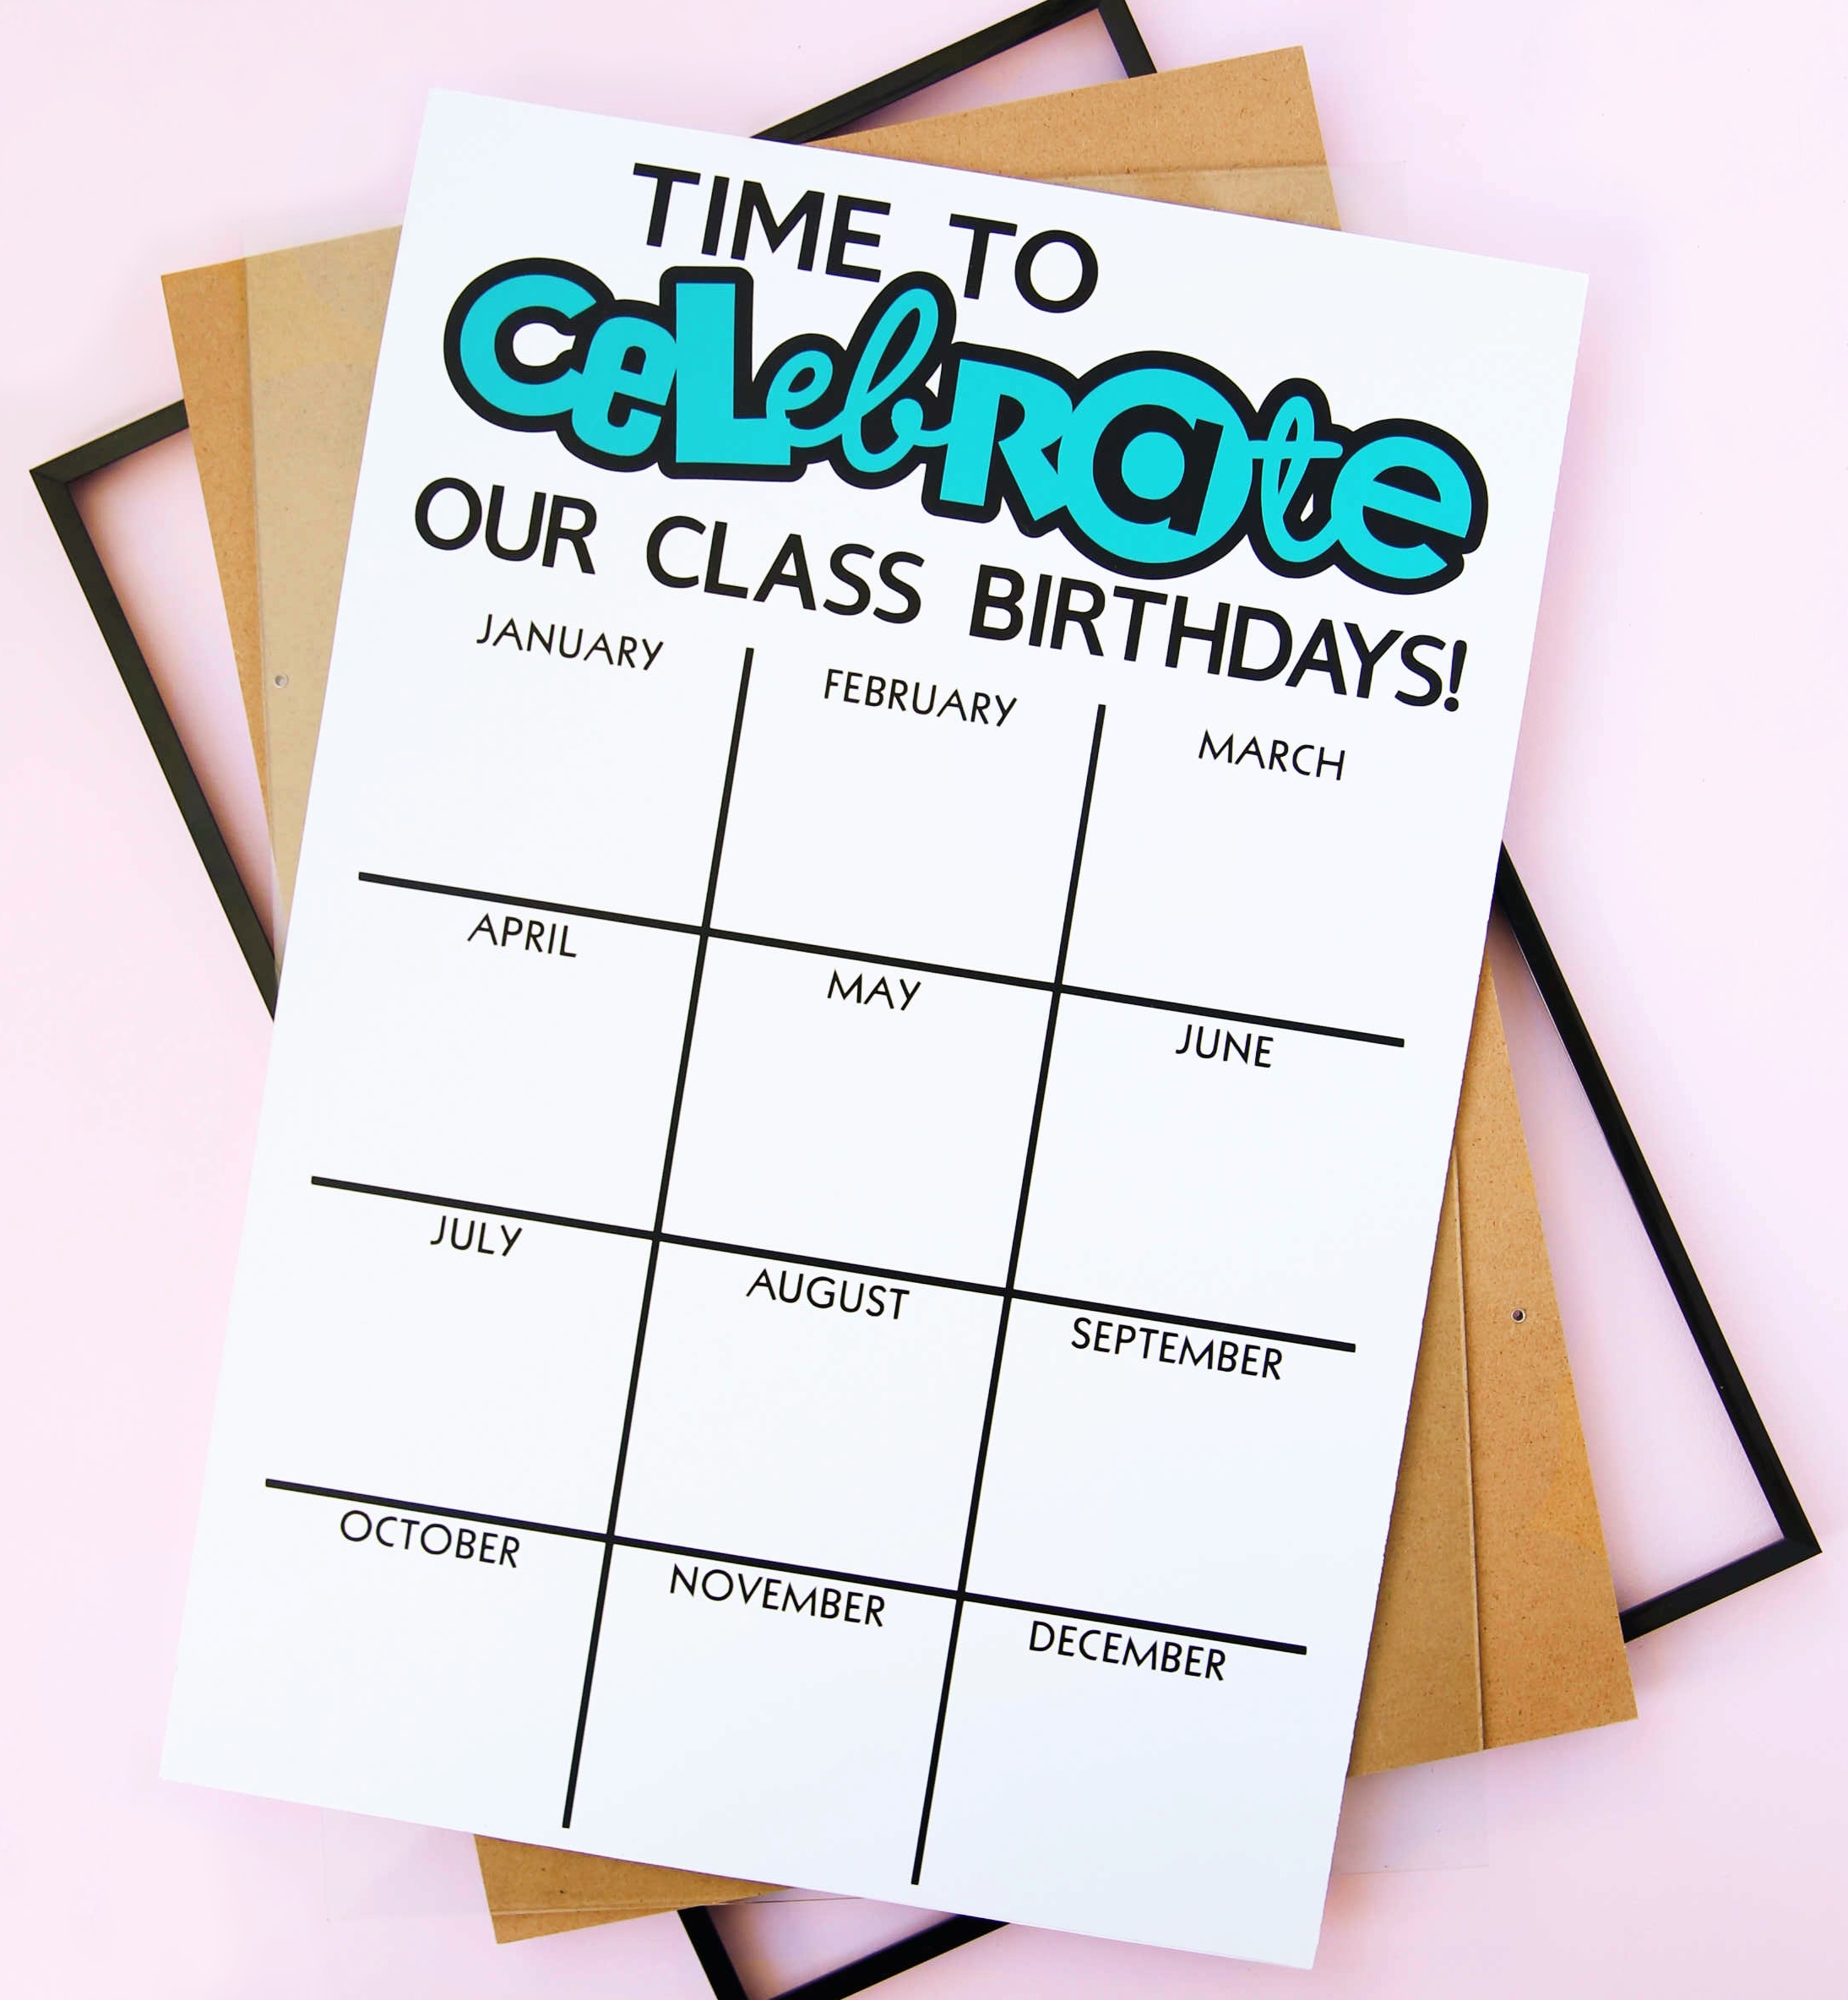
The last step is to add the poster board to the frame and you’re ready to display this fun Birthday Board in your classroom or wrap it up and give it to your favorite teacher. The only thing left to do is add names and dates to this awesome Classroom Birthday Board using a dry erase marker.
Happy crafting my friends! I hope I’ve inspired you to make a Classroom Birthday Board and other fun Cricut crafts with your new Cricut Explore 3.