This post and its photos may contain affiliate links. As an Amazon associate I earn from qualifying purchases. If you make a purchase through these links, I may receive a small commission at no extra cost to you.
I created a ribbon pillow for The Ribbon Retreat last week that I’m in love with so I had to share it here
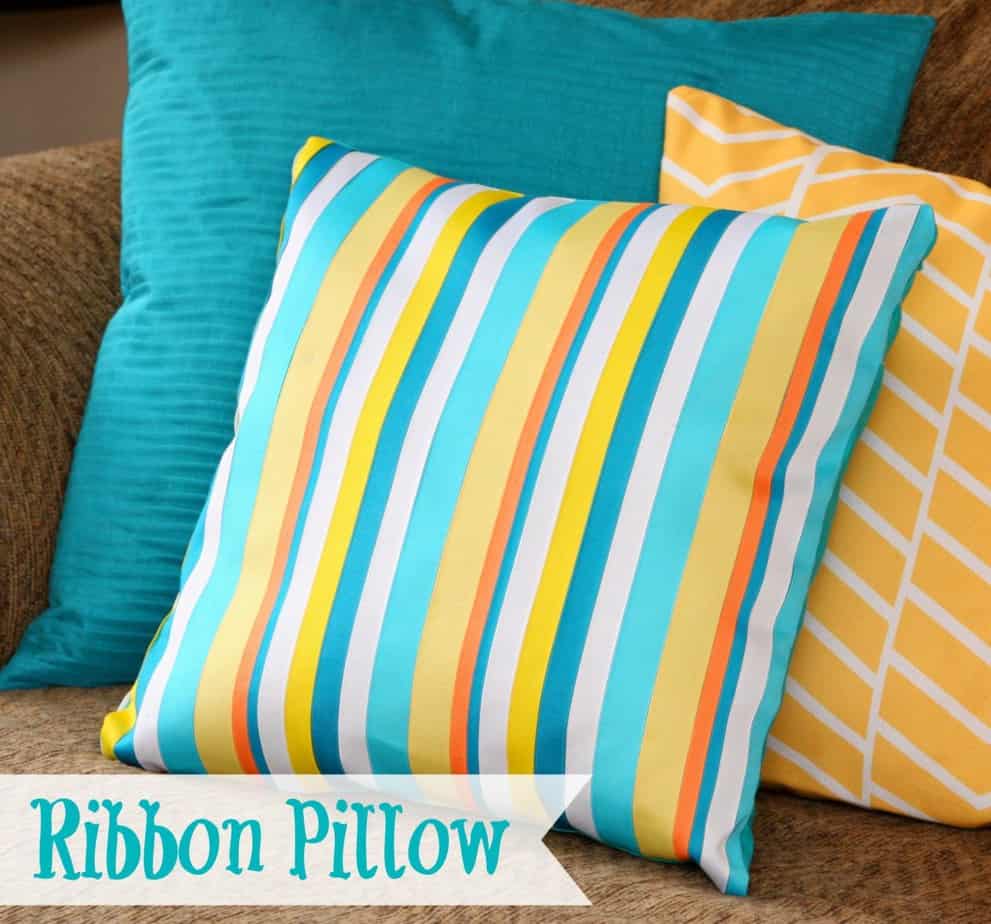
I wanted a striped pillow but couldn’t find one with the colors I needed to match my decor. I then decided I could make a pillow with rows of ribbon. I first thought of this idea because I love that it can be customized to any color combination you are decorating with. I was looking everywhere for fabric with teal, yellow, and orange but I couldn’t find any that I loved so I decided to make my own.
Supplies Needed:
- fabric
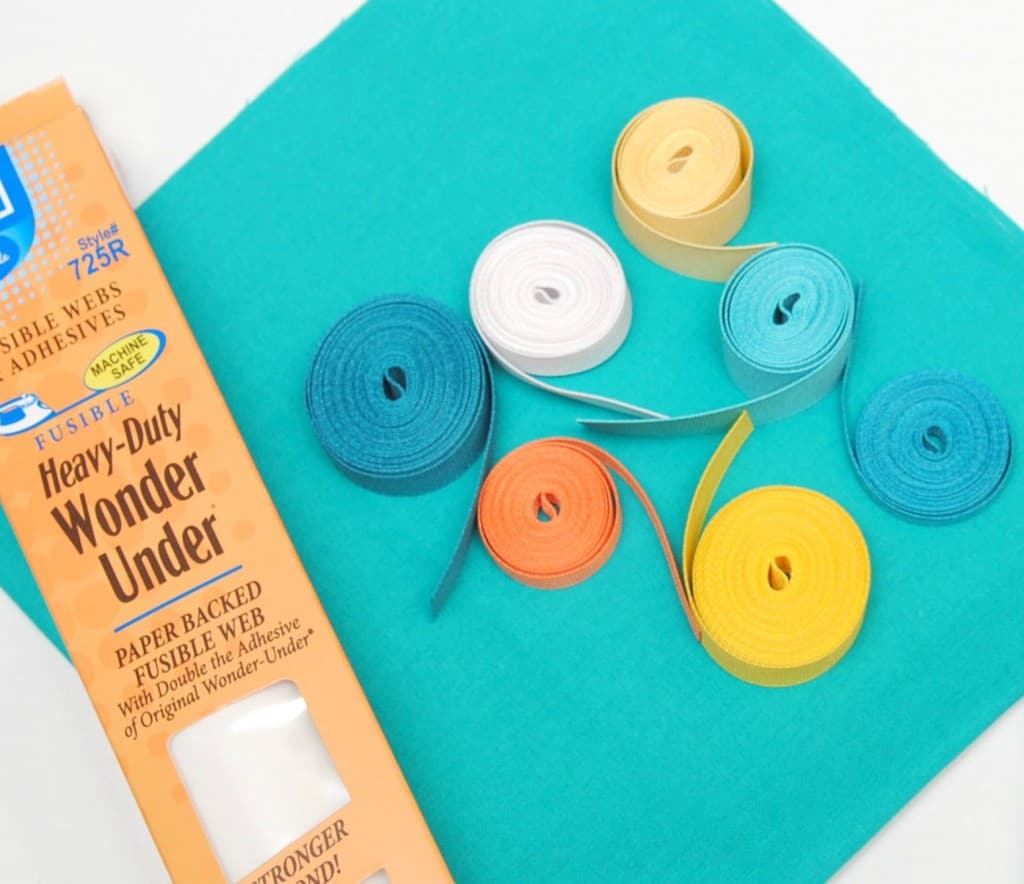
- ribbon – various colors
- fusible interfacing
- sewing machine and thread
- pillow form or batting
- straight pins
- zipper (optional)
Step 1: Cut two pieces of fabric. I cut mine 18 inches by 18 inches.
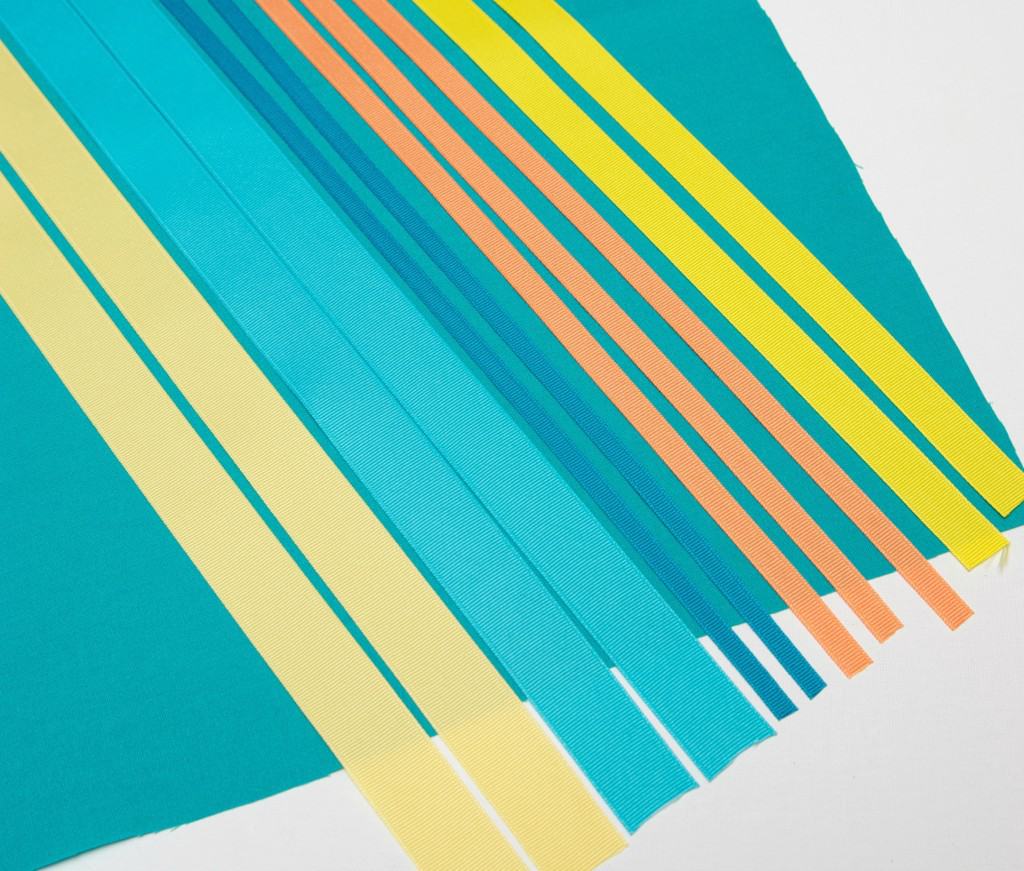
Step 2: Cut your ribbon into strips the same size as your fabric. (I cut mine 18 inches long)
Step 3: Cut a piece of interfacing the size of the fabric and iron on to the fabric.
Step 4. Remove paper from back of interfacing.
Step 5: Line your ribbon up on the fabric and interfacing. Pin in place.
Step 6. Iron your ribbon carefully.
Step 7. After all the ribbon is fused to the fabric, flip over that piece of fabric over and line up with other piece of fabric. Sew fabric squares together.
Step 8. Turn your fabric right side out and iron. Stuff with pillow form or batting.
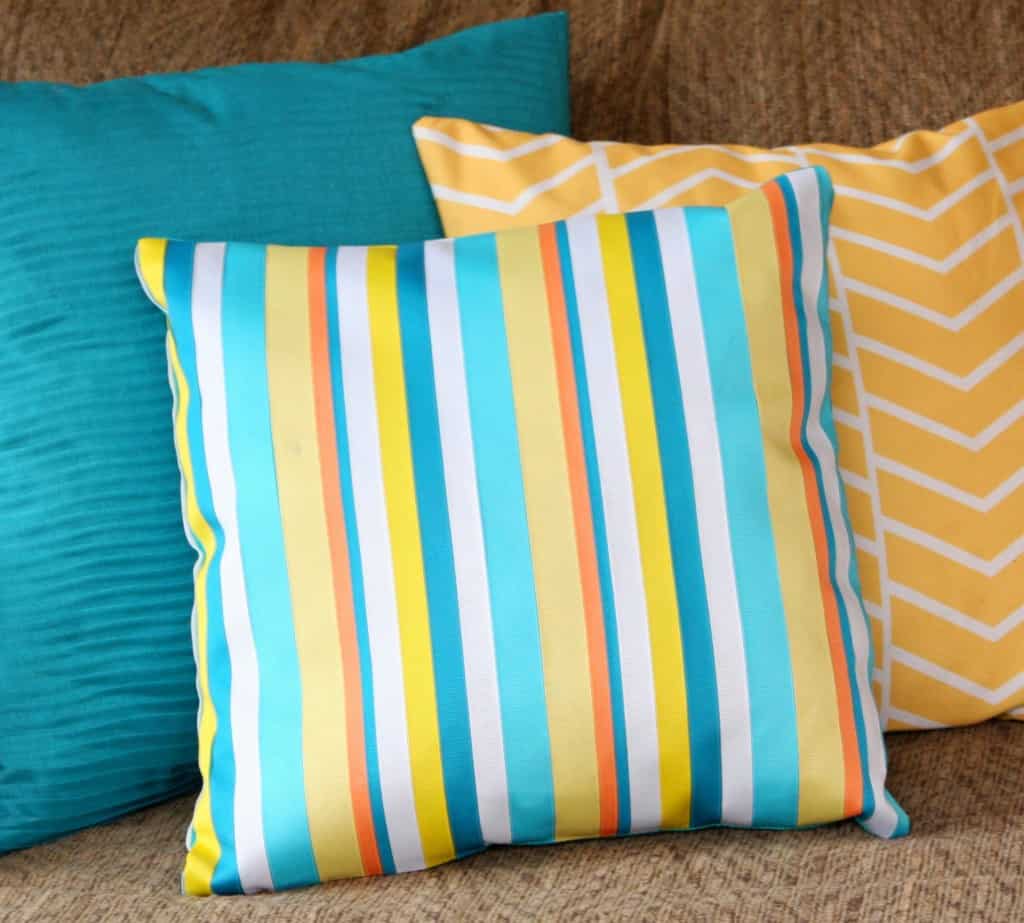
I know it might sound like a lot of steps but I promise it’s easy and definitely worth it. You will be so happy with your new pillow. I smile every time I walk by it.
So, what do you think? What color ribbon would you use?

That’s really pretty! Lovely colours and pillow looks like it’s made of stripy fabric.
no way!!! Those ribbons are perfect!! Looks great.. Pinning to try sometime!!
So pretty!! I love the colors you chose. The stripes look amazing!! Pinning 🙂